How to Crochet a Granny Stripe Pillow Cover (Beginner-Friendly)

Also in:Crafts

By ShowMeStepByStepPublished Updated

Based on a video by Bella Coco.

The granny stripe is one of the most-loved crochet patterns - rows of three-treble clusters separated by tiny gaps, with color changes that read like watercolor stripes. It's the same stitch behind the granny stripe blanket a lot of beginners cut their teeth on, and it makes a perfect pillow cover for a couch, reading nook, or guest bed.

This walkthrough is built on Bella Coco's classic granny stripe tutorial. She uses UK terms (double crochet = US single, treble = US double) - both are called out below so you can follow along no matter which side of the Atlantic you learned on. Eight steps from the very first chain to a sewn-up cover with a removable back. Pick three or more colors of worsted-weight yarn, a 4mm hook, and a pillow form you want to dress up.

Step-by-Step Guide

1

Step 1: Chain a Foundation Row in Multiples of Three

0:19
Step 1: Step 1: Chain a Foundation Row in Multiples of Three

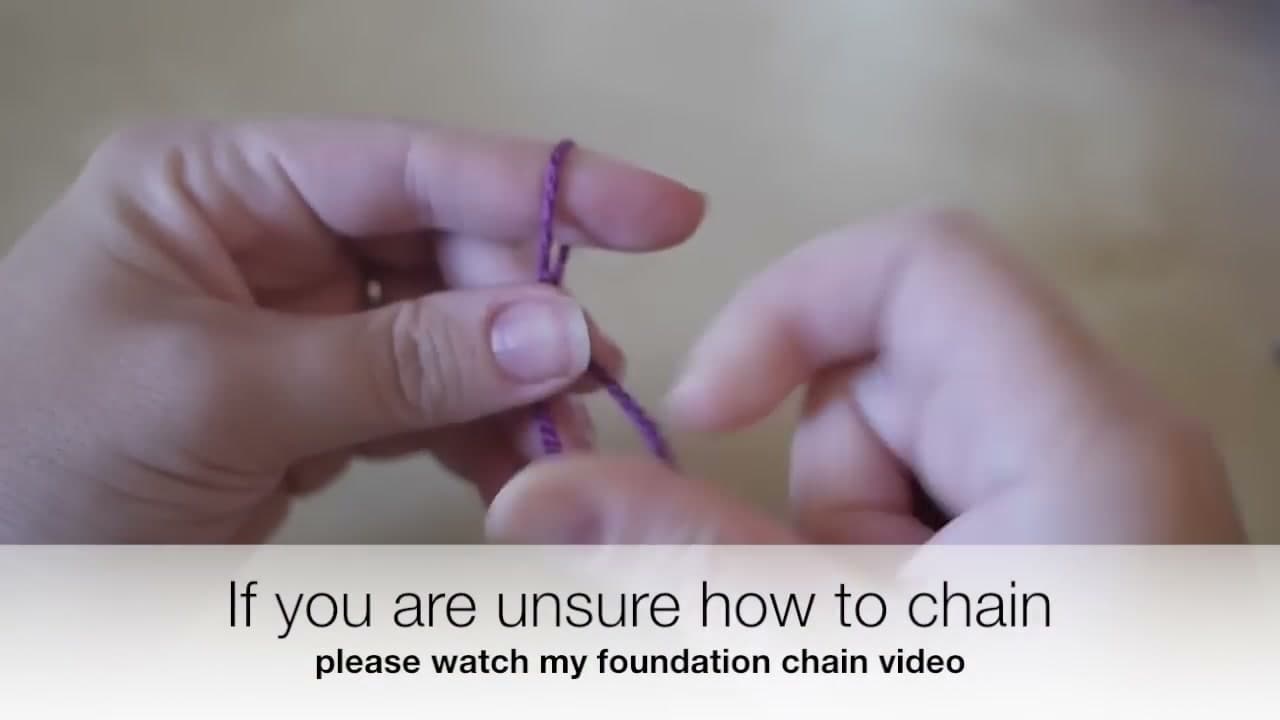
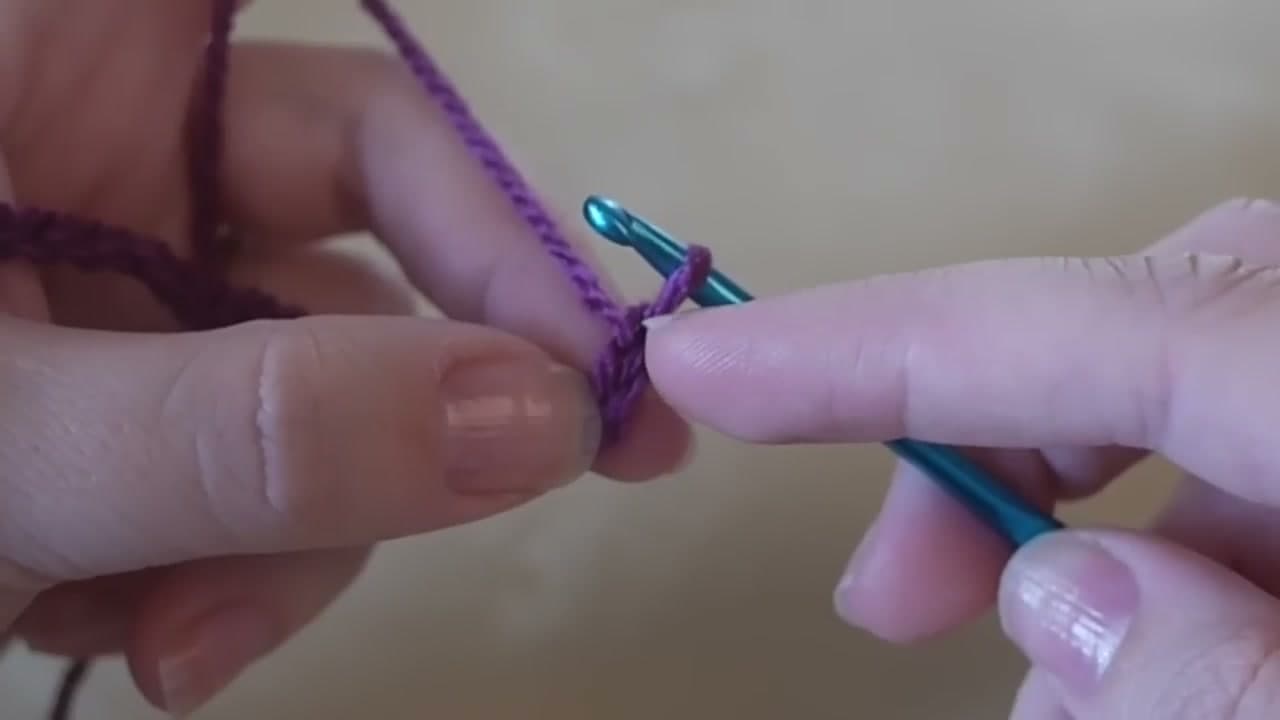
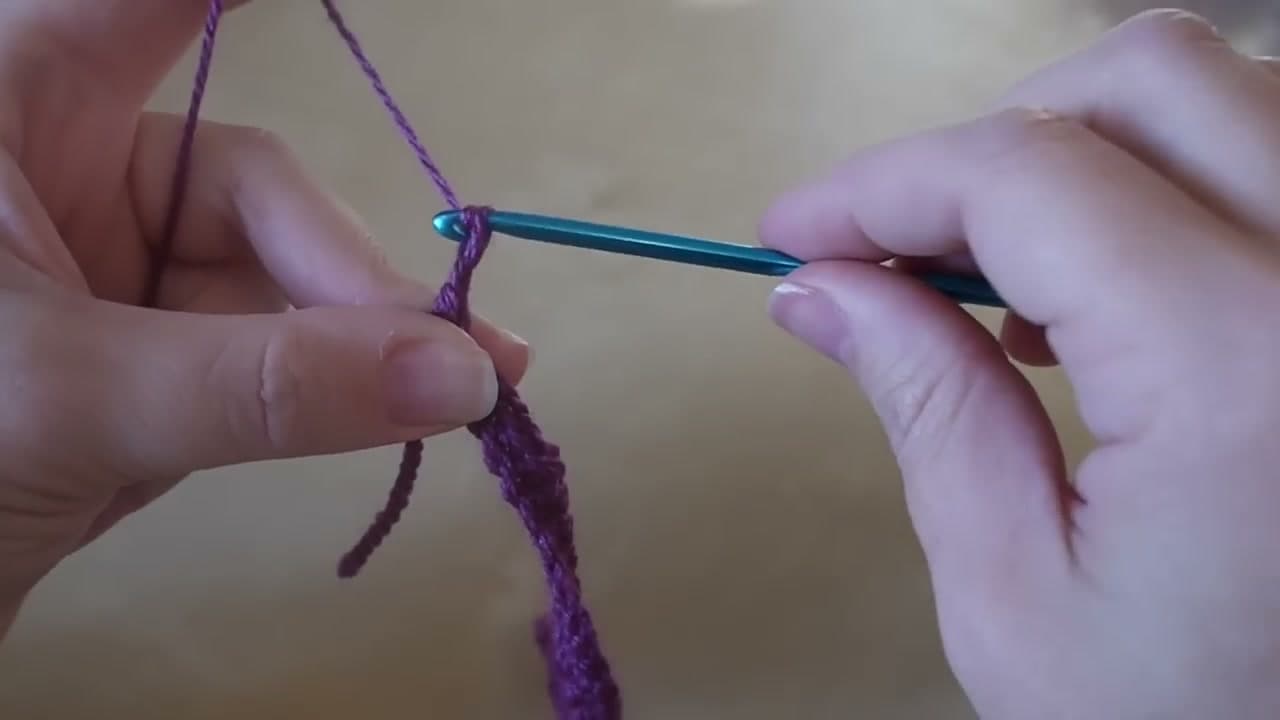
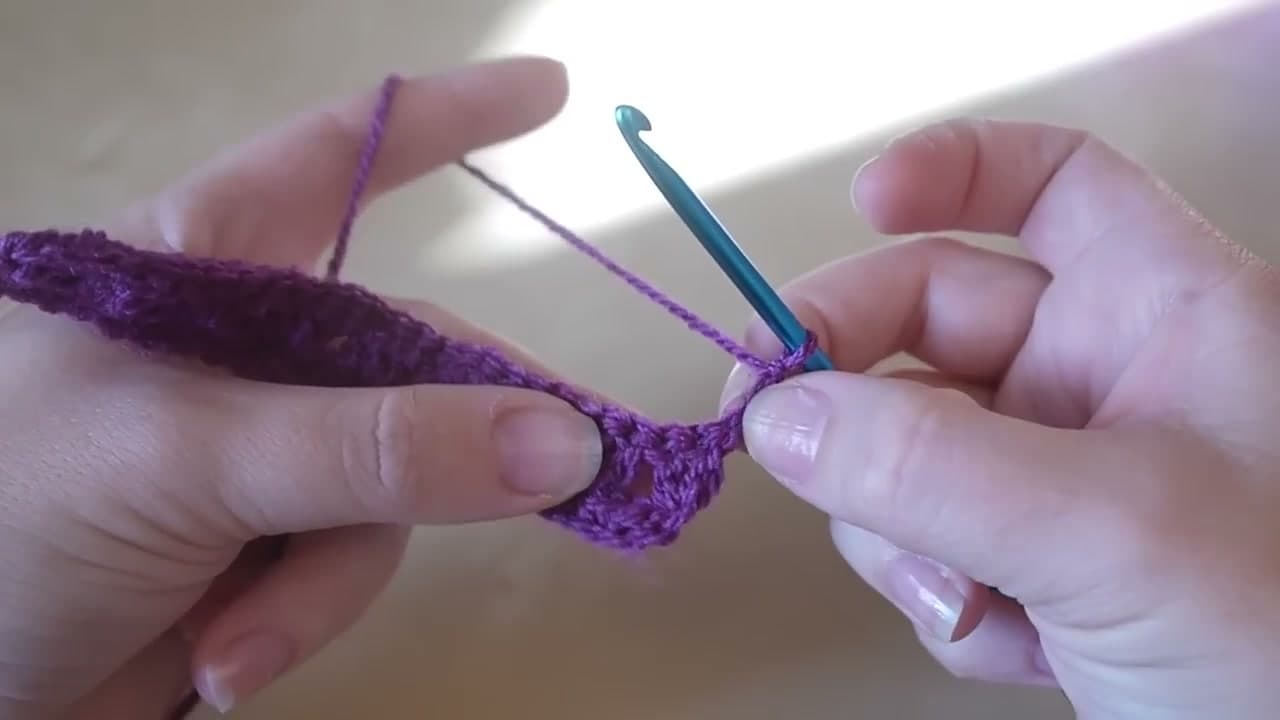
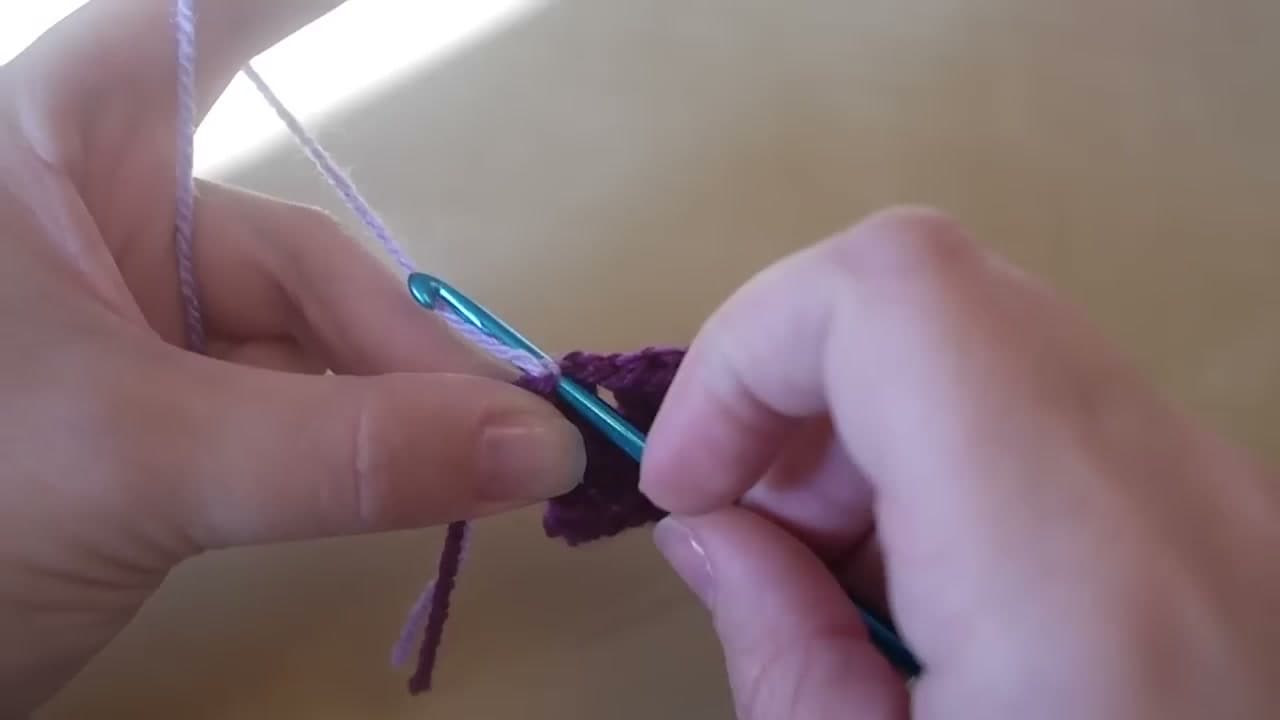
Grab your worsted-weight yarn in three or more colors (Bella Coco uses Stylecraft Special DK in Plum, Wisteria, and Clematis), a 4mm crochet hook, scissors, and a darning needle. For a 16-inch pillow front, chain a multiple of 3 - aim for about 78 stitches across, then add 2 more chains for the turning corner.

Those two extra chains will become the corner space for your first cluster. If you want an 18-inch pillow instead, chain about 87 stitches plus 2. Loose, even chains make the next row easier; pull them tight and you'll fight the foundation row.

Tip

Pillow covers crochet up best about 1 inch smaller than the form on each side. The natural stretch of granny stripe gives you a snug, plumped finished look.

2

Step 2: Work the Single-Crochet Foundation Row Back Across the Chain

2:05
Step 2: Step 2: Work the Single-Crochet Foundation Row Back Across the Chain

Bella Coco calls this double crochet because she uses UK terms - in US terms it's single crochet. Skip the first two chains closest to your hook, insert into the next chain, yarn over, pull through, yarn over, pull through both loops. That's one single crochet.

Repeat all the way along the chain. Don't pull tight - looser stitches make row two much easier. The work will spiral as you go. Ignore it. By row three it straightens out completely.

3

Step 3: Set Up Row Two With the First Treble Cluster

4:50
Step 3: Step 3: Set Up Row Two With the First Treble Cluster

Chain 3 and turn the work. That chain-3 counts as your first treble (US double crochet). Yarn over, insert into the very first chain space, and work one more treble - now you have a pair of trebles in the corner.

From here on, the granny stripe rhythm kicks in. Skip the next two stitches, work a cluster of three trebles into the next chain space. Skip two, cluster of three into the next gap. Skip two, cluster. The fabric starts to take shape as little fans of yarn separated by tiny windows.

4

Step 4: Continue Three-Treble Clusters Across the Row

6:45
Step 4: Step 4: Continue Three-Treble Clusters Across the Row

One treble: yarn over, insert, pull through, pull through two, pull through two. Three of those into the same space = one cluster. Skip the next two stitches, work the next cluster in the next gap.

Keep an even tension across the row and the fabric flattens out beautifully. When you reach the last three chains at the end, work just two trebles into the very last chain to balance the corner you made at the start.

5

Step 5: Alternate the Edge Pattern in Rows Three, Four, and Five

9:57
Step 5: Step 5: Alternate the Edge Pattern in Rows Three, Four, and Five

Chain 3, turn, and work just one treble into the first gap. Not two. Row 2 starts with two trebles, row 3 starts with one, row 4 starts with two again. This 2-1-2-1 alternation across rows is what keeps both side edges straight instead of stepped.

Work clusters of three trebles into every gap across the row exactly as before. End the row with a single treble worked into the top of the chain-3 from the previous row to balance the opposite edge. Two rows of practice and the rhythm becomes automatic.

6

Step 6: Change Colors to Start Your Next Stripe

14:30
Step 6: Step 6: Change Colors to Start Your Next Stripe

At the end of a row, cut the old yarn leaving a 6-inch tail and pull the loop through to fasten off. Insert your hook into the first chain space of the new row, loop your new color over the hook, pull it through, and tie a small knot to anchor it. Slip-stitch into the same space, then chain 3 to start the next turning post.

Carry on with clusters in the new color. Bella Coco swaps colors every two rows for a tight stripe; spacing every 3 rows reads taller and a single-row stripe reads like confetti. The choice is yours - granny stripe is forgiving with whatever color rhythm you pick.

Tip

Weave in the color-change tails as you go rather than at the end. Twenty stripes means forty tails and that's a slog to do all at once.

7

Step 7: Keep Adding Stripes Until the Panel Hits Pillow Size

16:25
Step 7: Step 7: Keep Adding Stripes Until the Panel Hits Pillow Size

Crochet stripe after stripe until the front panel measures 16 inches square (or 18 inches for an 18-inch form). For a tight, plumped look, aim for a panel about 1 inch smaller than the form on each side - the granny stripe stretch handles the rest.

Block the finished panel lightly with steam or a damp towel so the rows lie flat and the corners square up. Weave in all your color-change tails with the darning needle before you join the panels. A neat back is a happy pillow.

8

Step 8: Make the Back, Join the Panels, and Insert the Pillow Form

16:40
Step 8: Step 8: Make the Back, Join the Panels, and Insert the Pillow Form

Make a second granny stripe panel the same size for the back, or cut a piece of cotton fabric to match for a lighter, flatter back. Place the two panels together with the right sides facing out, line up the corners, and join three sides with single crochet through both layers - or whip-stitch the seams with a darning needle for a nearly invisible finish.

Slide your pillow form through the open fourth side. To close: either single-crochet the last edge shut for a permanent cover, or sew three small wooden buttons along one edge of the front and work matching button-holes on the back for a removable, washable version.

If you want to make a coordinating throw to drape over the same couch, the matching granny stripe blanket tutorial uses the exact same stitch pattern at blanket scale.

Tip

A removable cover is worth the extra five minutes for the buttonholes - yarn pillows attract every bit of cat hair and crumb on the couch and you'll want to be able to throw the cover in the wash.

Products Used

☐ The Checklist

How to Crochet a Granny Stripe Pillow Cover (Beginner-Friendly)

Tools
4
Materials
3
Steps
8
Video
17 min

Your Guide

Bella Coco

As an Amazon Associate we earn from qualifying purchases. Links on this page may be affiliate links - clicking them and buying doesn't change your price, but helps support ShowMeStepByStep.

Tags

Free printable

Get the Crochet Cheat Sheet

Every basic stitch on one printable page. No spam, one-click unsubscribe.

Test your knowledge

Did the lesson stick? Find out in 2 minutes.

5 quick questions covering what you just read. No signup, no score saved — just a gut check.

Quick reference

Key takeaways from How to Crochet a Granny Stripe Pillow Cover (Beginner-Friendly)

5 questions, answers, and one-line explanations. Tap to expand.

  1. 1.A granny stripe foundation chain works best as which length?

    Answer: A multiple of three plus two

    The cluster pattern repeats every 3 stitches. The extra 2 chains become the first corner space.

  2. 2.What's the relationship between UK and US crochet terms?

    Answer: UK double = US single; UK treble = US double

    UK terms shift up by one. Bella Coco's 'double crochet' is what US patterns call single crochet.

  3. 3.Why does each new row start with 'chain 3 and turn'?

    Answer: The chain-3 stands in as the first treble of the row

    The chain-3 counts as your first treble. Skip it on the way back and you'll be a stitch short every row.

  4. 4.To keep both side edges straight (not stepped), how should rows start?

    Answer: Alternate 2 trebles, then 1, then 2, then 1 across rows

    The 2-1-2-1 starting pattern balances the corners so the panel finishes square instead of stepped.

  5. 5.Why weave color-change tails in as you go, not at the end?

    Answer: Twenty stripes leave forty tails, which is a slog all at once

    Forty tails at the finish is the grim part. Spread the work across rows and it disappears.

What's next

Weekly Digest

Liked this crochet tutorial?

Pick the categories you want to hear about. Weekly digest of new step-by-step tutorials. No spam, easy unsubscribe.

Send me tutorials about

We only email about new tutorials. Easy unsubscribe anytime.