How to Make a Mosaic Stepping Stone

CraftsEasy7:178 steps5-question quiz at endBrowse more →
The finished result: How to Make a Mosaic Stepping Stone
Also in:Gardening

By ShowMeStepByStepPublished Updated

Based on a video by mosaicsbymaricela.

A plain concrete paver goes into this project. A colorful garden stepping stone comes out. Maricela from the mosaicsbymaricela channel walks you through the whole thing, and the best part is you never touch a tile cutter.

You lay pre-cut ceramic pieces onto a printed template, sandwich them in contact paper, then set the whole design into thin-set mortar on the paver. After grouting and sealing, you get a weatherproof stone that looks great tucked into a garden bed.

It is a relaxing, beginner friendly build, and kids can help with the tile-laying part too. Grab a paver and a bag of tiles and follow along.

A stepping stone lives outdoors, so the grout has to be packed properly or it will crack out over a winter. See how to grout a mosaic for the full method.

Cutting the pieces is its own skill. How to use tile nippers covers the grip, the three cuts that handle most mosaic work, and when to switch to running pliers.

Step-by-Step Guide

8 steps · about 7 minutes.Check off each step as you go and your progress saves automatically.

1

Step 1: Lay Your Tiles on the Template

2:50
Step 1: Lay Your Tiles on the Template - How to Make a Mosaic Stepping Stone

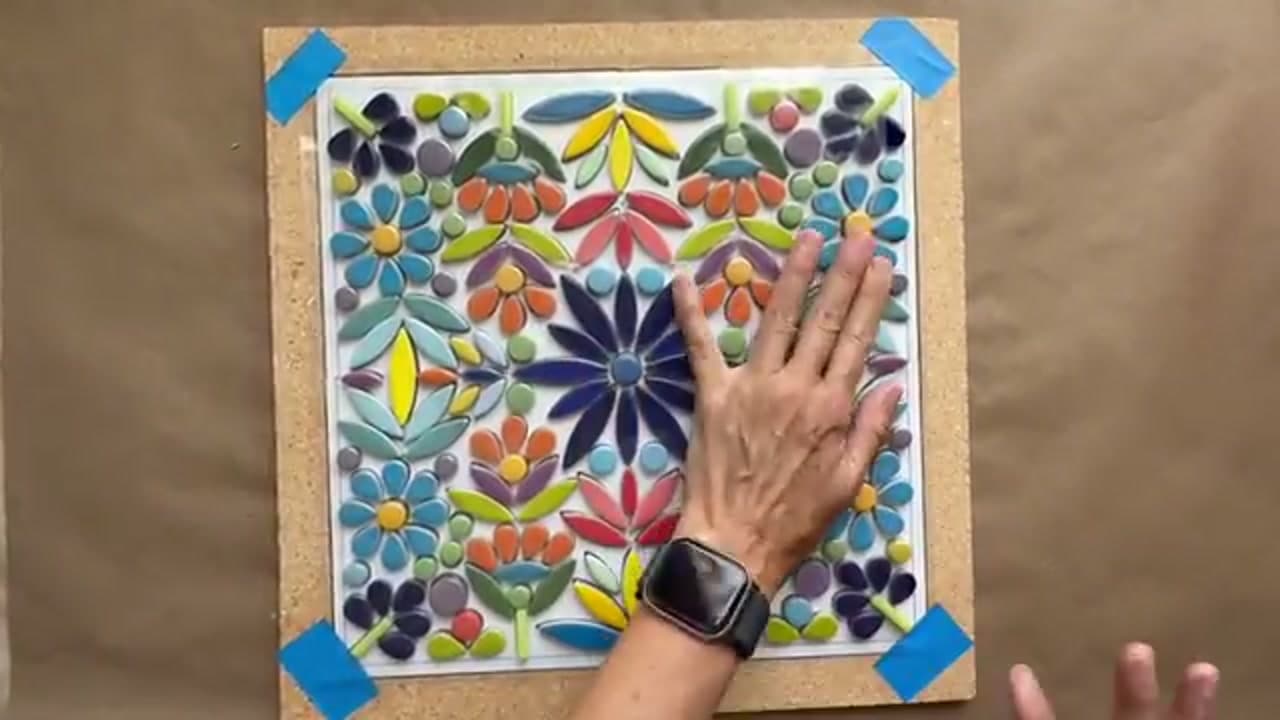
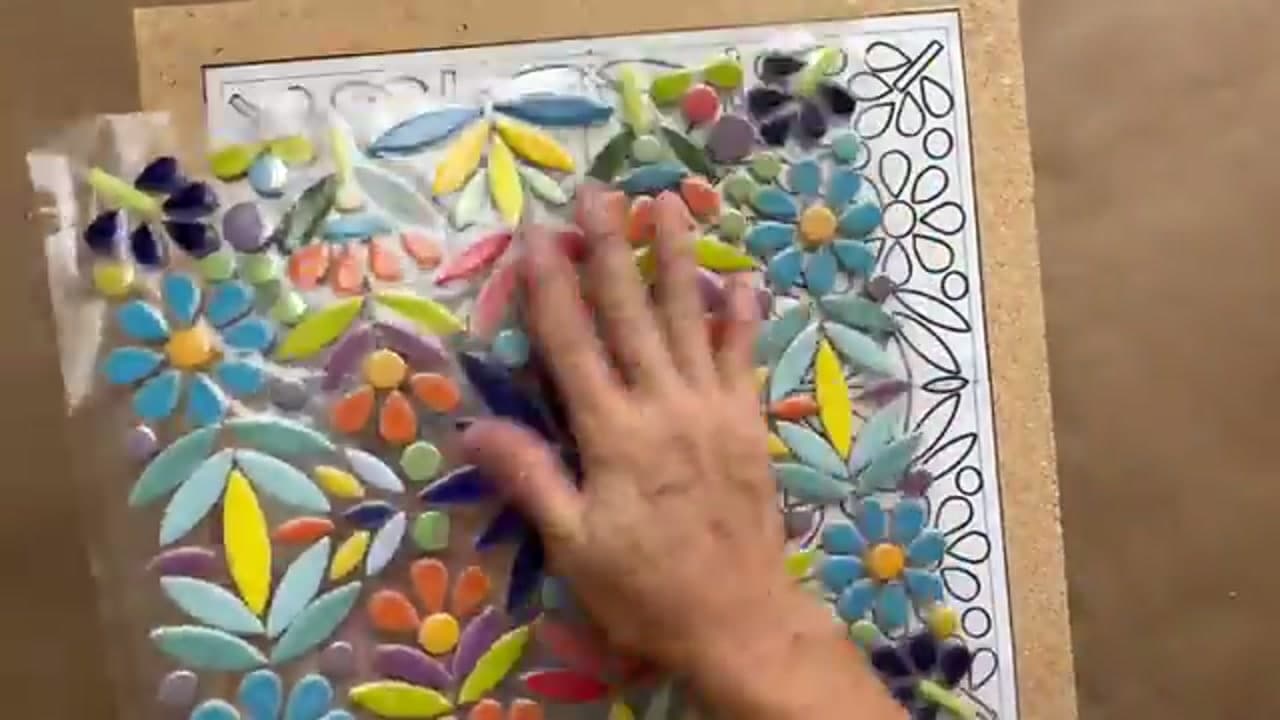
Tape your printed template to the work surface, then cover it with a sheet of clear contact paper, sticky side up. Now the fun part. Set each pre-cut ceramic piece face-up onto the sticky paper, following the design. Match Maricela's colors or pick your own. If a gap feels bigger than about half an inch, drop in an extra tile to fill it. This is a great spot to let kids help.

Tip

Your tiles may vary a little in color and size, so just follow the pattern as closely as you can. It does not have to be perfect.
2

Step 2: Sandwich the Design in Contact Paper

3:10
Step 2: Sandwich the Design in Contact Paper - How to Make a Mosaic Stepping Stone

Once the layout is done, cut a second piece of contact paper the same size and lay it on top, this time sticky side down. Press firmly across the whole surface so the tiles get pinned between both layers of paper. Do not stress if the sheets do not line up exactly. You can overlap a few smaller pieces to cover any bare spots. The goal is one solid, portable sheet of tiles.

Products used in this step

3

Step 3: Prep the Concrete Paver

3:30
Step 3: Prep the Concrete Paver - How to Make a Mosaic Stepping Stone

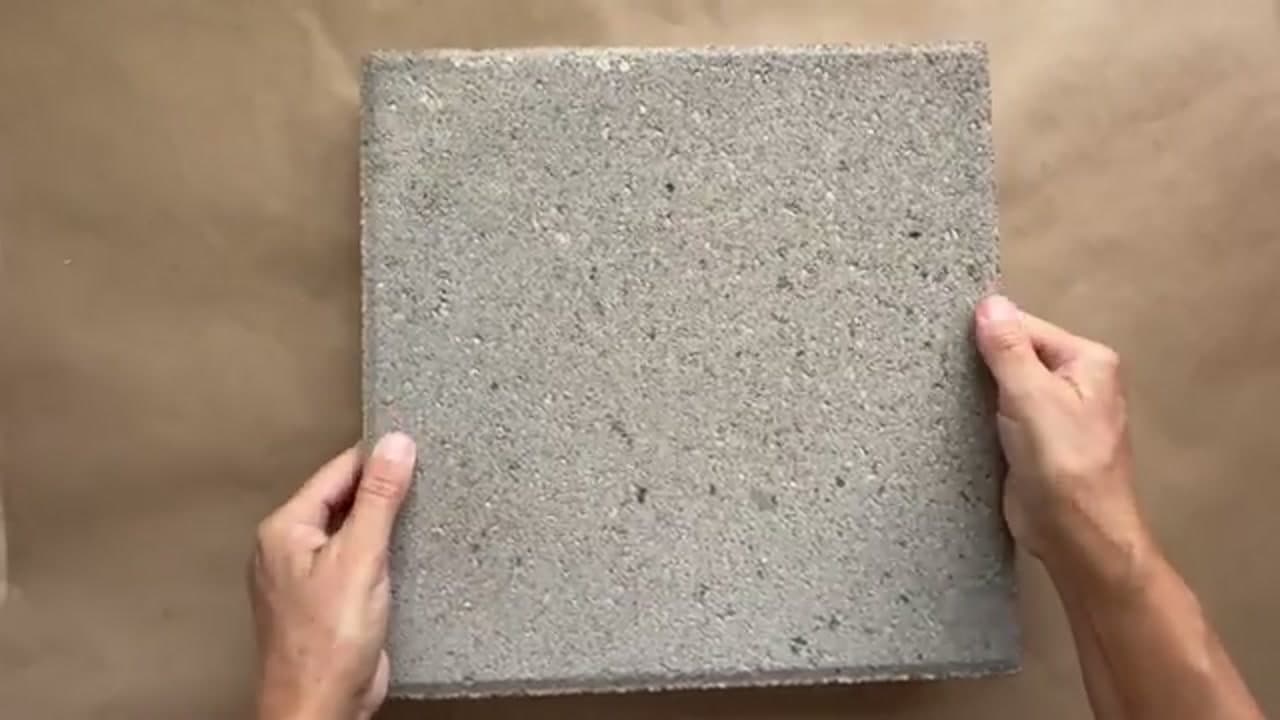
Grab your concrete stepping stone and make sure it is clean, dry, and free of dust. Maricela likes to rinse hers and let it dry all the way through before starting. A dusty surface keeps the mortar from gripping, so this quick step matters more than it looks. A standard 12 by 12 inch paver from the hardware store is exactly what you want here.

4

Step 4: Spread the Thin-Set Mortar

3:50
Step 4: Spread the Thin-Set Mortar - How to Make a Mosaic Stepping Stone

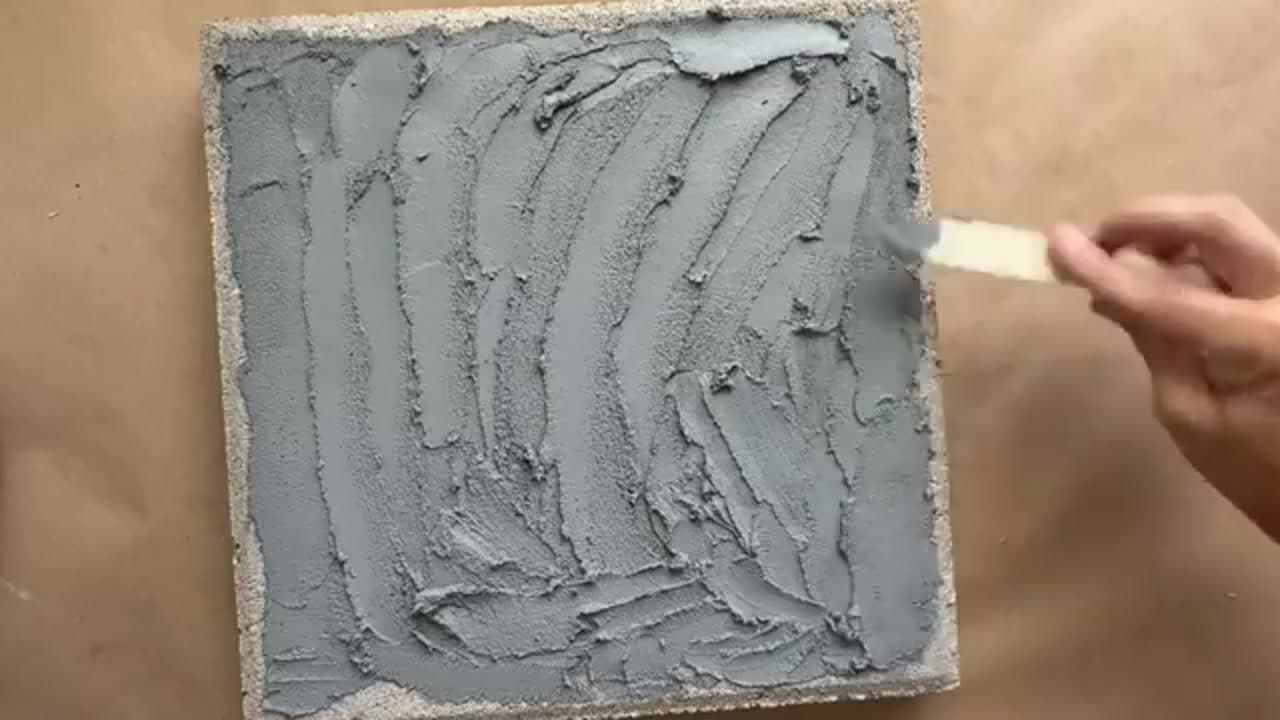
Pour some pre-mixed thin-set into a bowl and keep the rest covered so it does not dry out. Spread an even layer across the whole paver with a spatula. You want it thick enough that a tile sinks about halfway in. Test it first: press one tile into the mortar and see how far it goes. Too much or too little and you adjust. Think Goldilocks, just right.

Tip

Keeping the tub covered really helps in a warm climate, where thin-set can skin over fast.

Products used in this step

5

Step 5: Press and Tap the Tiles In

4:30
Step 5: Press and Tap the Tiles In - How to Make a Mosaic Stepping Stone

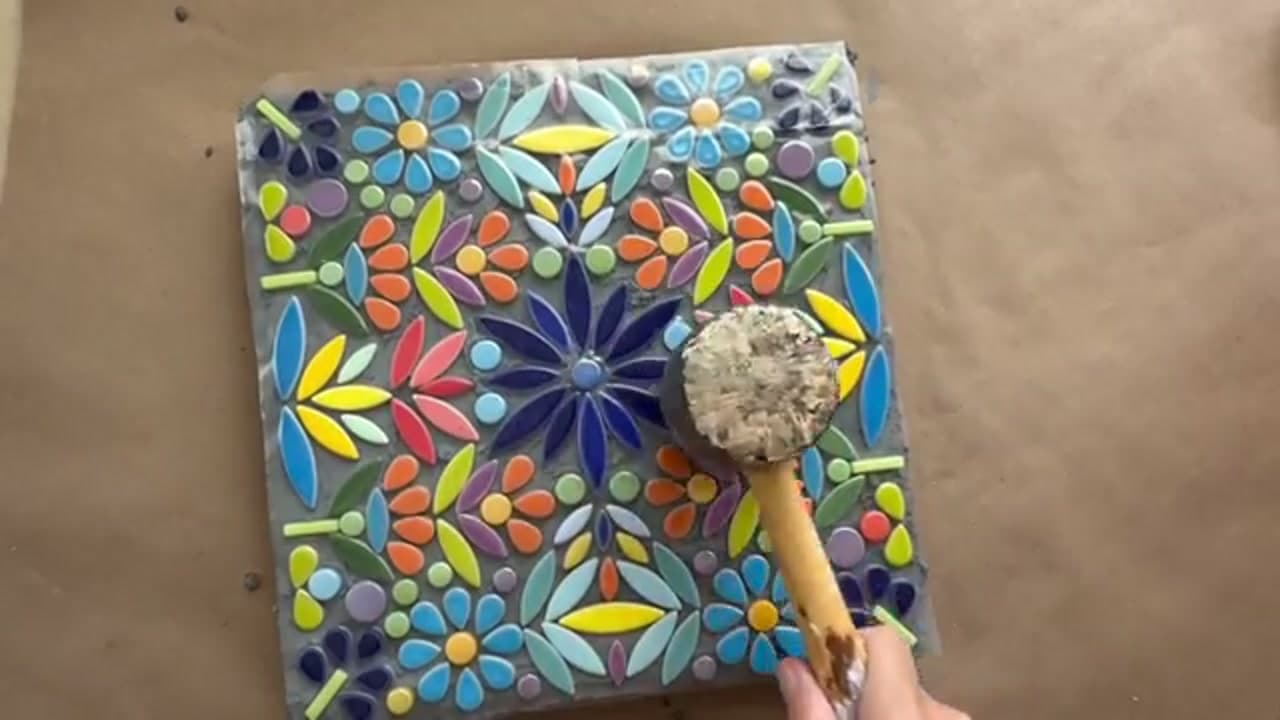
Lay your tile sheet design side up onto the wet mortar and press it down with your hands first. Then tap gently with a soft wooden mallet, or lay a scrap of wood on top and tap that. The tapping seats every tile evenly into the adhesive so nothing sits proud. Maricela sets a little weight on top and lets it dry overnight before moving on.

6

Step 6: Peel the Paper and Fix Loose Tiles

5:10
Step 6: Peel the Paper and Fix Loose Tiles - How to Make a Mosaic Stepping Stone

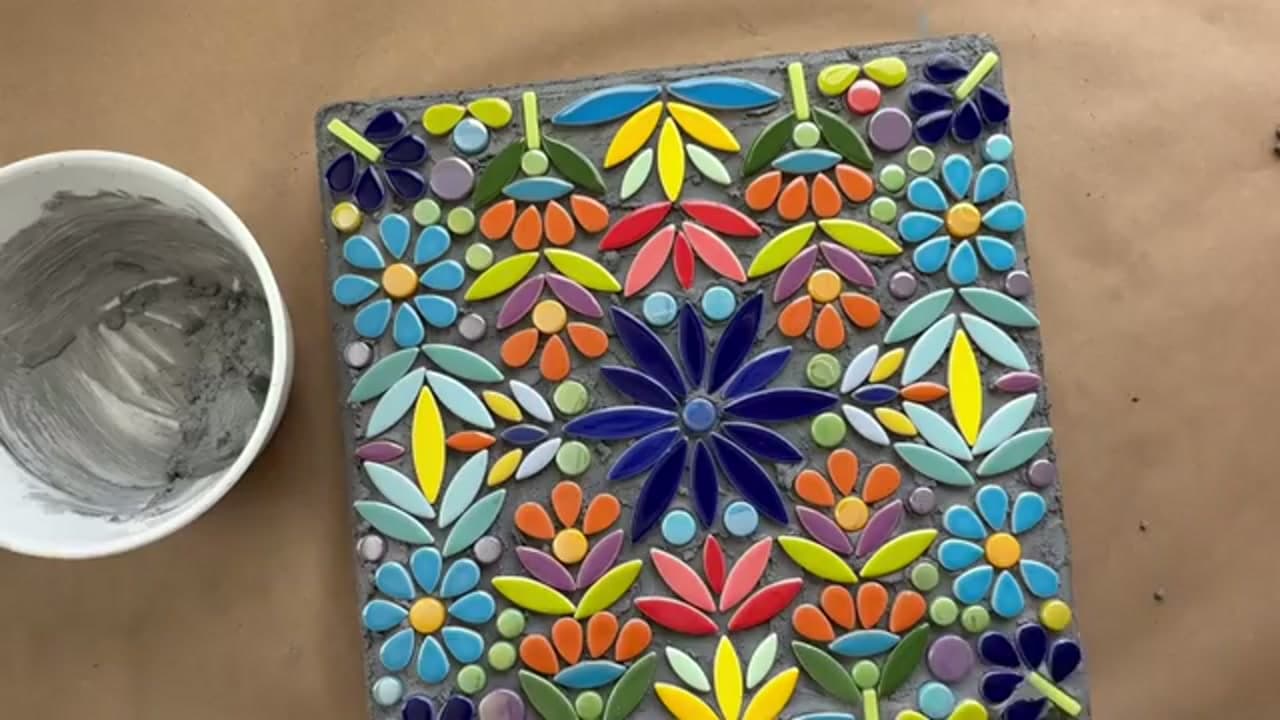
The next day, slowly peel off the top layer of contact paper. If a tile or two lift away with it, no problem. Just dab a little more thin-set underneath and press them back in. Run your eyes over the whole design and reset any other loose pieces. Now you can see all that color for the first time with the paper gone.

7

Step 7: Grout the Mosaic

5:30
Step 7: Grout the Mosaic - How to Make a Mosaic Stepping Stone

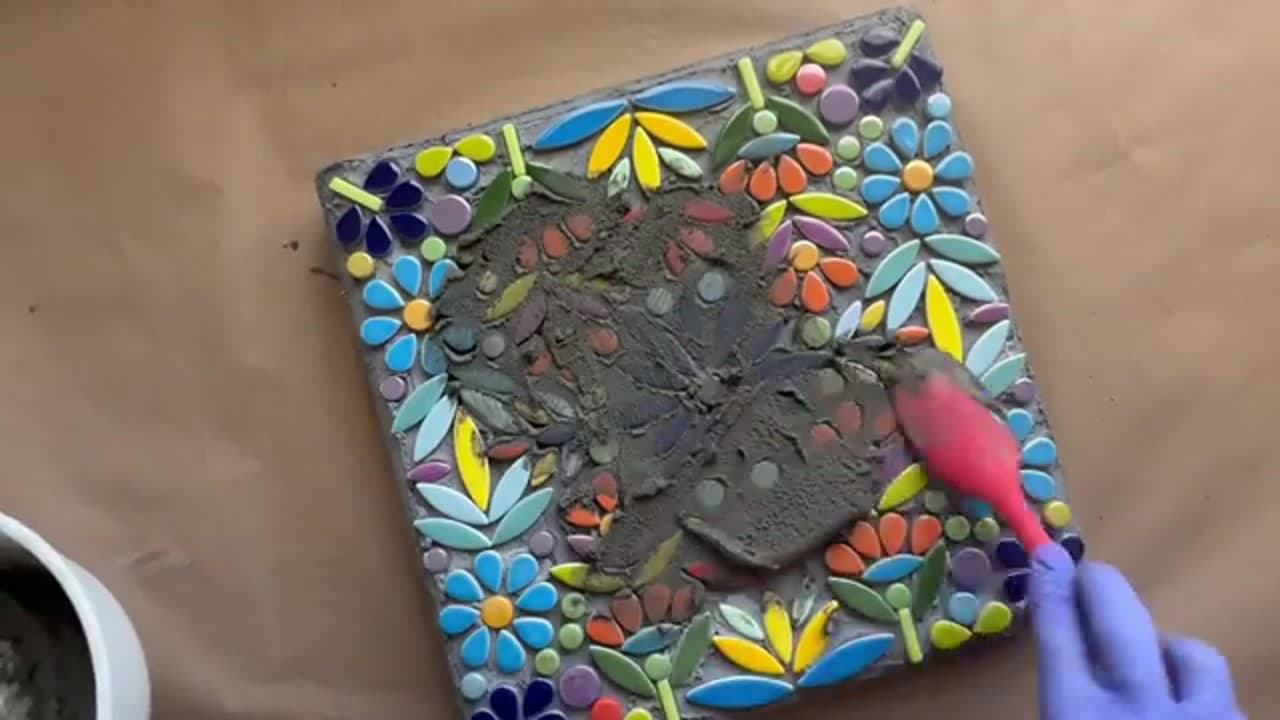
Once everything is fully dry, spread grout over the entire surface and push it into every gap between the tiles. You can use a spreader, a plastic card, or your gloved hands. Build a little grout wall around the edges so no tile sits exposed. Then wipe the excess off the tiles with a damp sponge, rinsing and wringing it out often so you do not pull grout back out of the seams.

Tip

Let the grout haze dry about an hour, then buff it off with a clean cloth. A toothpick clears any stubborn grout off the tile faces.

Products used in this step

8

Step 8: Seal It and Set It Out

6:59
Step 8: Seal It and Set It Out - How to Make a Mosaic Stepping Stone

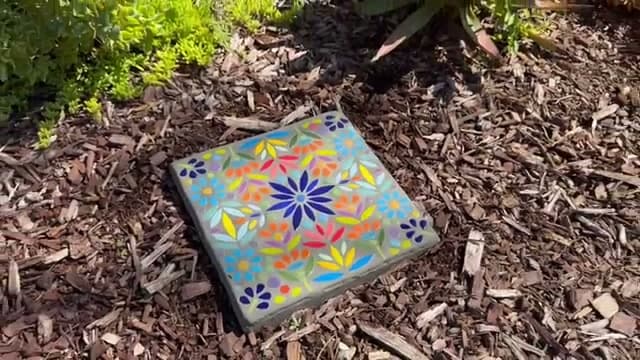
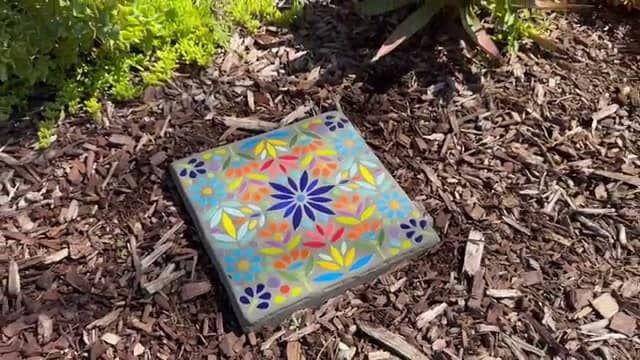
Let the mosaic cure for 24 to 48 hours, then brush on a thin coat of sealer. Give it a minute, wipe off the extra, and add a second coat if you like, letting it dry in between. The sealer is what lets your stone shrug off rain and sun for years. Set it into a garden bed or along a path and enjoy. You made a mosaic stepping stone with zero tile cutting.

Products used in this step

Keep going

How to Make a Mosaic Suncatcher

10 steps · about 9 minutes

Products Used

☐ The Checklist

How to Make a Mosaic Stepping Stone

Tools
7
Materials
8
Steps
8
Video
7 min

Tools we recommend

Your Guide

mosaicsbymaricela

As an Amazon Associate we earn from qualifying purchases. Links on this page may be affiliate links - clicking them and buying doesn't change your price, but helps support ShowMeStepByStep.

Tags

Sunday How-To

New crafts tutorials, every Sunday

One short email with the week's best step-by-step guides. Free, no spam, unsubscribe anytime.

Test your knowledge

Did the lesson stick? Find out in 2 minutes.

5 quick questions covering what you just read. No signup, no score saved — just a gut check.

Quick reference

Key takeaways from How to Make a Mosaic Stepping Stone

5 questions, answers, and one-line explanations. Tap to expand.

  1. 1.What is the base of the stepping stone?

    Answer: A plain concrete paver

    A store-bought concrete paver gives the mosaic a weatherproof foundation.

  2. 2.How do you keep the tile design together while moving it onto the paver?

    Answer: Sandwich it in contact paper

    Contact paper holds the whole layout as one sheet until it is set.

  3. 3.What holds the tiles onto the paver?

    Answer: Thin-set mortar

    Thin-set mortar is the outdoor-rated adhesive that grips the tiles.

  4. 4.Why does this project skip the tile cutter entirely?

    Answer: It uses pre-cut ceramic pieces

    Pre-cut pieces mean beginners and kids can lay the design with no cutting.

  5. 5.What makes the finished stone weatherproof?

    Answer: Grouting and sealing

    Grout fills the gaps and a sealer locks it against rain and frost.

Did this work for you?

What's next

Related collections

Curated theme pages that include this tutorial.

Weekly Digest

Liked this crafts tutorial?

Pick the categories you want to hear about. Weekly digest of new step-by-step tutorials. No spam, easy unsubscribe.

Send me tutorials about

We only email about new tutorials. Easy unsubscribe anytime.