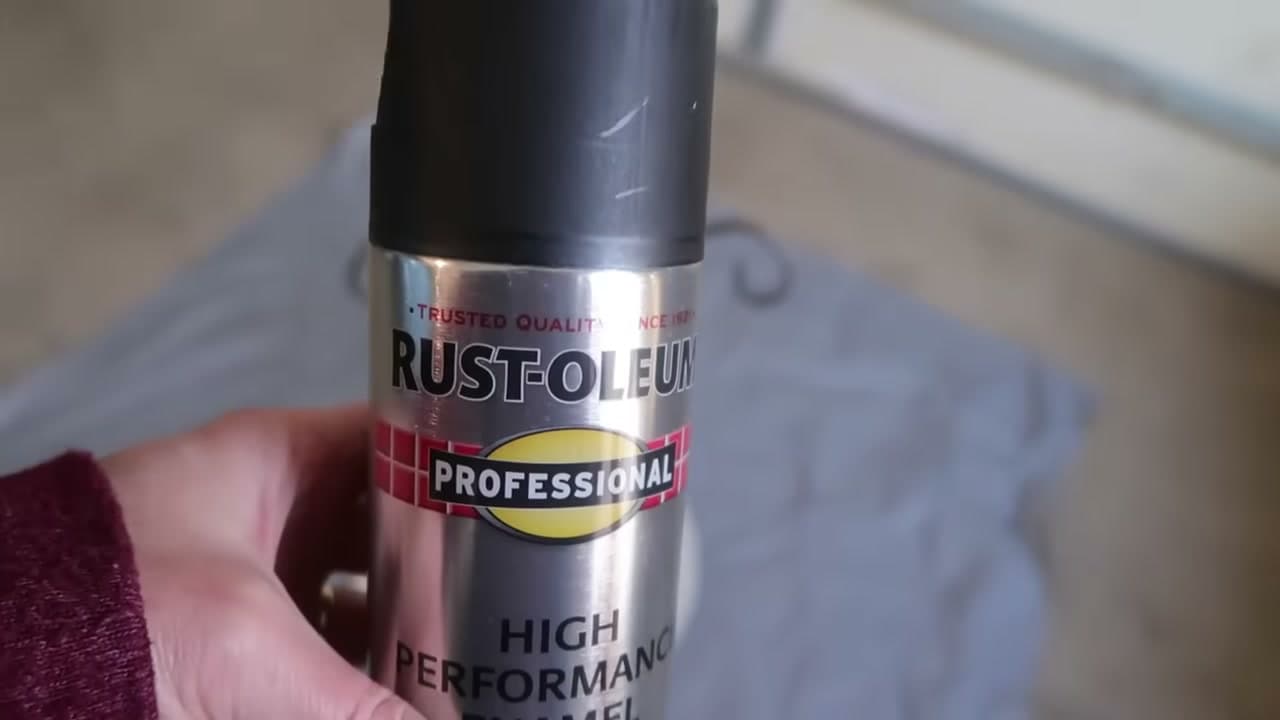
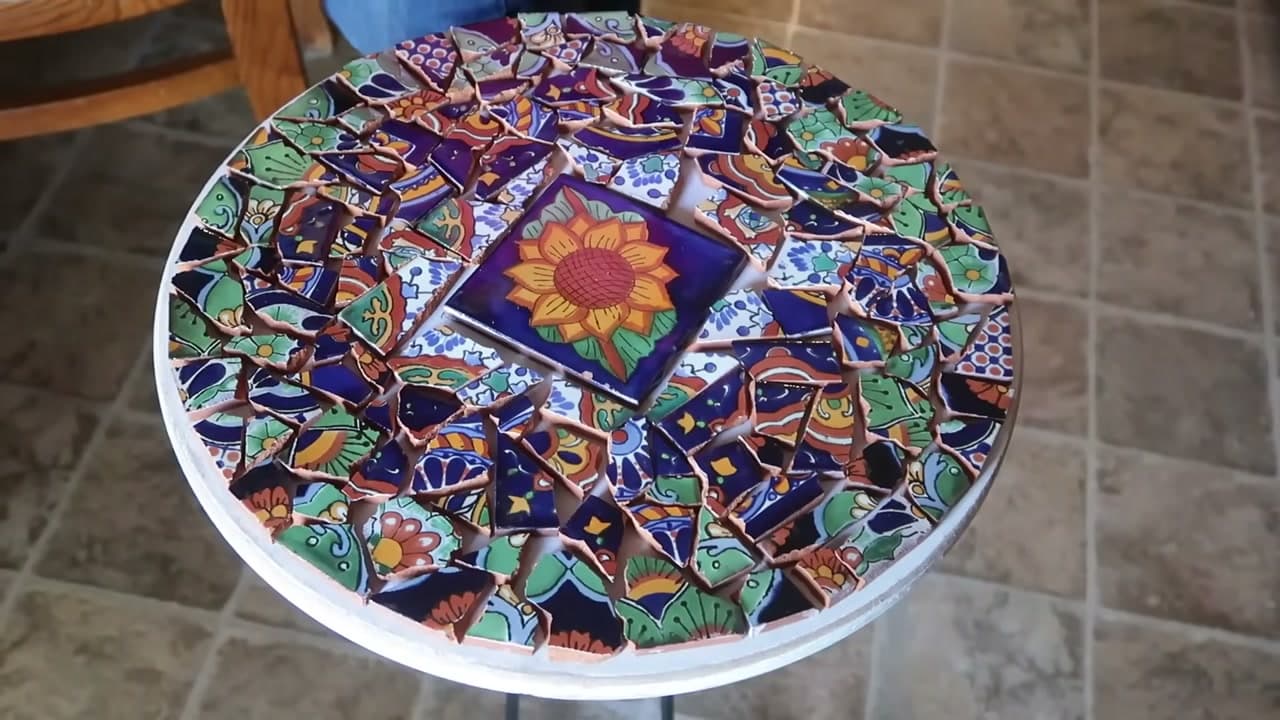
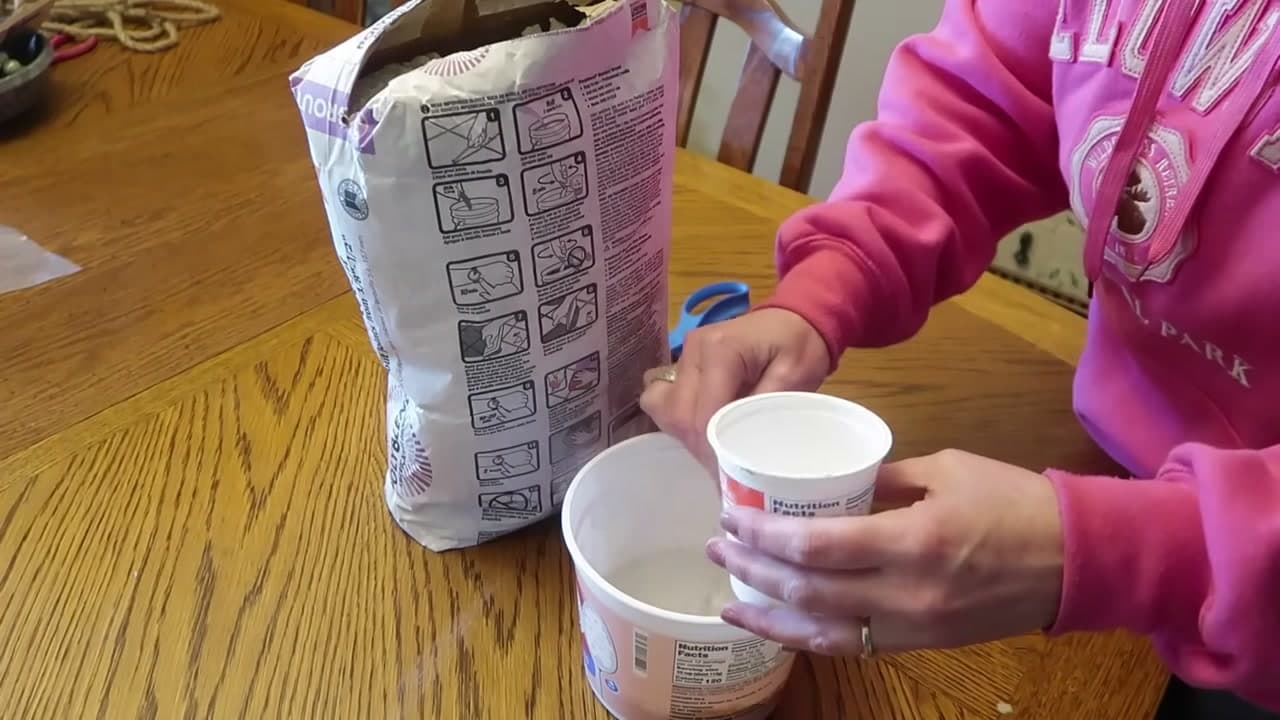
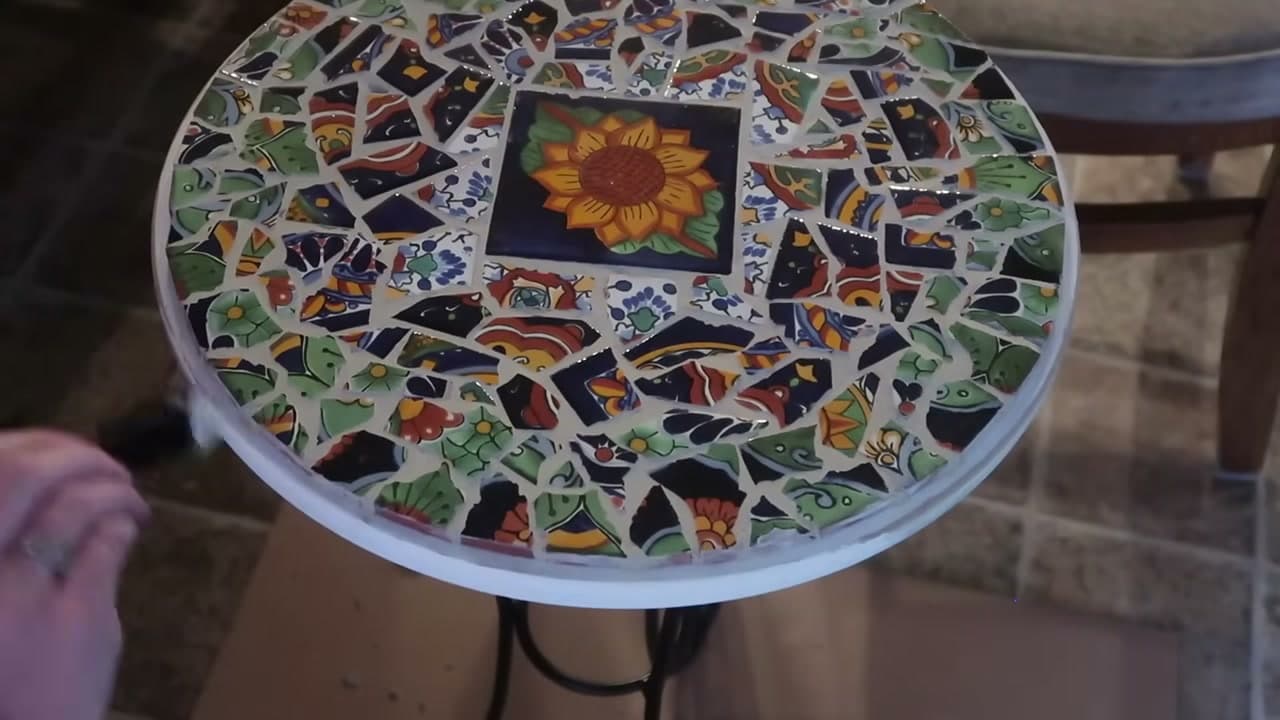
A three-dollar thrift table with iron legs, a box of broken Mexican Talavera tile, a bottle of Weld Bond and a bag of sanded grout. That is the whole shopping list for the DIY tile side table Chantel builds in this video from Lovin' Life's Journey DIY. It was her first mosaic, and she says so up front. Every snag she hit is one you can skip.
The steps below cover the build. This part is what to decide before you break the first tile: which table, where the tile comes from, glue versus thinset, and what to do about the edge, the hardest question in the whole project.
Pick a flat-top table, then decide about the edge
Almost any small, sturdy table works. What matters is the top: flat, solid, no bubbling veneer. A light sanding takes care of small ridges. Skip anything that wobbles, since grout lines crack when a table flexes.
A top with a raised lip gives you a tray to tile into and hides the outer cut edges. A flat top like Chantel's leaves them exposed. Her fix: paint the rim with ivory chalk paint, stop the tile a quarter inch short of it, and glue Dollar Tree nautical rope into that gap as a border. Wood trim or small square tiles set on edge do the same job.
Tile sources, and how to break tile safely
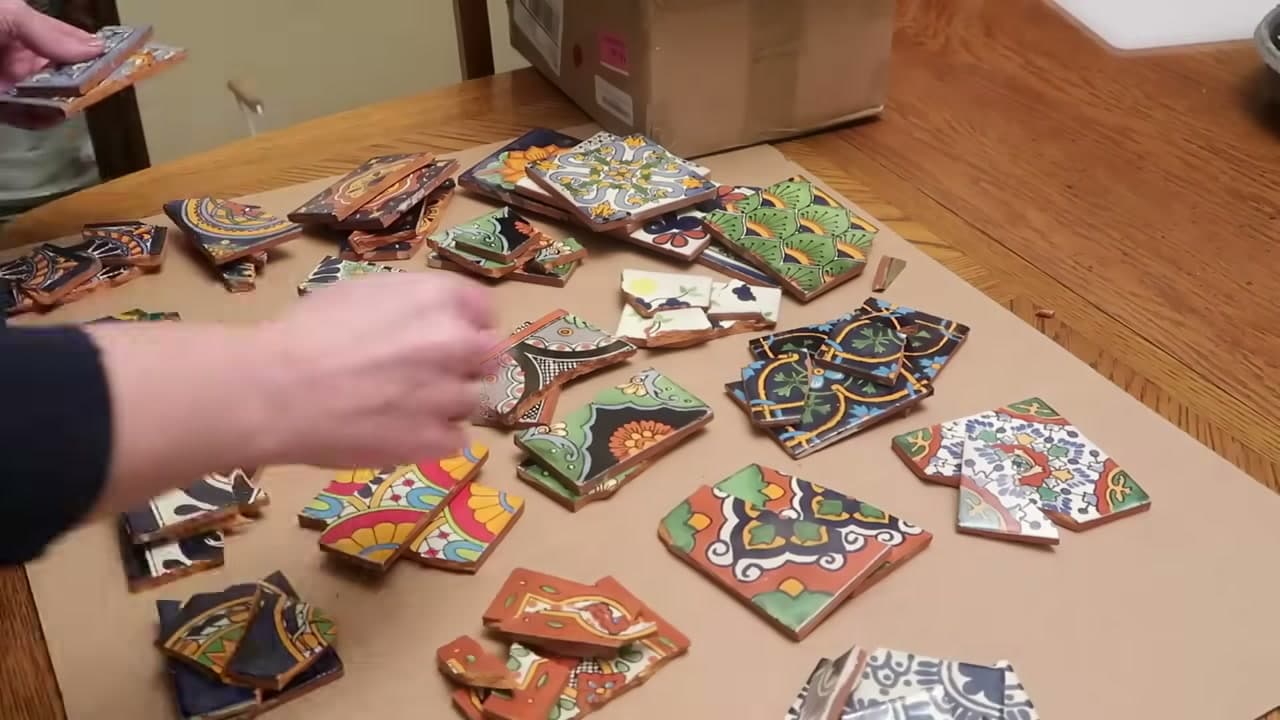
Thrift-store plates and chipped dishes are the classic source and cost almost nothing. Chantel could not get to a thrift store when she filmed, so she ordered a box sold as broken Talavera tile. Most of it arrived in pieces, a few came whole, and one became the center focal tile. Sort by color first and the layout goes faster.
A gallon zip bag keeps shards contained, but the surface under it matters more. A cutting board absorbs the blow and the tile refuses to break. Concrete works: take it to the garage floor, tap with the edge of the hammer, and wear safety glasses. For controlled shapes, tile nippers beat a hammer every time.
Glue or thinset
Weld Bond is a thin white adhesive that grabs within five minutes, dries in an hour and cures in a day. It suits an indoor table and is less messy than mortar. The catch Chantel found the hard way: thin glue gives you no room to level. Each piece sits at its own thickness, so mixing thick and thin tile leaves a lumpy top. She got around it by matching thicknesses.
Thinset or mastic solves that. A thicker bed lets you press every piece down to the same height, the standard for dishes, mixed tile, or anything outdoors. For a first mosaic tile table top, glue is fine. Either way, lay the design out dry and trace the center tile in pencil so it cannot drift.
Grout color, gap width and sealing
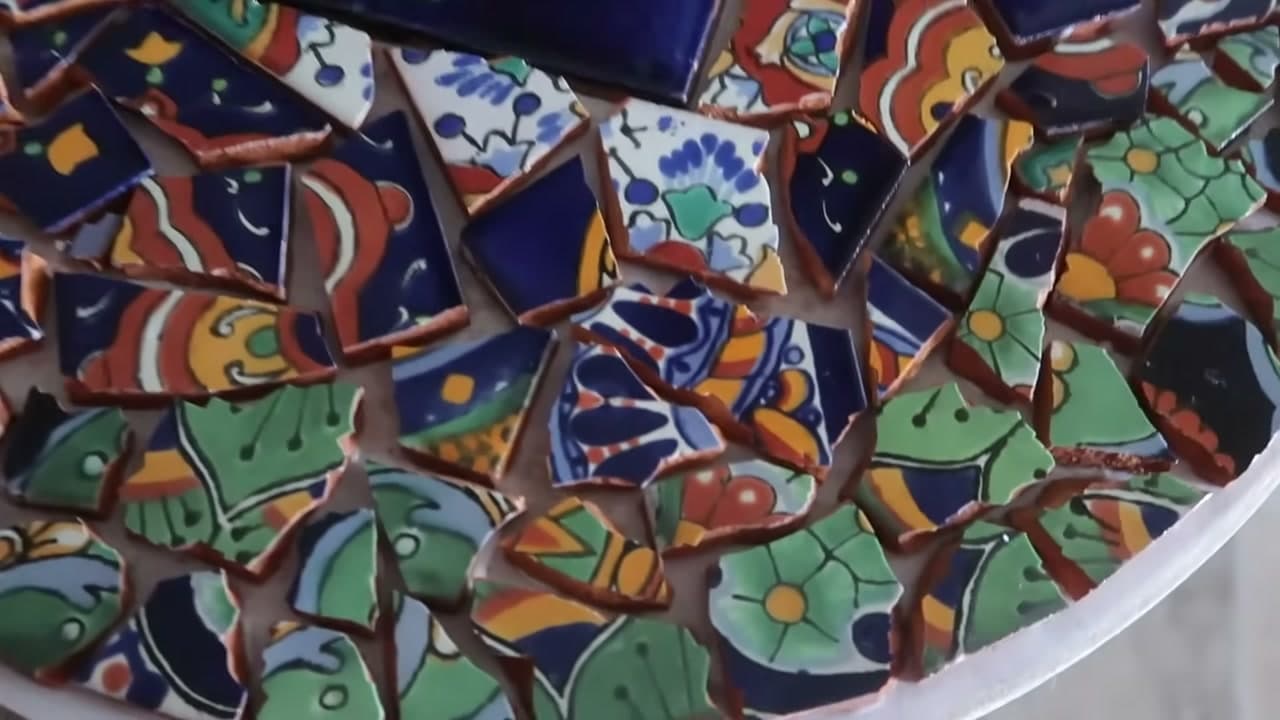
Gaps wider than an eighth of an inch need sanded grout, because unsanded shrinks and cracks across a wide joint. Chantel picked antique white for a reason worth stealing: grout that contrasts with the tile makes every color pop, while dark grout on dark tile flattens the design. Mix it to the consistency of frosting, let it rest ten minutes, then stir again.
She piped grout in with a disposable cake-decorating bag and spread it with a putty knife because her grout float had gone missing. Tidy on a small top, but her hand was tired by the end, so use a float on anything bigger. How to wipe without pulling grout back out of the joints is covered in how to grout a mosaic. Once cured, a coat of grout sealer keeps coffee rings out of the lines.
Indoor or outdoor
This is an indoor piece and the materials show it. Glue, a painted wood top and a rope border will not survive rain and freeze cycles. For a patio table, switch to thinset and exterior grout, then follow how to seal a mosaic for outdoor use.
If a whole table feels like a lot for a first try, the same break, glue and grout method makes a mosaic coaster in an afternoon. Chantel's own verdict on the table: time-consuming, and she loved it.