1
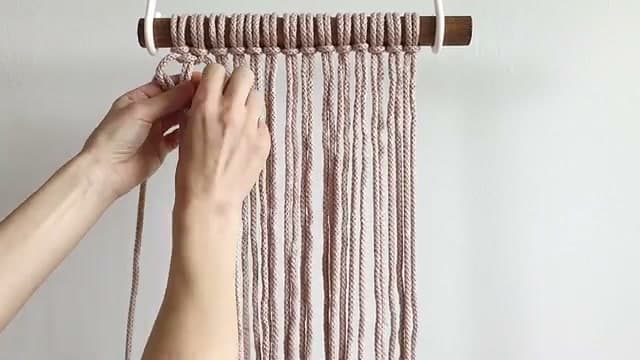
Mount Cords with Larks Head Knots
0:42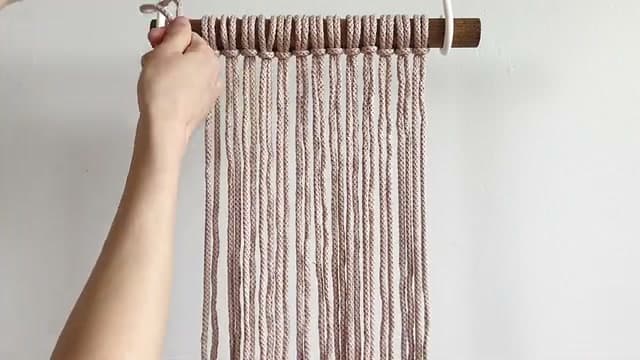
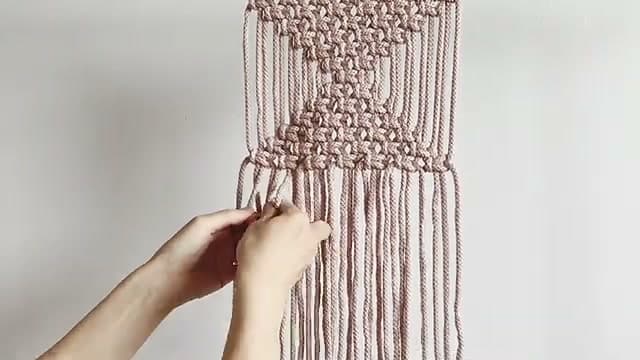
Fold each cord in half and loop it over the wooden dowel. Pull the ends through the loop and tighten. This is the larks head knot.
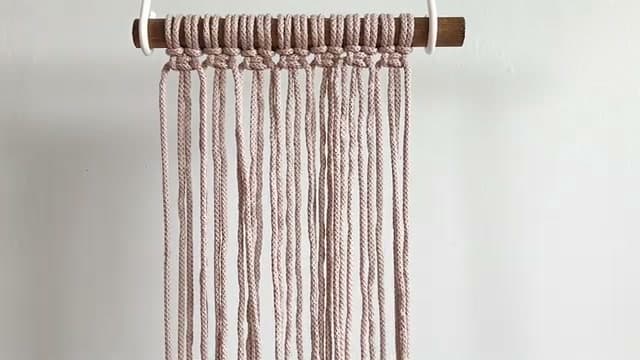
Cut cords in graduated lengths - shorter on the outside, longest in the center. The center cords do the most knotting and need extra length. Mount them symmetrically: two of each length on each side.