How to Make Hamburger Patties in 7 Steps

CookingEasy4:077 steps

By ShowMeStepByStepPublished Updated

Based on a video by Kojo Nnamdi.

A great burger starts before the grill even gets lit. Mark Bucher, who built BGR The Burger Joint, walks through the four moves that turn a tray of ground beef into a patty that stays juicy. Pick the right ratio of fat to lean. Shape it like you mean it but don't squeeze the life out of it. Press a dimple in the center. Salt it at the right second.

You will not need a press, a scale, or a mixing bowl. You need ground chuck, kosher salt, fresh pepper, and a square of parchment paper. Five minutes of work and you have four restaurant-quality patties chilling in the fridge, ready to hit the heat.

This tutorial covers the patty itself. When you are ready for the grill, head over to our how to grill burgers guide for the rest. The forming technique here is the foundation under every Memorial Day burger that doesn't end up shaped like a hockey puck.

Step-by-Step Guide

1

Step 1: Start with 80/20 Ground Chuck

0:25
Step 1: Step 1: Start with 80/20 Ground Chuck

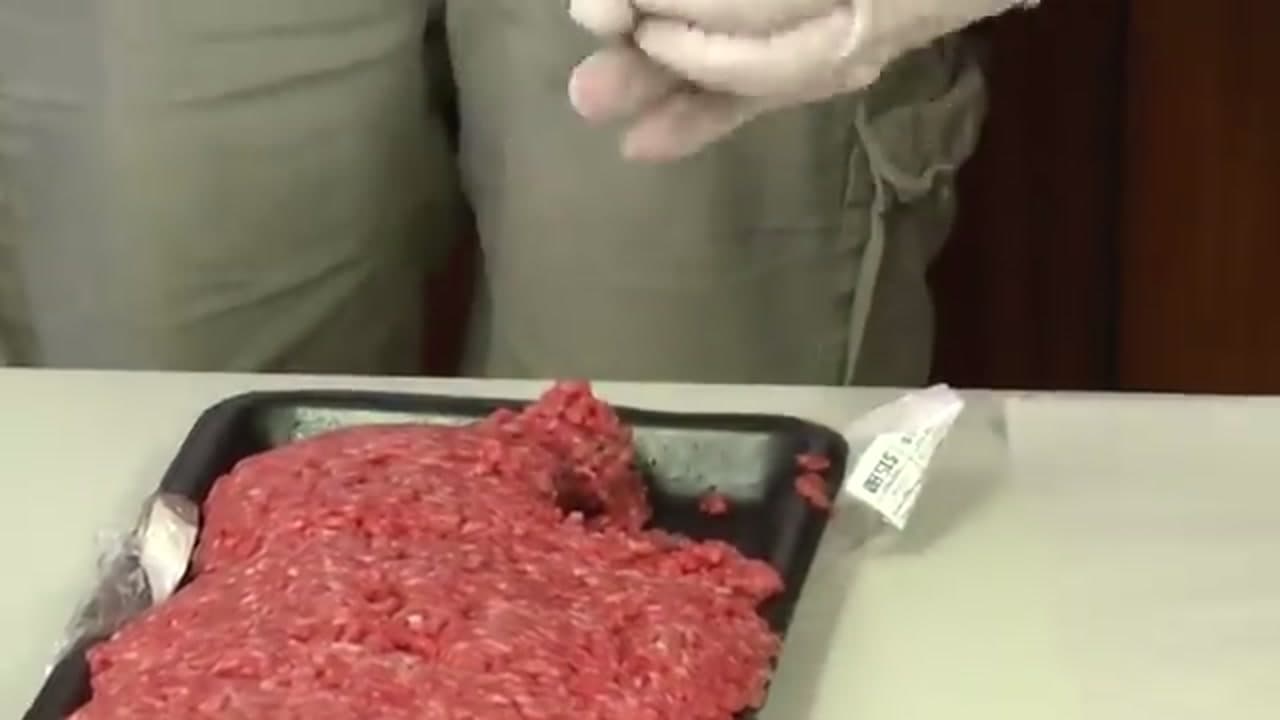
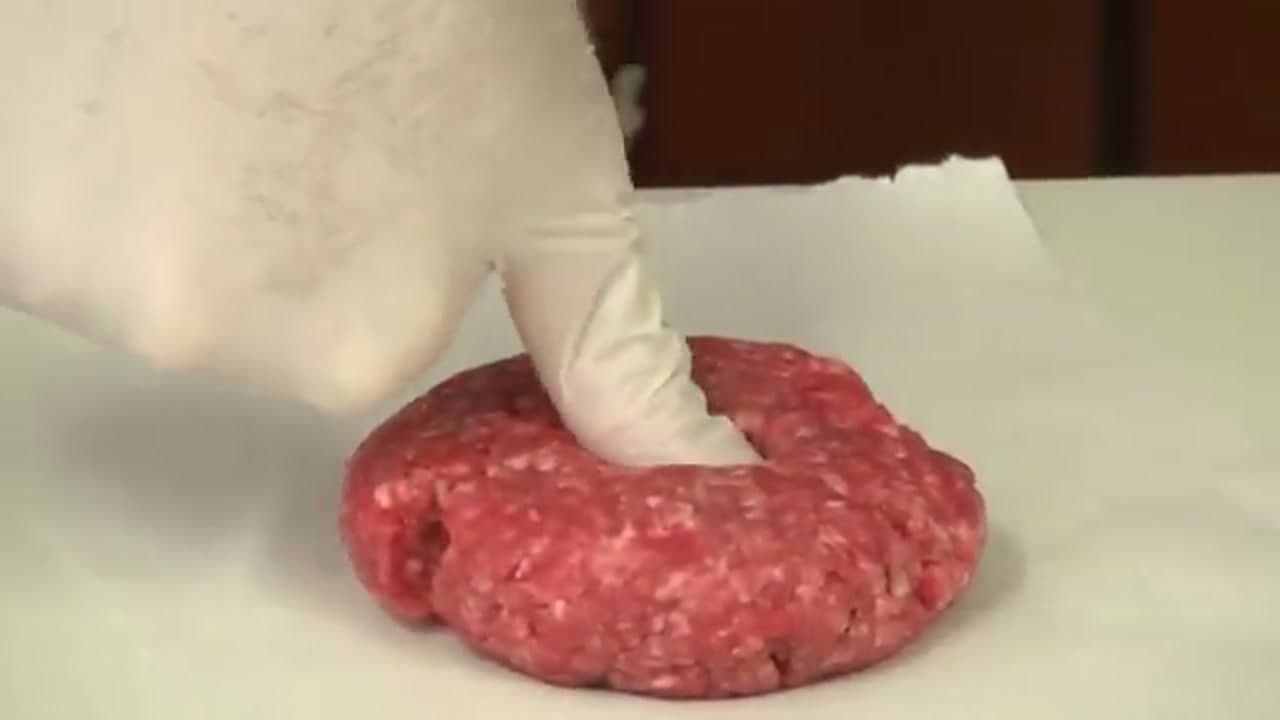
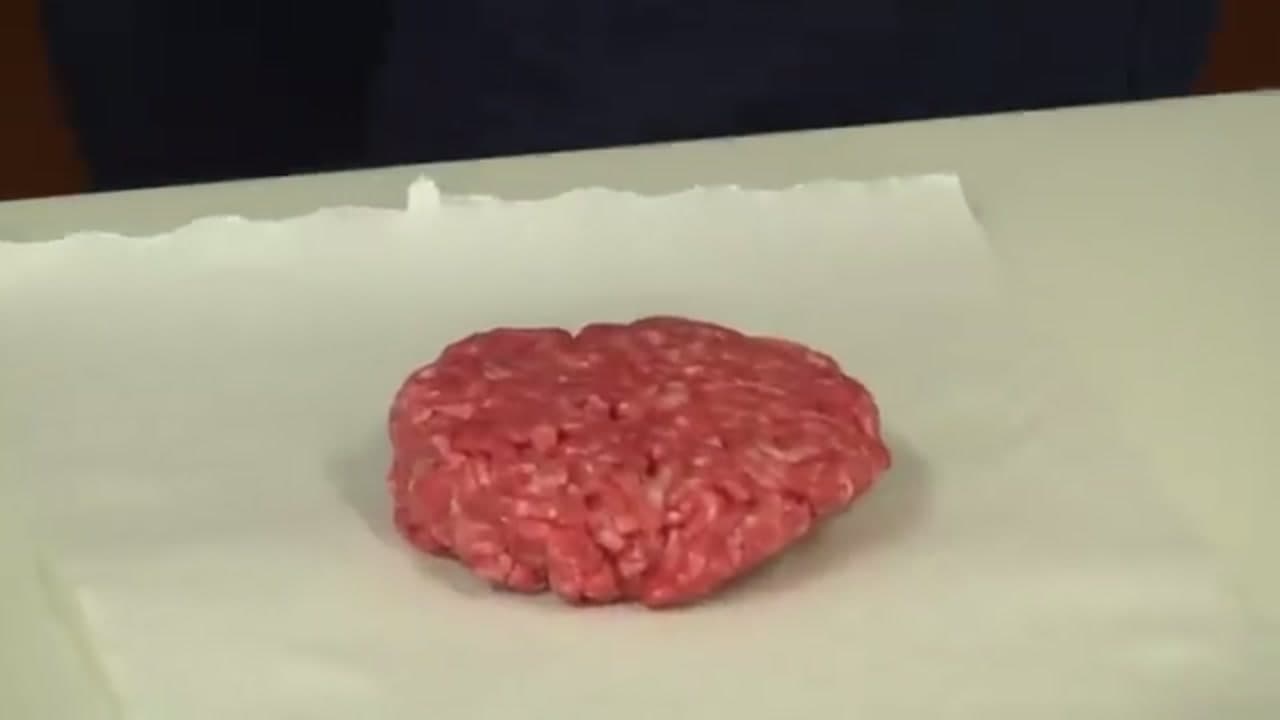
Lean ground beef does not make a good burger. You want at least 20 percent fat in the mix and 25 percent is even better. Look specifically for ground chuck at the meat counter. Chuck has the right balance of flavor and fat to keep the patty juicy on a hot grill. Lay the tray on the counter and divide the meat into four equal piles by eye. A pound makes four quarter-pound patties.

Tip

Ask the butcher to grind chuck fresh if the pre-packaged trays look pale or watery. Fresh-ground meat holds a patty shape better.

2

Step 2: Form Each Patty Gently

0:30
Step 2: Step 2: Form Each Patty Gently

This is where most people overdo it. Cup the meat in your palms and shape it into a loose ball, then flatten it into a disc about three quarters of an inch thick. Don't pack the meat. Don't slap it between your hands. The more you compress ground beef, the tighter the fibers get, and tight fibers cook into a dense puck that loses its juice. Loose and gentle is the goal.

Tip

If the meat is sticking to your hands, run them under cold water first. Cold hands also keep the fat from smearing.

3

Step 3: Press a Thumbprint Divot in the Center

1:10
Step 3: Step 3: Press a Thumbprint Divot in the Center

Lay the patty flat on parchment paper and press your thumb straight down into the middle until you make a noticeable indent. That divot is the whole game. As the burger cooks, the patty contracts and tries to ball up like a golf ball. The divot gives the meat somewhere to go, so it stays flat and cooks evenly edge to edge. Without it, you end up with a tall round burger that no bun will close around.

Tip

Go deeper than feels right. A shallow divot disappears the second the meat starts to shrink on the grill.

Products used in this step

4

Step 4: Chill the Patties Before Grilling

0:40
Step 4: Step 4: Chill the Patties Before Grilling

Slide the patties onto a parchment-lined tray and put the whole tray in the refrigerator for 15 to 20 minutes before the grill is hot. The chill firms the fat back up after the warmth of your hands softened it, so the patties hold their shape when they hit the grates. They also brown better on the outside without overcooking the inside, because the cold edge gives the meat a head start before the center catches up.

Tip

If you are prepping ahead, the patties keep covered in the fridge for up to a day. Don't stack them or the divots flatten.

5

Step 5: Salt Right Before They Hit the Grill

1:40
Step 5: Step 5: Salt Right Before They Hit the Grill

Most home cooks under-season their burgers. Don't be shy with the salt. Pinch kosher salt from a few inches above the patty so it scatters evenly across the surface, and only do this in the last minute before the patty goes on the grill. Salt pulls moisture out of raw meat, so seasoning ten minutes ahead leaves you with a dry burger. Salt seconds before the grill keeps every drop of juice inside.

Tip

Season one side, lay that side down on the grill, then season the top side right after. Same logic for both faces.

Products used in this step

6

Step 6: Crack Black Pepper Generously on Top

2:00
Step 6: Step 6: Crack Black Pepper Generously on Top

Twist a pepper mill back and forth above the salted patty and lay down more pepper than feels reasonable. A fair amount falls off when the meat hits the grates, so what looks like too much in the kitchen is the right amount on the plate. Fresh-ground pepper has a sharper bite than the pre-ground stuff in a shaker, and a good burger can carry the heat. If you only ever season with salt and pepper, you are not missing anything.

7

Step 7: Ready for the Grill

2:25
Step 7: Step 7: Ready for the Grill

The finished patty has a clean divot in the center, an even crust of salt and pepper on top, and enough loose texture that you can see the meat fibers. From here it goes straight onto a hot grill, seasoned side down, and you do not touch it again until it is time to flip once. Head over to our how to grill burgers guide for the rest of the cook, the doneness touch test, and the rest-before-the-bun trick.

Tip

Take the patties out of the fridge while the grill heats so they shed the worst of the chill. A patty that goes from cold fridge to hot grill stalls in the middle and steams instead of searing.

Products used in this step

Products Used

❖ The Recipe

How to Make Hamburger Patties in 7 Steps

American
Serves
Makes 4 quarter-pound patties
Prep
10 min
Cook
20 min
Total
30 min

Ingredients

3 items
  • 1 lbground chuck80/20 fat-to-lean ratio, 25% fat is even better
  • to tastekosher saltapply only right before grilling, never in advance
  • to tastefreshly ground black pepperbe liberal, some falls off during cooking

Nutrition

estimated · per servingEstimated from the ingredient list, not measured. Actual values vary by brand, preparation, and serving size. Not a substitute for measured nutrition data.
Calories
270kcal
Protein
19g
Fat
22g
Carbs
0g
Sodium
80mg

Method

  1. 1
    Step 1: Start with 80/20 Ground Chuck. Lean ground beef does not make a good burger.
  2. 2
    Step 2: Form Each Patty Gently. This is where most people overdo it.
  3. 3
    Step 3: Press a Thumbprint Divot in the Center. Lay the patty flat on parchment paper and press your thumb straight down into the middle until you make a noticeable indent.
  4. 4
    Step 4: Chill the Patties Before Grilling. Slide the patties onto a parchment-lined tray and put the whole tray in the refrigerator for 15 to 20 minutes before the grill is hot.
  5. 5
    Step 5: Salt Right Before They Hit the Grill. Most home cooks under-season their burgers.
  6. 6
    Step 6: Crack Black Pepper Generously on Top. Twist a pepper mill back and forth above the salted patty and lay down more pepper than feels reasonable.
  7. 7
    Step 7: Ready for the Grill. The finished patty has a clean divot in the center, an even crust of salt and pepper on top, and enough loose texture that you can see the meat fibers.

Your Guide

Kojo Nnamdi

As an Amazon Associate we earn from qualifying purchases. Links on this page may be affiliate links - clicking them and buying doesn't change your price, but helps support ShowMeStepByStep.

Tags

Related Tutorials

Weekly Digest

Liked this cooking tutorial?

Pick the categories you want to hear about. Weekly digest of new step-by-step tutorials. No spam, easy unsubscribe.

Send me tutorials about

We only email about new tutorials. Easy unsubscribe anytime.