1
Step 1: Set Up the Sous Vide Bath at 90 Degrees Celsius
0:40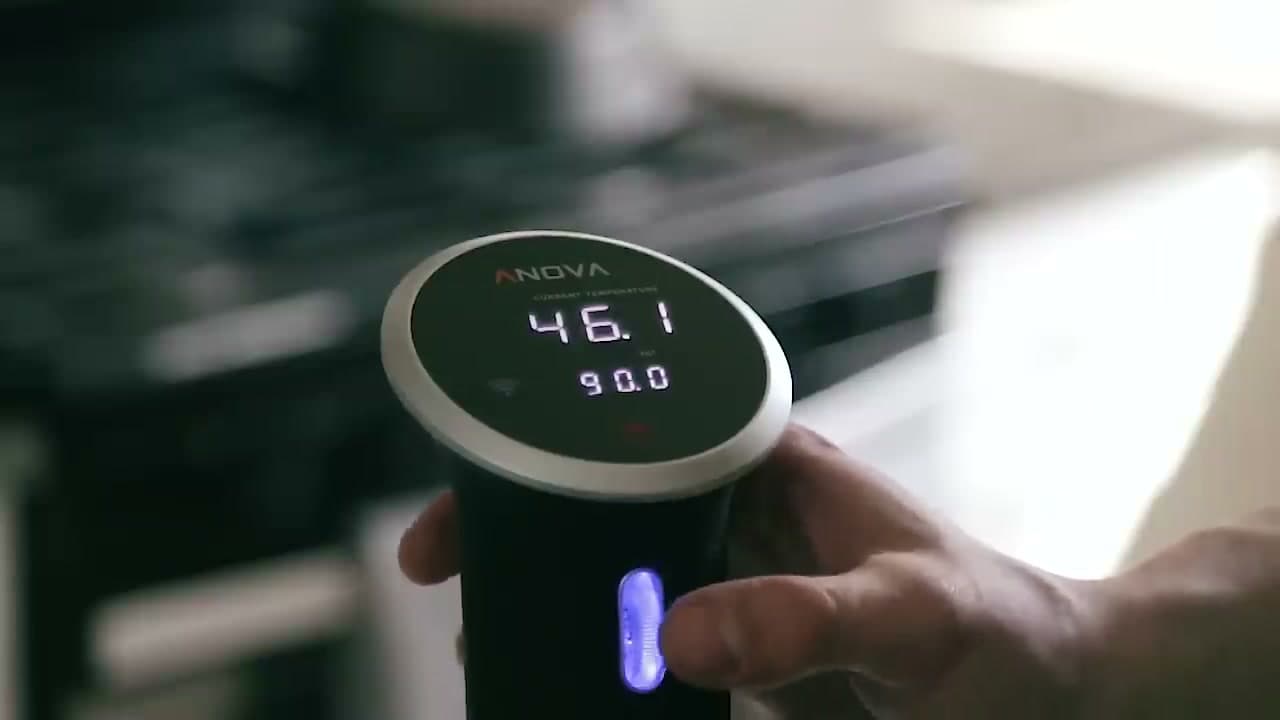
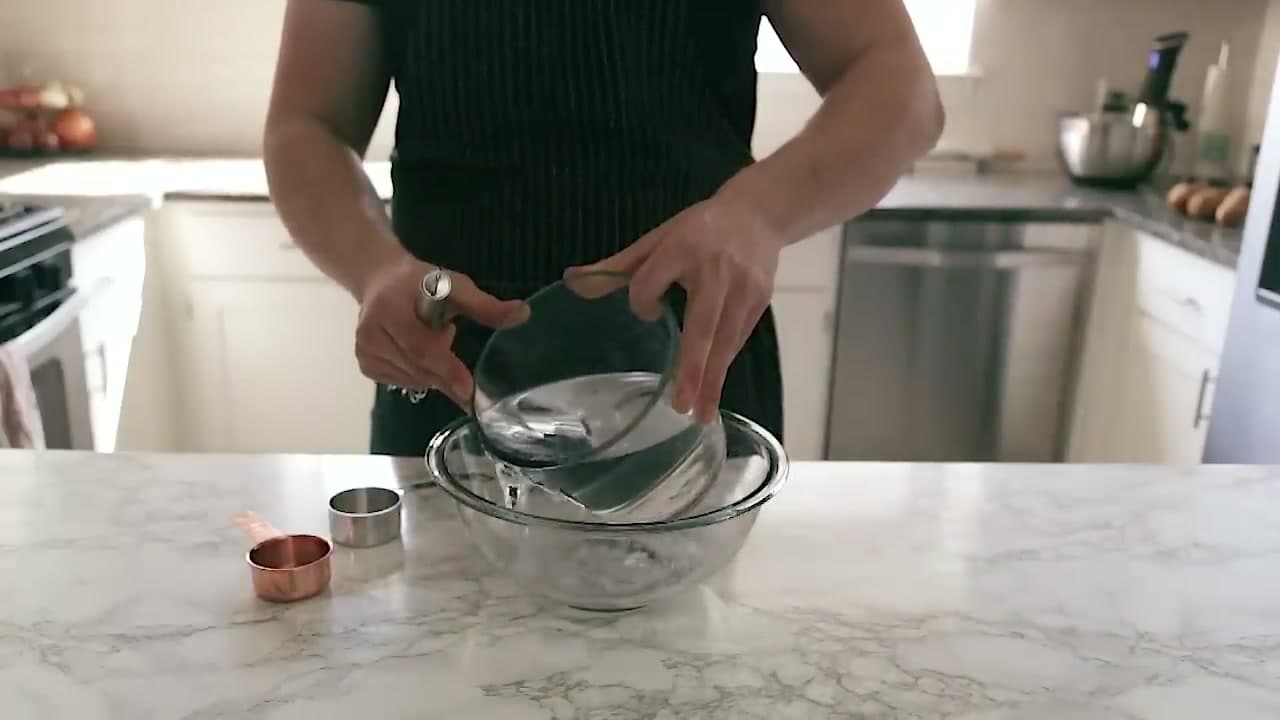
Clip your immersion circulator to the side of a large pot or polycarbonate tub, fill it with warm tap water past the minimum line, and set the temperature to 90 degrees Celsius (194 degrees Fahrenheit). Give it ten or fifteen minutes to come up to temp while you work on the brine and the potatoes. Ninety degrees is the sweet spot - hot enough to cook the potato all the way through, but low enough that the exterior never browns, which is what lets the second fry crank up to 375 without burning the outside.
Tip
No sous vide? You can skip this step and the bath, and instead boil the cut fries in the same brine for about ten minutes until just tender. The texture is close but not identical - the sous vide version snaps a little harder.