1
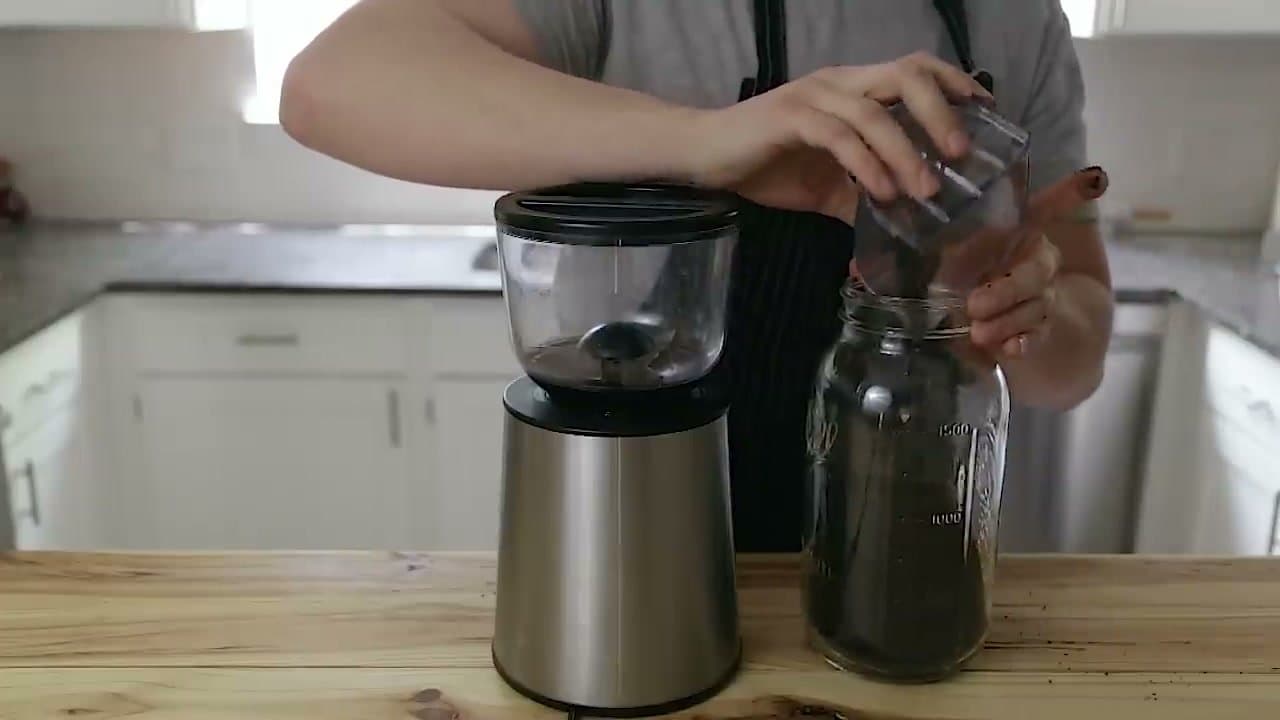
Step 1: Grind 80g of beans on a coarse setting
1:22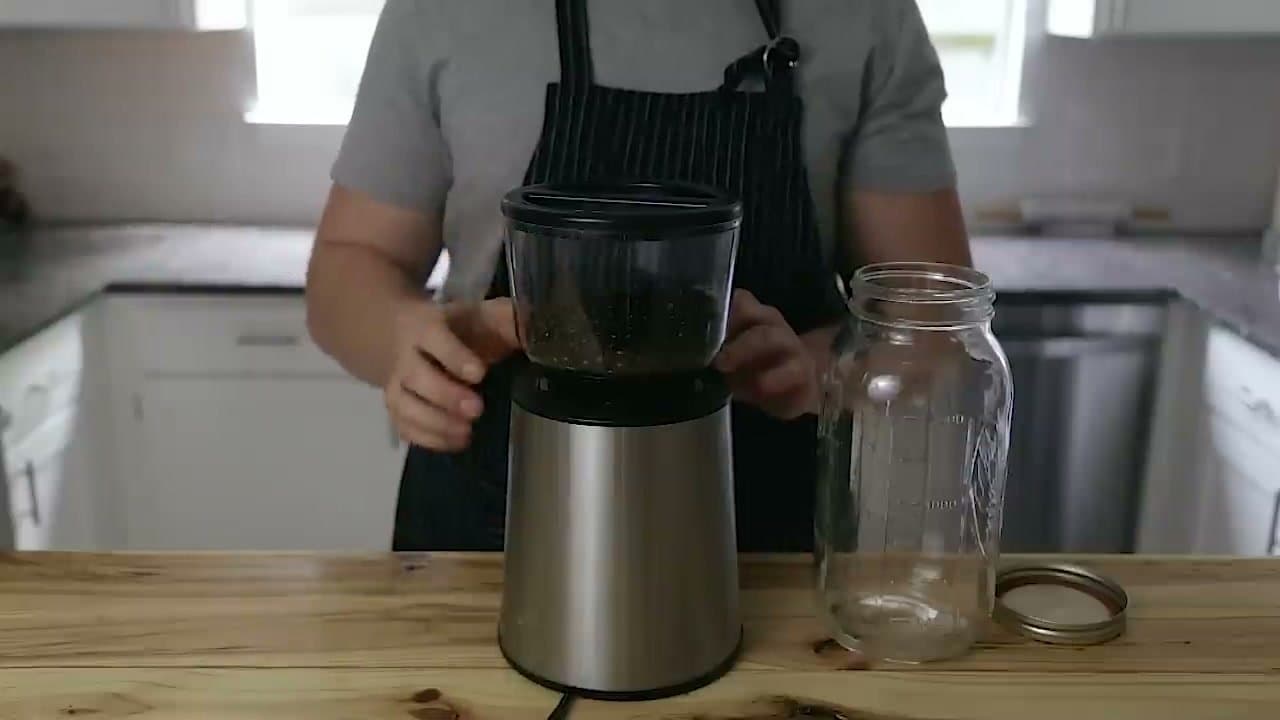
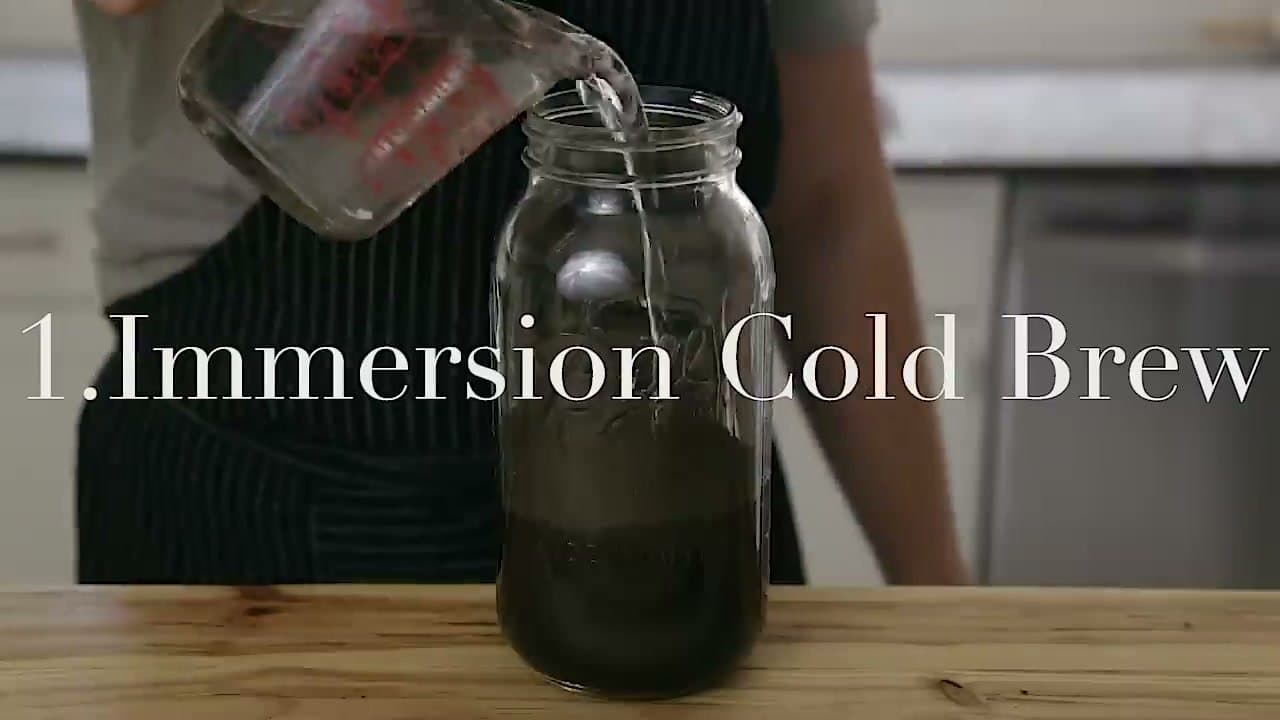
Grind 1.5 cups (80g) of beans to a coarse texture - aim for something close to coarse cornmeal or kosher salt. Anything finer turns muddy and bitter during the long steep, and a paper filter will clog if the grind is too fine.
Use freshly roasted beans if you can. Joshua notes that some sites say older coffee tastes better for cold brew, but that is up to your palate.
Tip
If your home grinder cannot do a true coarse grind, ask the shop where you buy your beans to grind a bag for French press - that is the same setting.