How to Cook Jasmine Rice on the Stove

CookingEasy7:598 steps5-question quiz at endBrowse more →

By ShowMeStepByStepPublished Updated

Based on a video by Pailin's Kitchen.

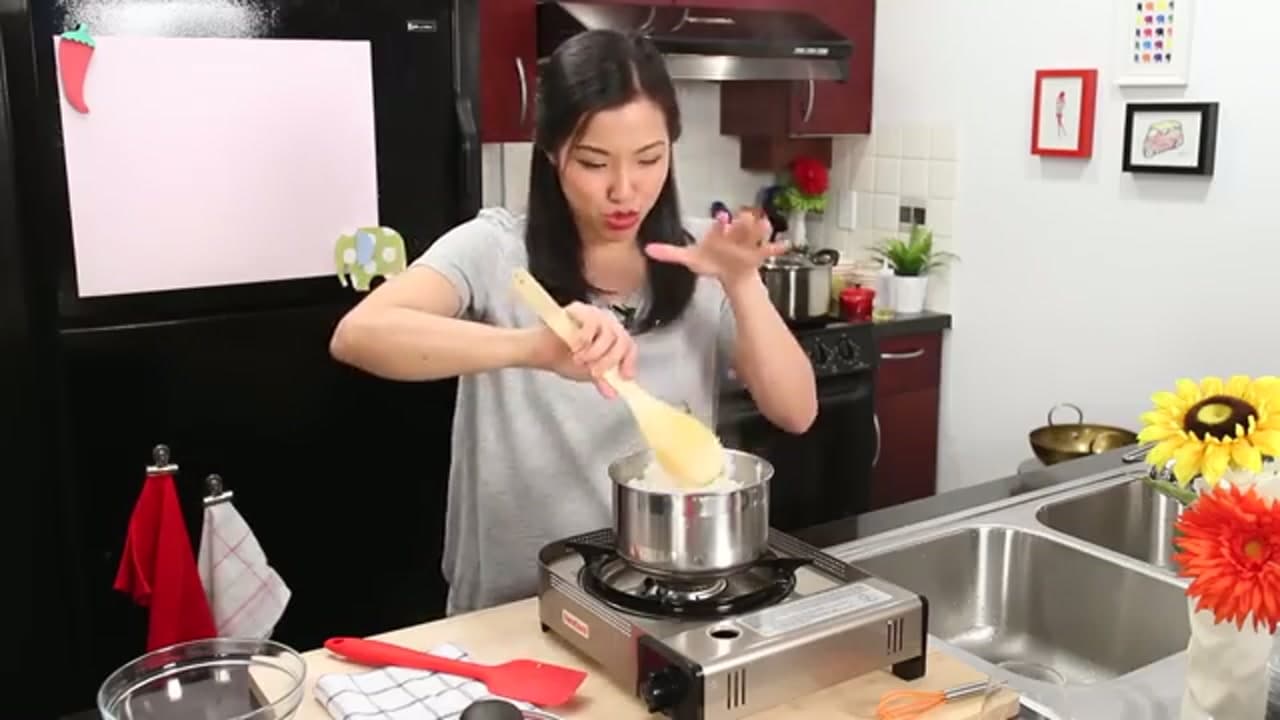
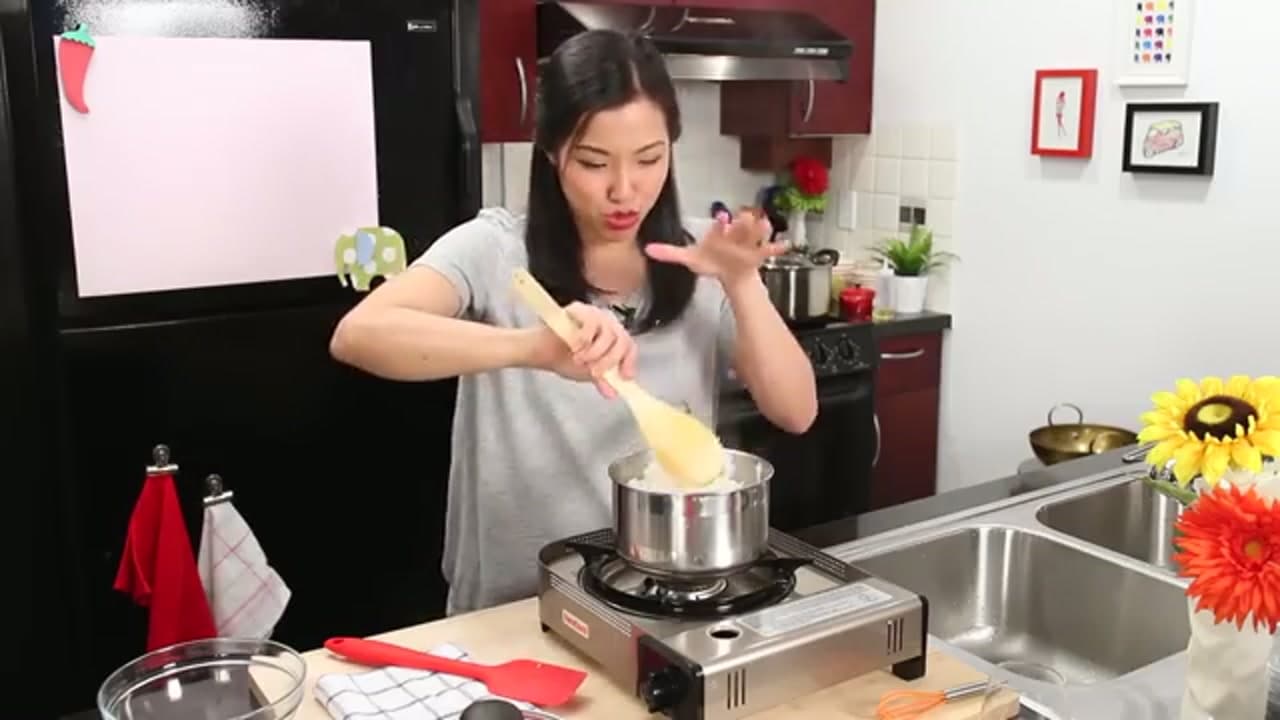
You do not need a rice cooker to make fluffy jasmine rice. A regular pot and a few small tricks get you there every time. This walkthrough follows Pailin of Hot Thai Kitchen, who cooks jasmine rice the way it is done in Thai kitchens.

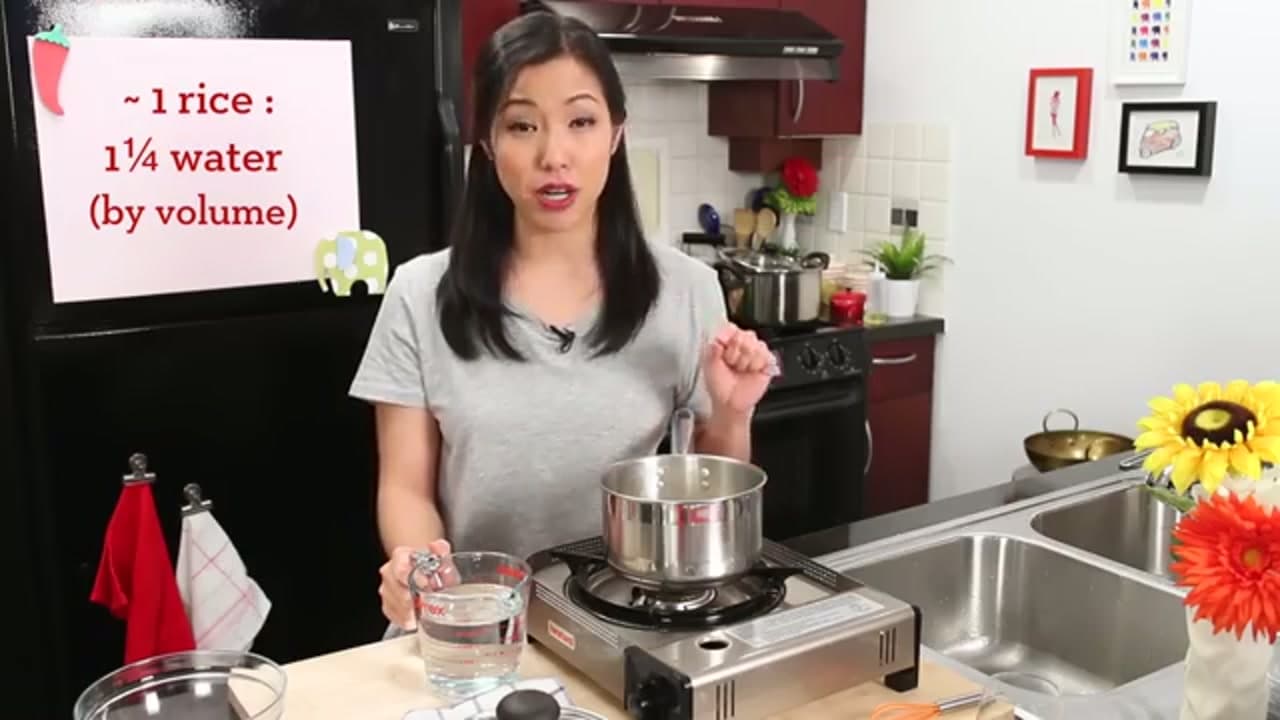
The whole thing hinges on four things: start with good rice, rinse off the loose starch, use about 1 part rice to 1 and 1/4 parts water, and turn the heat as low as it will go once it simmers. That last part is what keeps the bottom from scorching.

Quick answer

Rinse 1 cup of jasmine rice until the water runs mostly clear, drain it well, and add it to a pot with 1 and 1/4 cups of water. Bring it to a simmer over medium heat, then drop the heat to its lowest setting, cover, and cook 15 to 20 minutes. When the surface looks still and the bottom of the pot is dry, fluff and serve.

Step-by-Step Guide

1

Start with Good Rice and the Right Pot

1:02
Step 1: Start with Good Rice and the Right Pot

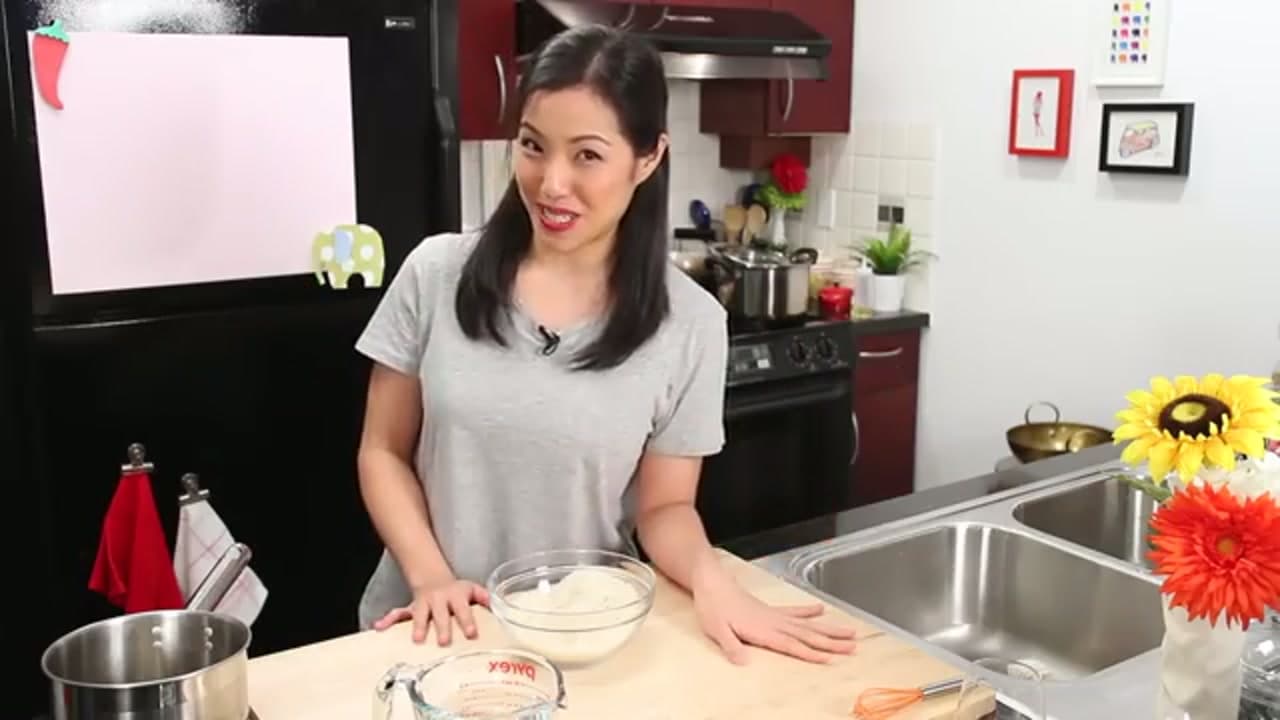
Good rice matters more than anything you do later. Real jasmine rice smells like jasmine right out of the bag, so give it a sniff when you open it. Skip anything labeled instant or boxed. For the pot, pick one with a thick, heavy bottom so the heat spreads evenly and does not create hot spots. Do not go too big either. The rice roughly triples in volume as it cooks, so a medium pot is plenty for a cup or two.

Tip

A thin pot is the number one reason rice burns on the bottom. If all you have is a thin one, keep the heat even lower.
2

Rinse the Rice

1:58
Step 2: Rinse the Rice

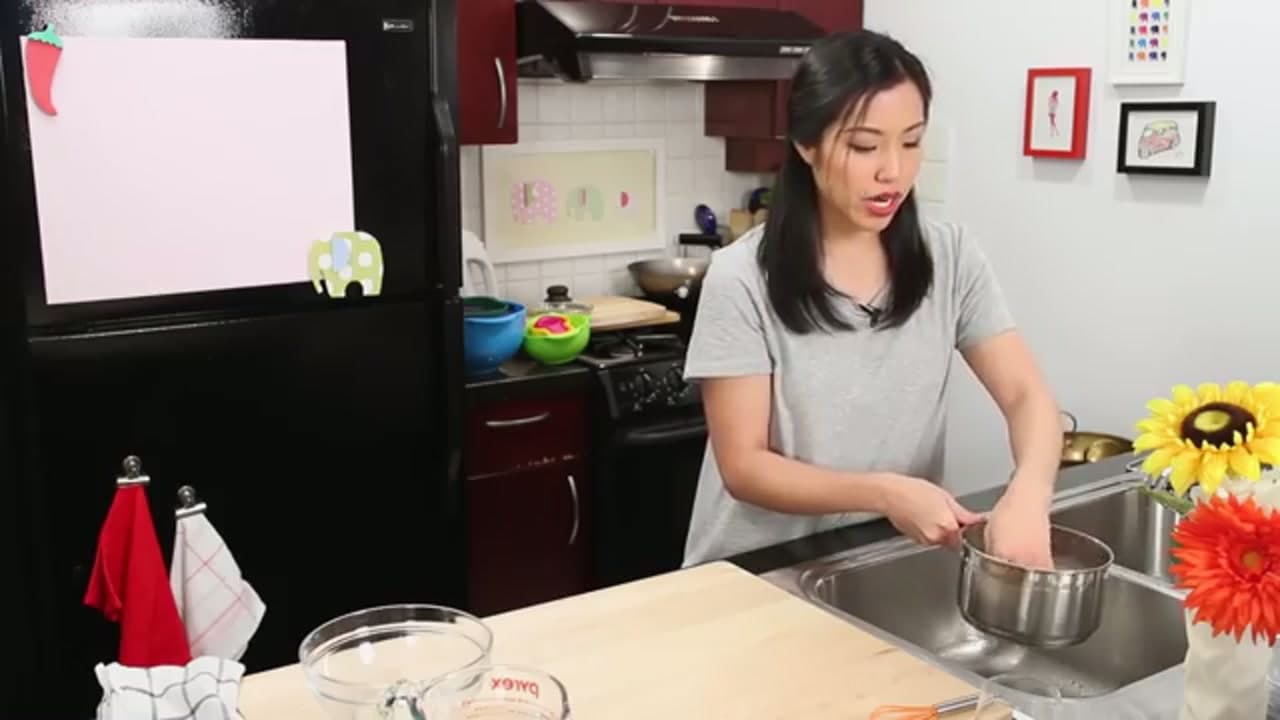
Put the rice in the pot, cover it with cold water, and swish it around with your hand. The water turns cloudy fast. That cloud is loose starch, and if you leave it in, the grains gum together and turn sticky. Pour off the cloudy water, trying not to lose any rice down the drain. For plain jasmine rice served alongside other dishes, two rinses is enough. If you are making fried rice, rinse four or five times until the water runs clear.

Tip

Use cold water, not warm. Warm water starts softening the grains before you even cook them.

3

Drain the Rice Well

2:58
Step 3: Drain the Rice Well

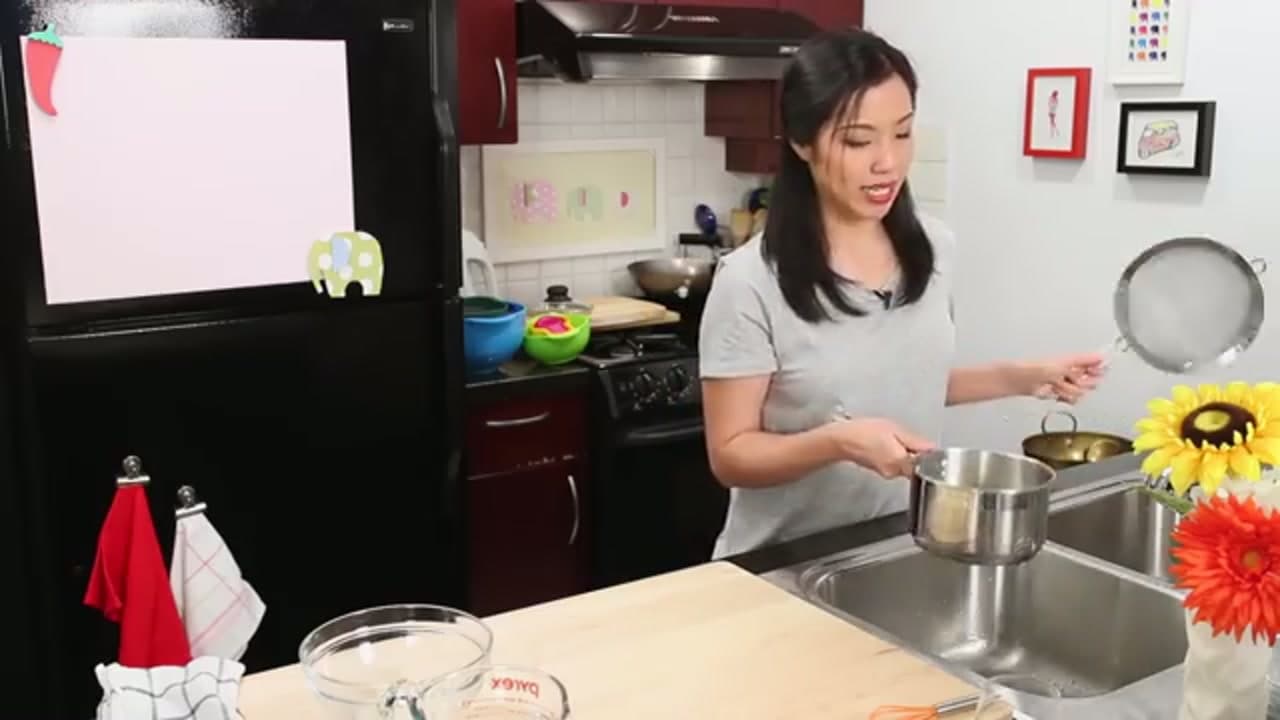
Tip the rinsed rice into a fine-mesh sieve and let it drain. Get out as much water as you can. Any rinse water left clinging to the rice throws off your water ratio, and the ratio is what makes or breaks the batch. A quick shake of the sieve does the trick.

Tip

A fine-mesh strainer keeps the small grains from slipping through the way they do with a colander.

Products used in this step

4

Add Water at the Right Ratio

3:20
Step 4: Add Water at the Right Ratio

Put the drained rice back in the pot and add the water. For jasmine rice, the ratio is about 1 part rice to 1 and 1/4 parts water. If your bag says new crop, use a touch less, since fresher rice is softer and needs less water. When in doubt, start on the low side. You can always add a splash more at the end if it comes out dry, but there is no fixing rice that started with too much water.

Tip

Measure by volume with the same cup for both. That is what the 1 to 1.25 ratio assumes.

5

Bring to a Simmer, Then Drop the Heat

4:10
Step 5: Bring to a Simmer, Then Drop the Heat

Set the pot over medium heat and let it come up to a gentle simmer. If you are in a hurry you can crank it to high to get there faster, but watch it so it does not boil over. The moment it simmers, turn the heat down as low as your burner goes while still keeping soft bubbles. Low and slow is the whole secret here.

Tip

The lower the heat once the water is gone, the more forgiving the timing. High heat scorches the bottom in seconds if you look away.

6

Cover and Cook 15 to 20 Minutes

4:45
Step 6: Cover and Cook 15 to 20 Minutes

Put the lid on and leave the rice alone. No stirring, no peeking every minute. On the lowest heat it takes about 15 to 20 minutes. A rice cooker is really just a pot that knows when to shut off, and you are doing the same job by hand. Let it ride until the water has cooked off.

Tip

Resist lifting the lid early. Every peek lets out steam the rice needs to finish cooking.

7

Check for Doneness

6:06
Step 7: Check for Doneness

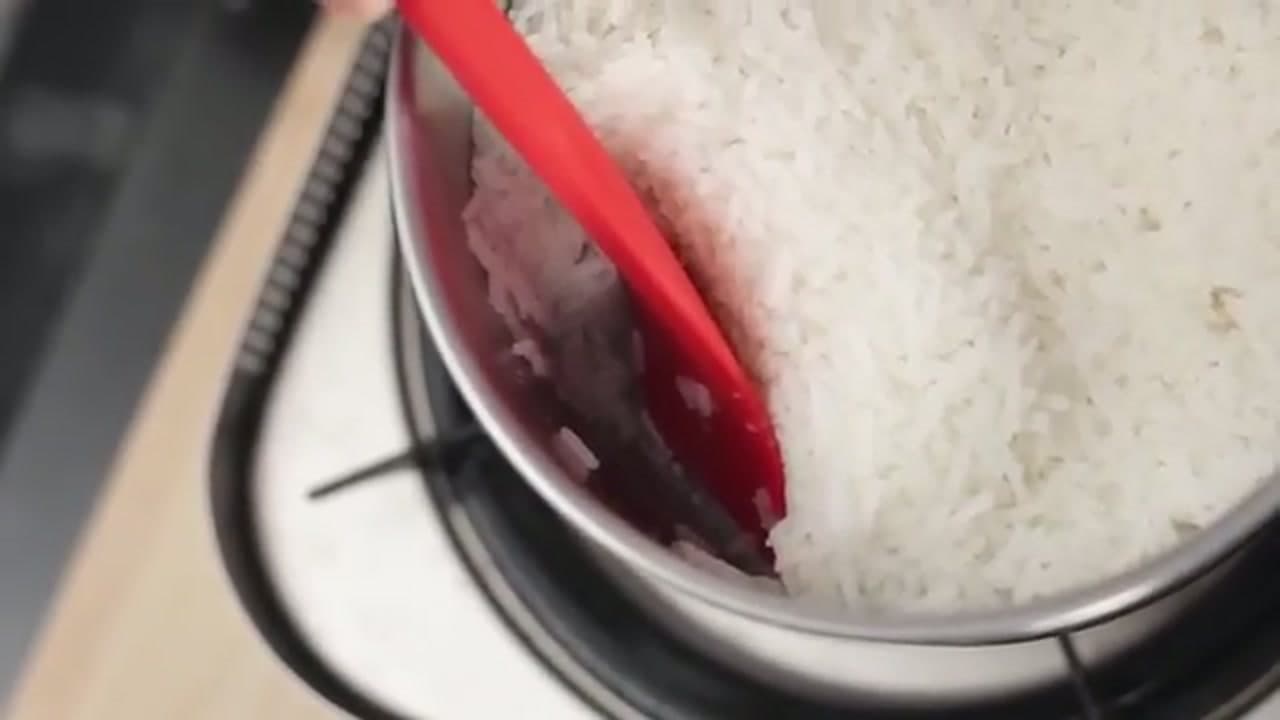
When the surface looks still with no more bubbling, it is time to check. Run a spatula down the side of the pot and gently push the rice aside so you can see the bottom. If the bottom is dry, the rice is done. If you still see water, pat the rice back down, put the lid on, and give it a few more minutes. Then taste a grain. That is the surest test.

Tip

Dry bottom plus a grain that is tender all the way through means you are done. Wet bottom means keep going.

8

Fluff and Serve

6:50
Step 8: Fluff and Serve

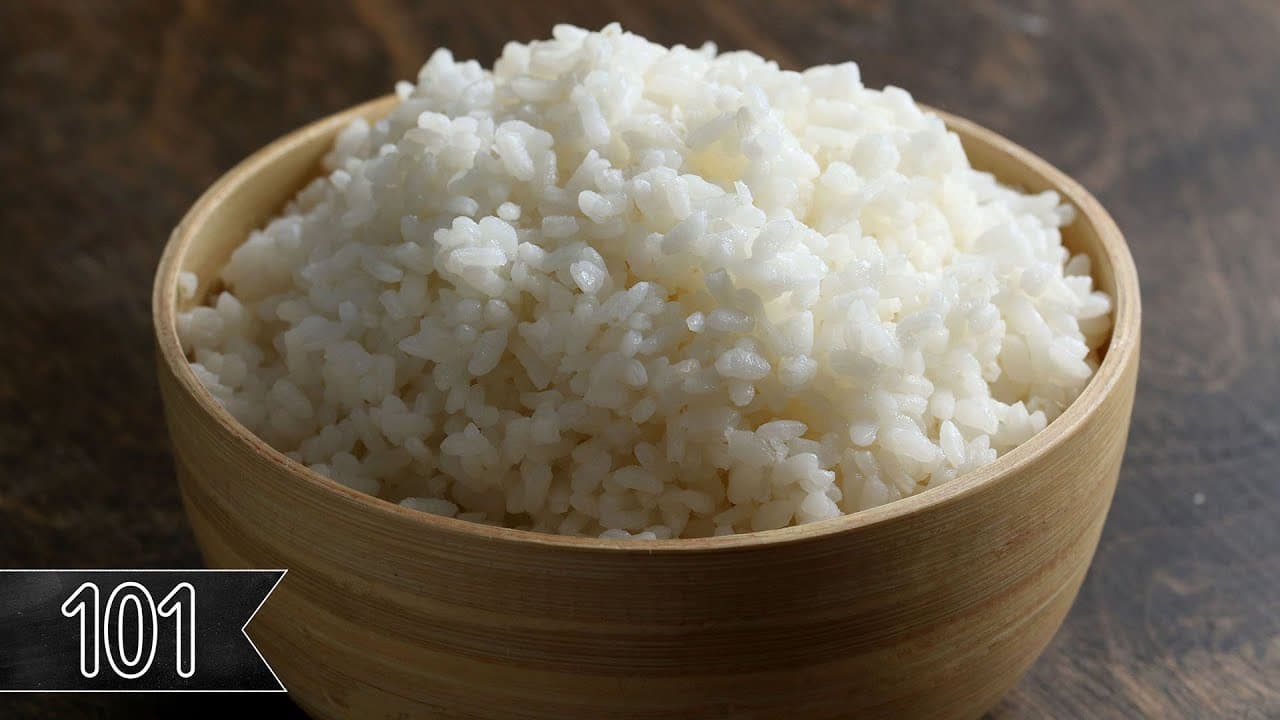
Give the rice a gentle fluff with a spatula or rice paddle so it is not packed down. Fluffing separates the grains and keeps them light. Serve it straight from a tight scoop and you get a solid puck on the plate, but fluff it first and you get airy, separate grains. That is the finish that makes homemade rice feel like the good stuff.

Tip

A flat rice paddle or a rubber spatula fluffs without smashing the grains the way a metal spoon can.

Products used in this step

Products Used

❖ The Recipe

How to Cook Jasmine Rice on the Stove

Thai
Serves
Makes about 3 cups cooked rice
Prep
5 min
Cook
20 min
Total
25 min

Ingredients

3 items
  • 1 cupjasmine rice
  • 1 1/4 cupswater
  • 1 pinchsaltoptional

Nutrition

estimated · per servingEstimated from the ingredient list, not measured. Actual values vary by brand, preparation, and serving size. Not a substitute for measured nutrition data.
Calories
170kcal
Protein
3g
Fat
0g
Carbs
37g

Method

  1. 1
    Start with Good Rice and the Right Pot. Good rice matters more than anything you do later.
  2. 2
    Rinse the Rice. Put the rice in the pot, cover it with cold water, and swish it around with your hand.
  3. 3
    Drain the Rice Well. Tip the rinsed rice into a fine-mesh sieve and let it drain.
  4. 4
    Add Water at the Right Ratio. Put the drained rice back in the pot and add the water.
  5. 5
    Bring to a Simmer, Then Drop the Heat. Set the pot over medium heat and let it come up to a gentle simmer.
  6. 6
    Cover and Cook 15 to 20 Minutes. Put the lid on and leave the rice alone.
  7. 7
    Check for Doneness. When the surface looks still with no more bubbling, it is time to check.
  8. 8
    Fluff and Serve. Give the rice a gentle fluff with a spatula or rice paddle so it is not packed down.

Your Guide

Pailin's Kitchen

As an Amazon Associate we earn from qualifying purchases. Links on this page may be affiliate links - clicking them and buying doesn't change your price, but helps support ShowMeStepByStep.

Tags

Test your knowledge

Did the lesson stick? Find out in 2 minutes.

5 quick questions covering what you just read. No signup, no score saved — just a gut check.

Quick reference

Key takeaways from How to Cook Jasmine Rice on the Stove

5 questions, answers, and one-line explanations. Tap to expand.

  1. 1.Why rinse jasmine rice before you cook it?

    Answer: It removes loose starch that makes grains gummy

    The cloudy rinse water is loose surface starch, and leaving it in makes the grains clump.

  2. 2.What water-to-rice ratio does the tutorial use for jasmine rice?

    Answer: About 1 part rice to 1 and 1/4 parts water

    Jasmine rice cooks up fluffy at roughly 1 to 1.25, less water than long-grain white rice.

  3. 3.Why start on the low side with water when you are unsure?

    Answer: Dry rice can be fixed later but too-wet rice cannot

    You can add a splash to dry rice at the end, but there is no saving rice that started too wet.

  4. 4.How do you handle the heat once the water reaches a simmer?

    Answer: Drop it to the lowest setting that keeps soft bubbles

    Low and slow after the simmer is the secret; high heat scorches the bottom fast.

  5. 5.How can you tell the rice is done without a timer?

    Answer: Push the rice aside and check the bottom is dry

    A dry bottom plus a grain that is tender all the way through means it is finished.

Did this work for you?

What's next

Related collections

Curated theme pages that include this tutorial.

Weekly Digest

Liked this cooking tutorial?

Pick the categories you want to hear about. Weekly digest of new step-by-step tutorials. No spam, easy unsubscribe.

Send me tutorials about

We only email about new tutorials. Easy unsubscribe anytime.