How to Sharpen Lawn Mower Blades

AdultingEasy4:457 stepsBrowse more →
Also in:Gardening

By ShowMeStepByStepPublished

Based on a video by Next Level DIY.

An angle grinder feels fast, but it heats the steel and burns off the temper that keeps your mower blade tough. In this walkthrough from Next Level DIY, you will sharpen a blade the way that actually lasts - with a cheap hand file and a little patience.

The whole job happens at the workbench. You clamp the blade in a vise, clean it up, file the edge back to a clean bevel, then balance it so your mower does not shake itself apart. It is a 20 minute job that saves you a fresh cut all season.

Sharp blade back on? Then get your mower running and go tackle the lawn.

Step-by-Step Guide

1

Step 1: Skip the Angle Grinder

1:40
Step 1: Step 1: Skip the Angle Grinder

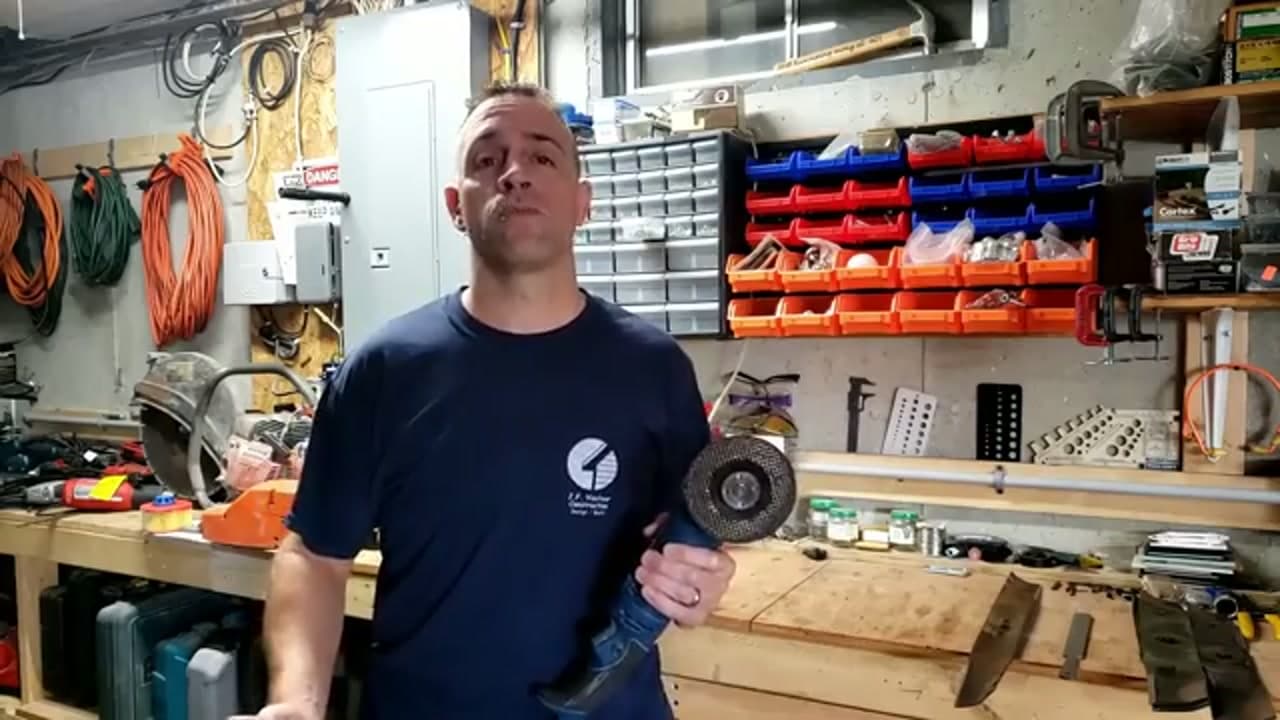
A grinder looks like the quick way to do this, and that is the trap. It spins so fast it heats the steel and burns off the temper that keeps the blade hard. It also chews away way too much metal, so your blade wears out early. Set the grinder down. You do not need it for this job.

Tip

If the edge already has big dents or chips, straighten those with a file too. A grinder just makes the damage worse.
2

Step 2: Grab a Flat Hand File

2:32
Step 2: Step 2: Grab a Flat Hand File

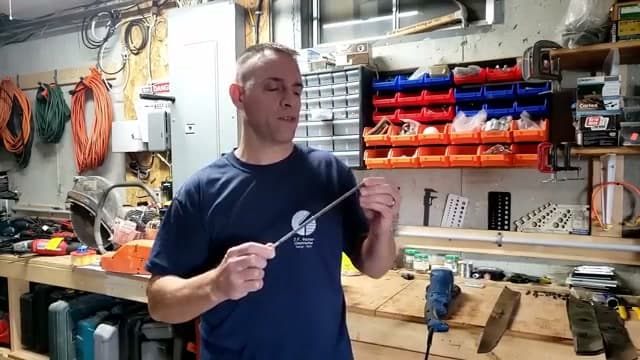
Here is your one real tool: a flat metal mill file. It costs a few bucks, gives you full control, and never overheats the steel. You do the whole sharpening job by hand with this. No power tools, no burnt temper, no guessing how much metal you are taking off.

Tip

A bastard-cut mill file cuts fast without leaving a rough edge. A worn, smooth file just skates - if yours slides instead of biting, get a fresh one.

Products used in this step

3

Step 3: Clamp the Blade in a Vise

2:48
Step 3: Step 3: Clamp the Blade in a Vise

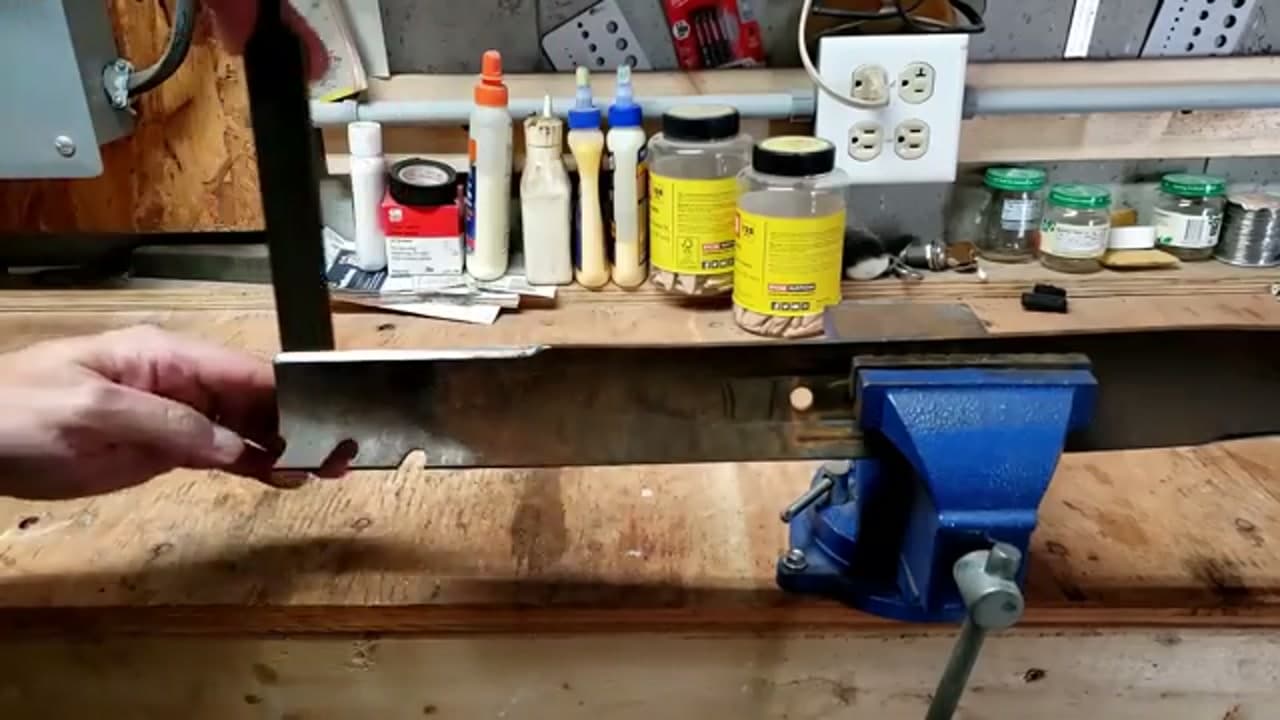
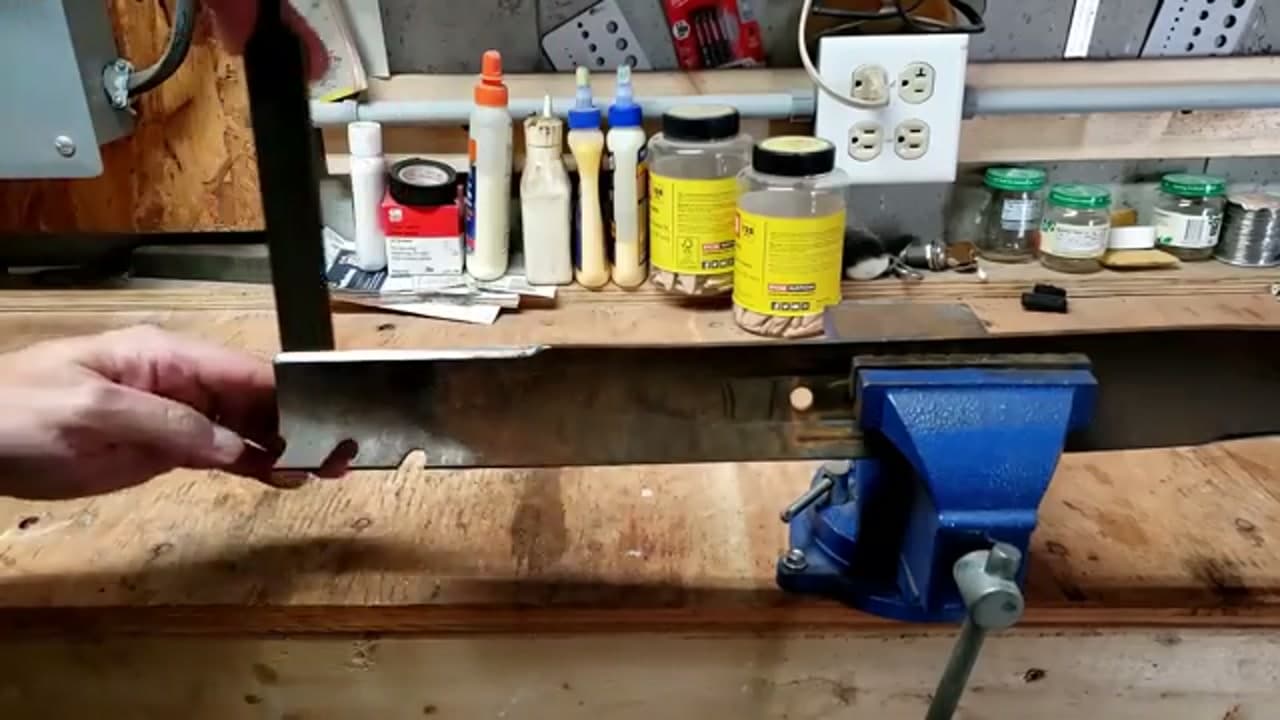
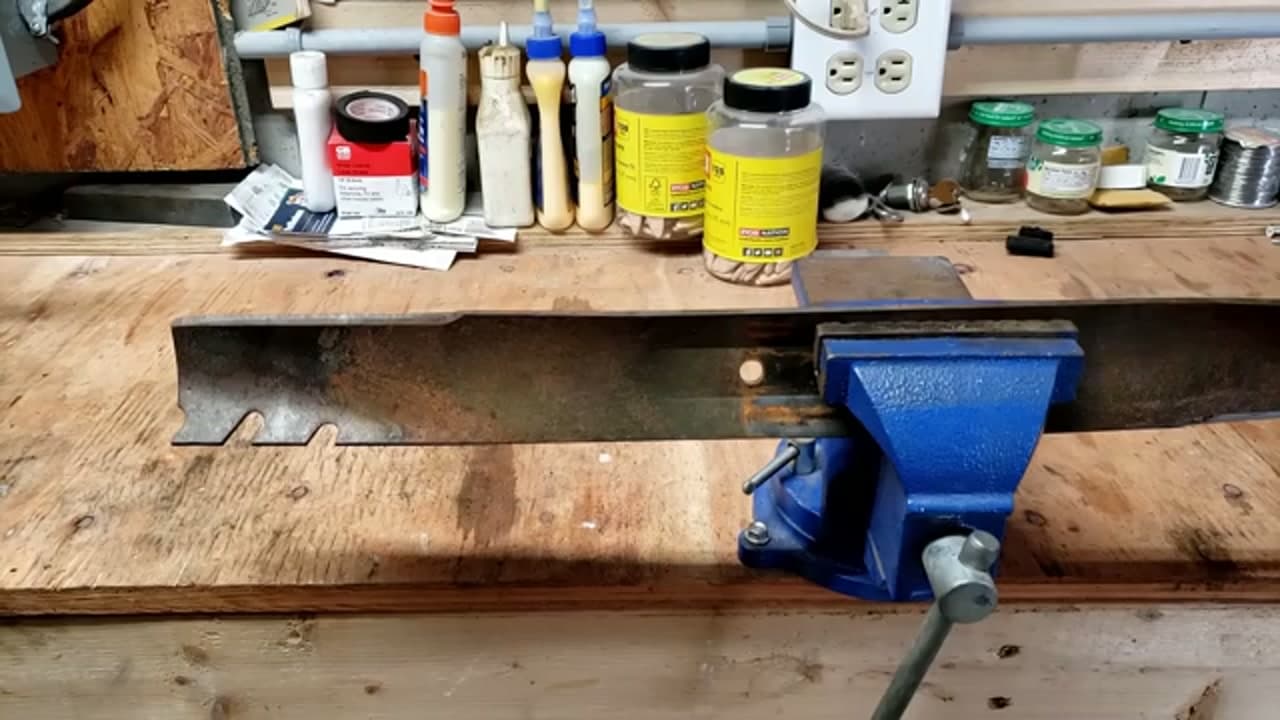
Before you touch the blade, pull it off the mower with a socket wrench or breaker bar. A shot of penetrating oil on the bolt makes that a lot easier. Then lock the blade flat in a bench vise. You want it dead solid so it will not shift while you file. A blade that wobbles gives you an uneven edge, so snug that vise down.

Tip

Mark the bottom of the blade with a paint pen before you remove it. That way it goes back on facing the right way.

4

Step 4: Clean Off Rust and Grass

3:02
Step 4: Step 4: Clean Off Rust and Grass

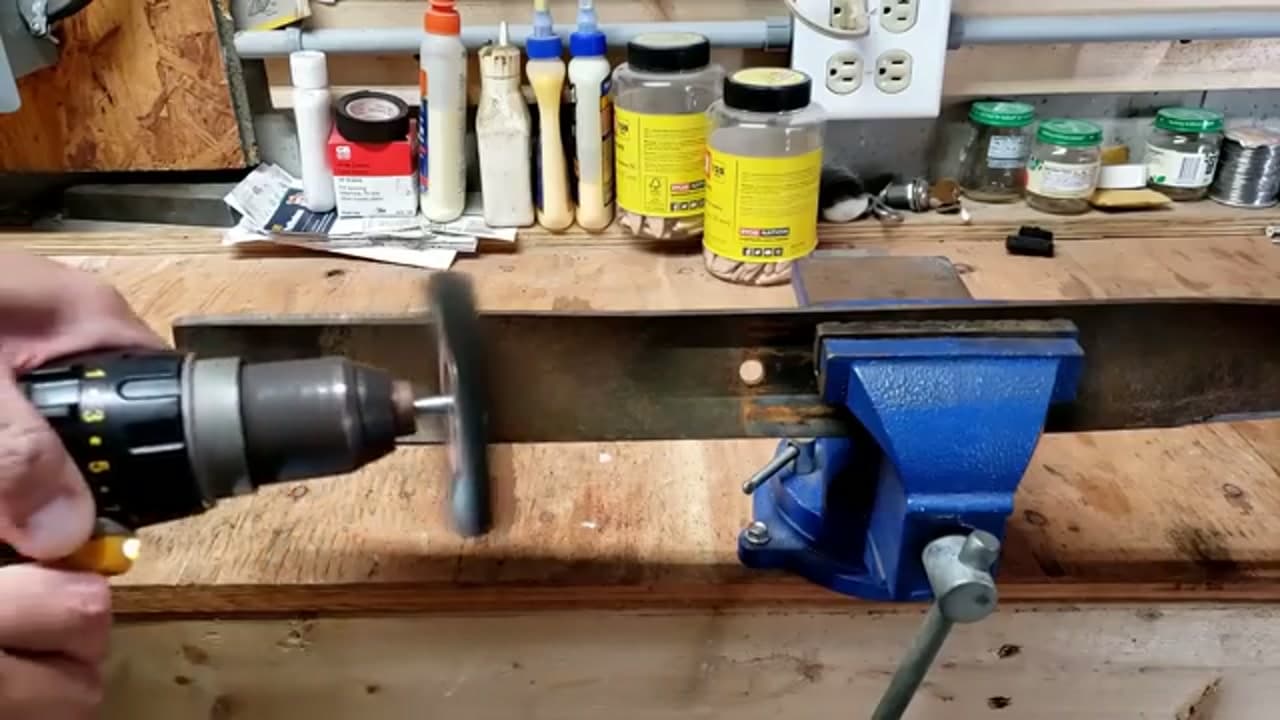
A season of mowing cakes the blade with dried grass and rust. Run a wire wheel on a drill along the edge to strip it back to bare metal. A clean edge is easier to file, and you can actually see the bevel you are working. It only takes a minute and makes the next step go smoother.

Tip

Wear your safety glasses here. Wire wheels fling little bristles, and you do not want one in your eye.

5

Step 5: File the Edge at the Factory Angle

3:30
Step 5: Step 5: File the Edge at the Factory Angle

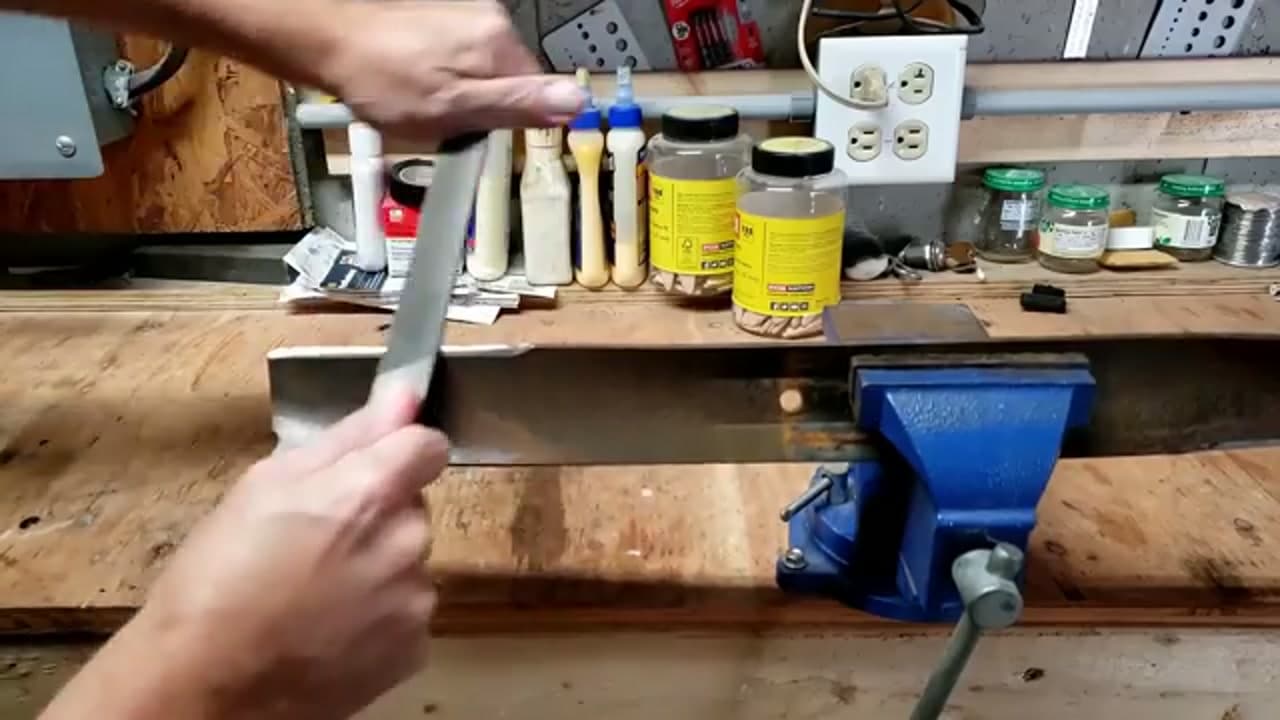
Look at the existing bevel on the cutting edge. That angle is your guide. Hold the file to match it and push in one direction along the edge, lifting on the return. Keep that same angle every stroke. Let the file do the work instead of leaning on it. In a dozen or so passes you will see a fresh, bright edge come up.

Tip

File toward the tip, not back and forth. One-direction strokes cut cleaner and keep the angle consistent.

Products used in this step

6

Step 6: Check Your Edge

4:00
Step 6: Step 6: Check Your Edge

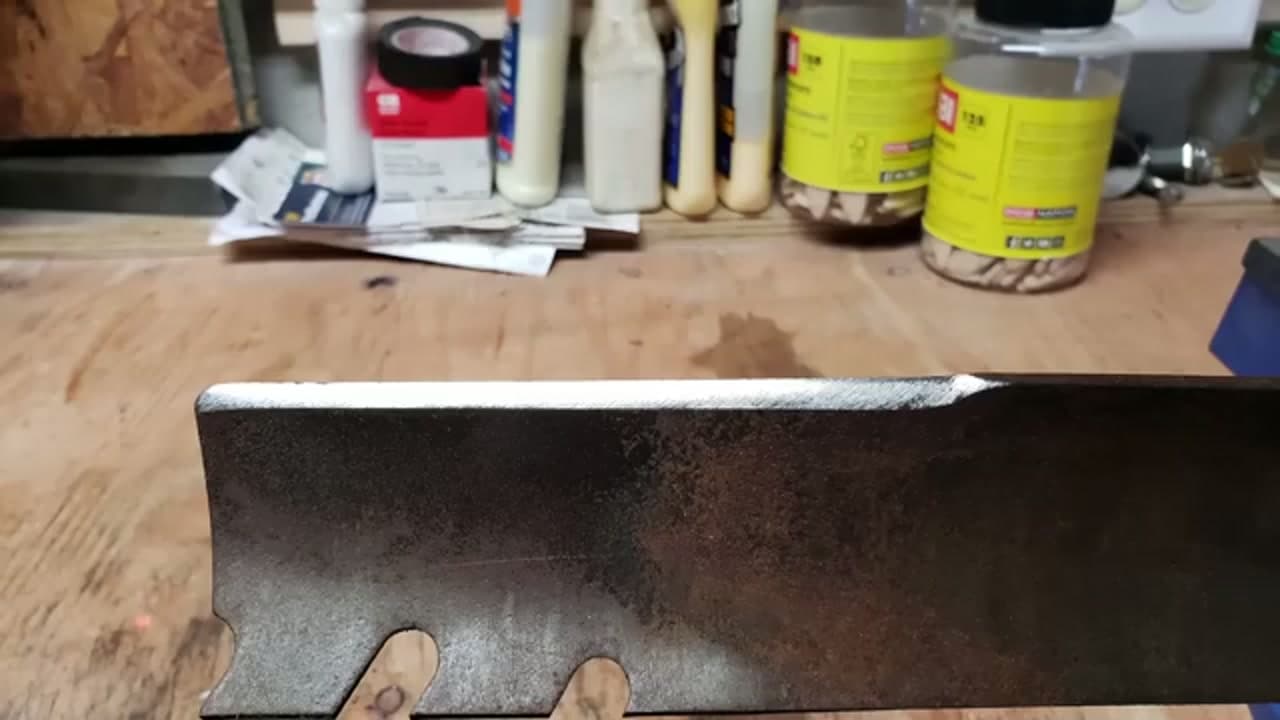
You are not making a knife here. Aim for a clean, even bevel about as sharp as a butter knife. That holds up to rocks and sticks way better than a paper-thin edge, which just rolls or chips the first time it hits something. Run your eye down the whole edge and touch up any spot that still looks dull or nicked.

Products used in this step

7

Step 7: Balance the Blade Before Reinstalling

3:56
Step 7: Step 7: Balance the Blade Before Reinstalling

This is the step people skip, and it matters. Hang the blade on a balancer or a nail through the center hole. If one side dips, that end is heavier and needs a touch more filed off. Keep checking until it sits level. An unbalanced blade vibrates, and that shakes your mower's spindle and bearings loose over time. Once it balances, bolt it back on and mow.

Tip

A cone-style blade balancer is a couple of dollars and takes the guesswork out. A nail on the wall works in a pinch.

Products used in this step

Products Used

☐ The Checklist

How to Sharpen Lawn Mower Blades

Tools
6
Materials
1
Steps
7
Video
5 min

Your Guide

Next Level DIY

As an Amazon Associate we earn from qualifying purchases. Links on this page may be affiliate links - clicking them and buying doesn't change your price, but helps support ShowMeStepByStep.

Tags

Sunday How-To

New adulting tutorials, every Sunday

One short email with the week's best step-by-step guides. Free, no spam, unsubscribe anytime.

Did this work for you?

What's next

Related collections

Curated theme pages that include this tutorial.

Weekly Digest

Liked this adulting tutorial?

Pick the categories you want to hear about. Weekly digest of new step-by-step tutorials. No spam, easy unsubscribe.

Send me tutorials about

We only email about new tutorials. Easy unsubscribe anytime.