How to Remove Grass Stains from Clothes

Also in:Lifestyle

By ShowMeStepByStepPublished

Based on a video by Rachael Ray Show.

Grass stains are the laundry hill almost every parent dies on. Kids slide into bases, take a knee on the field, or roll down a hill, and suddenly there is a green smear on a $40 pair of jeans. Most people make one of two mistakes: they reach for chlorine bleach (which can SET green pigment instead of lifting it), or they toss the garment in a hot wash and then a hot dryer (which permanently bonds the chlorophyll to the fibers).

This walkthrough is built from the home-remedy method Madame Paulette's owner shared on the Rachael Ray Show. Madame Paulette's is one of the oldest dry cleaners in NYC, and the formula he uses on grass-and-coffee Earth-based stains is three ingredients you already have under the sink. No specialty products, no expensive enzyme sprays, no risk of bleaching out the color of the garment itself. Works on jeans, soccer jerseys, white tees, baseball uniforms, and even canvas sneakers.

Step-by-Step Guide

1

Step 1: Identify Grass as an Earth-Based Stain

0:14
Step 1: Step 1: Identify Grass as an Earth-Based Stain

Grass is mostly chlorophyll and plant pigment, which puts it in the same Earth-based stain group as coffee, tea, red wine, and fruit juice. That diagnosis tells you the right solvents to reach for.

You need a degreaser plus a mild acid to lift the green pigment out of the fibers. Two things to AVOID: chlorine bleach (it can react with chlorophyll and set the stain permanently as a yellow shadow), and hot water (heat denatures the fibers around the pigment and locks the stain in for good).

2

Step 2: Treat the Stain While It Is Fresh

0:25
Step 2: Step 2: Treat the Stain While It Is Fresh

The longer grass sits on cotton or denim, the more the pigment bonds to the fiber, and once it dries it can become almost permanent. Treat it the same day if you can. If the stain is already dry, soak the spot in cold water for 15 minutes before doing anything else to rehydrate the pigment.

Never run a stained garment through the dryer until the stain is fully gone. Dryer heat is what turns a removable green smear into a permanent one. Air-dry between attempts and keep working at it.

Tip

For really fresh grass (still wet from the field), scrape any visible plant material off with the back of a spoon before doing anything else. Removing the bulk of it dry means less pigment to chase later.

3

Step 3: Mix the Earth-Based Stain Solution

0:59
Step 3: Step 3: Mix the Earth-Based Stain Solution

In a small bowl combine 2 ounces of liquid dishwashing detergent (Dawn works because it is a strong degreaser), 2 ounces of white vinegar, and 2 ounces of cool water. Stir gently with a spoon - do not whip it into a foam.

Each ingredient pulls its weight. The detergent breaks down any waxy plant residue and helps the solution wet the fibers. The vinegar is a mild acid that lifts the green chlorophyll pigment without stripping fabric dye the way bleach does. The water dilutes everything so the concentrated detergent does not leave its own ring on the garment.

4

Step 4: Test the Solution on a Hidden Area First

1:15
Step 4: Step 4: Test the Solution on a Hidden Area First

Before you touch the actual stain, find a hidden spot on the garment - an inside seam, the underside of a waistband, the inside of a hem, or the tag area. Dab a drop of the mixture on it, wait 60 seconds, then blot with a white paper towel.

If any of the garment's color transfers to the paper towel, the dye is bleeding. Dilute the solution further with more water, or skip the vinegar entirely for that garment. Most cottons and denims pass this test. Dark dyed sportswear and some brightly colored jerseys do not, so the test is non-negotiable.

5

Step 5: Rinse the Stain with Cold Water from the Back

1:40
Step 5: Step 5: Rinse the Stain with Cold Water from the Back

Hold the back of the stained area under a cold tap and let water run THROUGH the fabric from behind so it pushes the grass particles out the front, not deeper in. This sounds backwards but it is the single biggest improvement you can make to your stain removal.

Skip this step for delicates that cannot handle direct water pressure. For jeans, jerseys, baseball pants, and play clothes a 30-second cold rinse from the back removes a surprising amount of pigment before you even touch the solution.

6

Step 6: Tamp the Solution into the Stain

1:56
Step 6: Step 6: Tamp the Solution into the Stain

Lay the garment flat on a clean towel with the stain facing up. Pour a small puddle of the mixture directly on the green patch - enough to saturate but not flood. Use a soft-bristle brush (an old toothbrush is perfect) and TAMP straight down into the fibers.

Tamping is not scrubbing. Scrubbing back and forth pushes pigment sideways through the weave and spreads the stain into a bigger blotch. Tamping is a series of straight down-up motions that push the solution through the weave to where it can work. Tamp for 30 to 60 seconds.

Products used in this step

7

Step 7: Let It Sit, Then Repeat If Needed

2:17
Step 7: Step 7: Let It Sit, Then Repeat If Needed

Walk away for 5 to 10 minutes after the first tamping pass. Stain removers need time on the fiber - rushing the chemistry is why so many people give up too early. Come back and blot the wet spot with a clean white cloth and check what transferred. Green on the cloth means you are pulling pigment out.

If a green ghost remains on the garment, repeat the tamping and rest cycle one more time. For stubborn old grass stains, add a teaspoon of oxygen bleach (OxiClean) to the solution on the second pass, but ONLY on whites or colorfast garments and only after the hidden-area dye test passed.

8

Step 8: Wash, Then CHECK Before You Dry

3:44
Step 8: Step 8: Wash, Then CHECK Before You Dry

Launder the garment in cool or warm water (NOT hot) with your regular detergent. The pre-treatment did most of the work; the wash cycle rinses out the solution and the loosened pigment.

Pull the garment out of the washer wet and look at the spot in good light. If even a faint green tint remains, repeat steps 6 and 7 and re-wash. Do NOT put the garment in the dryer until the stain is completely gone. Heat-setting a grass stain in the dryer is the most common way people permanently ruin a kid's jeans, soccer jersey, or pair of white sneakers.

Tip

If you have multiple grass-stained items from a single game or weekend, pre-treat them all before washing any of them. Soaking everything in a basin with a cup of the solution for an hour beats trying to spot-treat ten items individually.

9

Step 9: Bonus - The Same Three-Group Method Handles Every Other Stain

2:45
Step 9: Step 9: Bonus - The Same Three-Group Method Handles Every Other Stain

The Madame Paulette's framework covers 95% of household stains by sorting them into three groups. Once you know the group, you know the formula.

Earth-based (grass, coffee, tea, red wine, fruit juice, cola): use the formula from this tutorial - 2 oz detergent + 2 oz white vinegar + 2 oz water.

Protein-based (blood, sweat, milk, baby spit-up, meat juice): mix 1 teaspoon household ammonia + 1 teaspoon hydrogen peroxide + 1 teaspoon detergent in 2 tablespoons of cold water. Same tamp-and-rest technique.

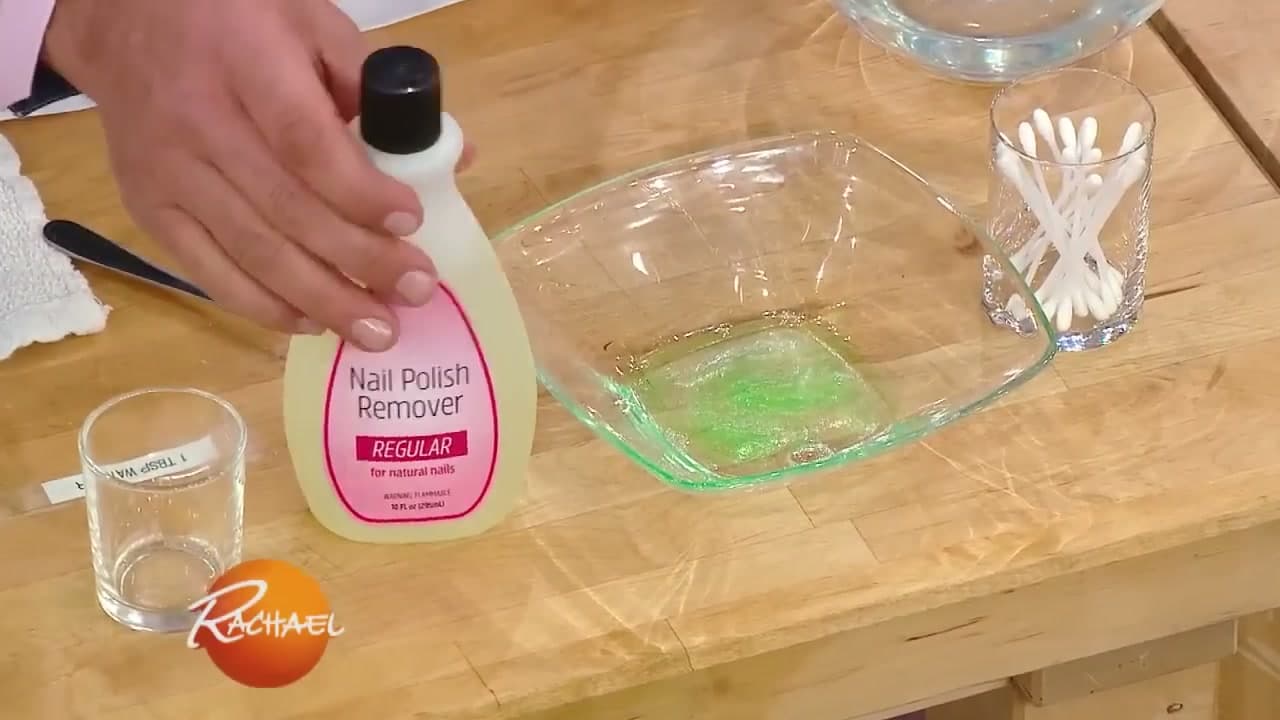
Oil-based (grease, makeup, lipstick, hair gel, cooking oil): mix 1 ounce of degreaser detergent + 1 ounce of water. For stubborn oil stains add acetone (nail polish remover) - but ONLY on garments without acetate or triacetate in them, because acetone will literally melt those fabrics. Always check the care tag first.

Three rules that apply to all three groups: always test on a hidden seam first, always tamp (never scrub), and never use hot water on any stain until you have confirmed it is fully out.

Products Used

☐ The Checklist

How to Remove Grass Stains from Clothes

Tools
4
Materials
6
Steps
9
Video
4 min

Your Guide

Rachael Ray Show

As an Amazon Associate we earn from qualifying purchases. Links on this page may be affiliate links - clicking them and buying doesn't change your price, but helps support ShowMeStepByStep.

Tags

What's next

Weekly Digest

Liked this adulting tutorial?

Pick the categories you want to hear about. Weekly digest of new step-by-step tutorials. No spam, easy unsubscribe.

Send me tutorials about

We only email about new tutorials. Easy unsubscribe anytime.