How to Make a Silicone Mold

Resin ArtMedium10:4910 steps5-question quiz at endBrowse more →
The finished result: How to Make a Silicone Mold
Also in:Crafts

By ShowMeStepByStepPublished Updated

Based on a video by Red Rocking Bird.

Pourable two-part silicone is a different animal to the silicone-caulk putty method. You weigh it, mix it, pour it and let it find its own level, which is what lets it pick up detail a putty press never will.

Red Rocking Bird builds a simple housing, sticks the master pieces to a clear base and fills the space around them. The one thing worth respecting is the weighing - this is a ratio product, and eyeballing it gives you a mold that never fully cures.

Step-by-Step Guide

10 steps · about 11 minutes.Check off each step as you go and your progress saves automatically.

1

Step 1: Pick a Housing

0:20
Step 1: Pick a Housing - How to Make a Silicone Mold

You need something to cast into. A simple plastic mold housing works, and it does not have to be anything purpose-made.

Whatever you use just needs straight sides and a base you can seal, so the liquid silicone cannot escape.

Products used in this step

2

Step 2: Seal the Base

0:55
Step 2: Seal the Base - How to Make a Silicone Mold

Run double-sided tape all the way around the rim of the housing, checking there are no gaps in the run.

Some people hot-glue the housing down instead. Tape is enough and it comes apart far more easily afterwards.

Products used in this step

3

Step 3: Fit a Clear Base

1:28
Step 3: Fit a Clear Base - How to Make a Silicone Mold

Press a sheet of acetate or wide clear tape across the taped rim to close the bottom.

A clear base does two jobs - it seals the housing, and it gives you a sticky surface to mount your master pieces onto.

Tip

Check the seal all the way round before you mix anything. Silicone finds every gap.

Products used in this step

5

Step 5: Stir It Thoroughly

3:05
Step 5: Stir It Thoroughly - How to Make a Silicone Mold

Combine the two parts with a wooden stick and keep going. Most kits ask for three to five minutes.

Scrape the sides and the bottom of the cup as you stir. Unmixed streaks left in the corners will not cure.

Tip

A good kit mixes smoothly and pours almost bubble-free, so do not rush this part looking for shortcuts.

6

Step 6: Set Your Masters In Place

3:35
Step 6: Set Your Masters In Place - How to Make a Silicone Mold

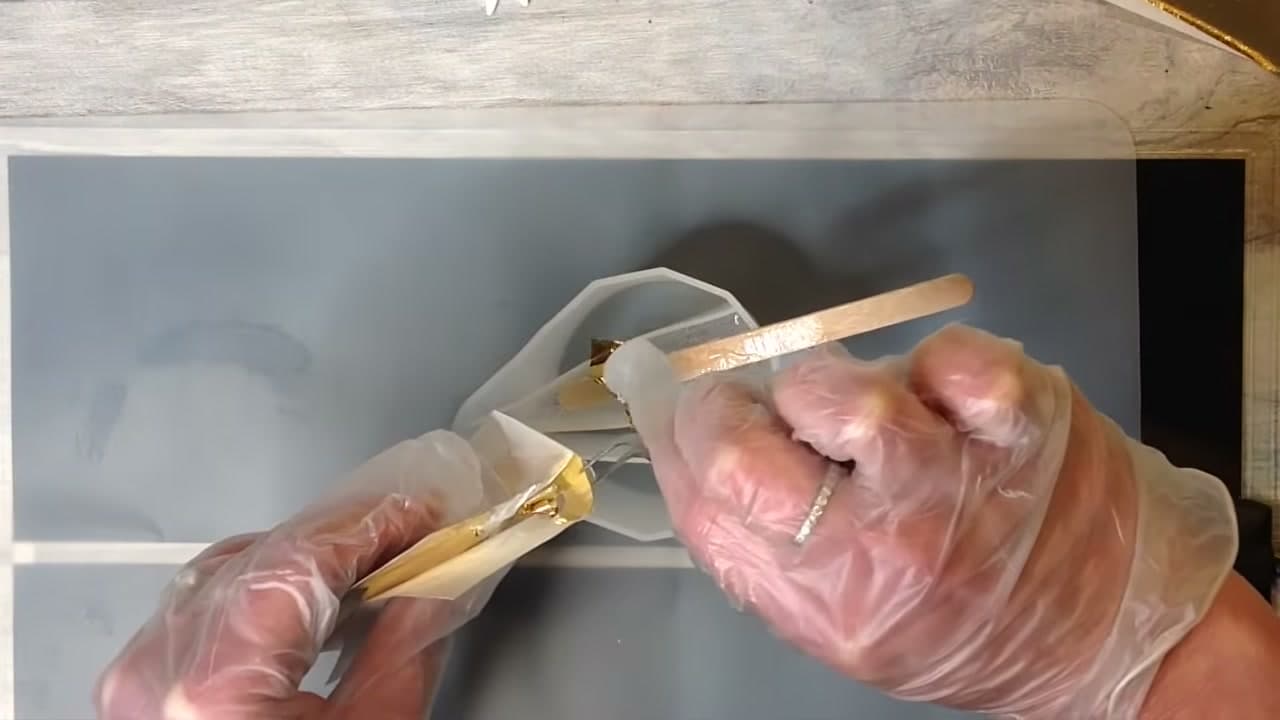
Stick the pieces you are moulding down onto the clear base inside the housing.

Pack in as many as the space will take. Silicone is the expensive part, so every gap you leave empty is money poured away.

Tip

Anything hollow will float up once the silicone goes in. Stick those down firmly or weight them.

Products used in this step

7

Step 7: Pour the Silicone

4:10
Step 7: Pour the Silicone - How to Make a Silicone Mold

Pour the mixed silicone into the housing in a thin steady stream from one corner, letting it flow around the masters.

Pouring from height and in a thin stream helps break any bubbles on the way down.

Tip

Leave it clear if you plan to cure UV resin in the finished mold. Pigment blocks the light.

8

Step 8: Cure It Level

5:00
Step 8: Cure It Level - How to Make a Silicone Mold

Set the filled housing somewhere genuinely level and leave it for about 24 hours.

A levelling table is ideal but any flat shelf works. Cure it on a slope and the back face of your mold sets at an angle.

9

Step 9: Release the Mold

6:06
Step 9: Release the Mold - How to Make a Silicone Mold

Peel the housing away from the cured block and pop the mold out. It should release with gentle pressure - run a knife around the edge only if it sticks.

Flex it open and check the cavity picked up the detail you wanted before you cast anything into it.

Keep going

How to Make Resin Keychains (Beginner Mod Podge Resin)

Products Used

☐ The Checklist

How to Make a Silicone Mold

Tools
4
Materials
6
Steps
10
Video
11 min

Tools we recommend

Your Guide

Red Rocking Bird

As an Amazon Associate we earn from qualifying purchases. Links on this page may be affiliate links - clicking them and buying doesn't change your price, but helps support ShowMeStepByStep.

Tags

Sunday How-To

New resin art tutorials, every Sunday

One short email with the week's best step-by-step guides. Free, no spam, unsubscribe anytime.

Test your knowledge

Did the lesson stick? Find out in 2 minutes.

5 quick questions covering what you just read. No signup, no score saved — just a gut check.

Quick reference

Key takeaways from How to Make a Silicone Mold

5 questions, answers, and one-line explanations. Tap to expand.

  1. 1.What must the mold housing have?

    Answer: Straight sides and a sealed base

    The liquid silicone just needs somewhere it cannot escape from.

  2. 2.Why fit a clear acetate base across the taped rim?

    Answer: It seals and holds masters in place

    The clear sheet closes the bottom and gives a sticky surface to mount onto.

  3. 3.Why weigh part A and part B on a digital scale?

    Answer: It is a ratio product that must be exact

    Measuring by eye leaves you a mold that stays tacky and never cures.

  4. 4.Why scrape the sides and bottom while stirring?

    Answer: Unmixed streaks will not cure

    Corners are where the two parts hide from the stirring stick.

  5. 5.Why pack in as many masters as the housing will take?

    Answer: Silicone is the expensive part

    Every empty gap is silicone you paid for and cannot cast into.

Did this work for you?

What's next

Weekly Digest

Liked this resin art tutorial?

Pick the categories you want to hear about. Weekly digest of new step-by-step tutorials. No spam, easy unsubscribe.

Send me tutorials about

We only email about new tutorials. Easy unsubscribe anytime.