Paper mache costs almost nothing. Flour, water, and the newspaper that was already headed for the recycling bin. Everything else in the project is something you own already.
You will see it spelled papier mache too. Same craft, same paste. The French spelling stuck in some places and the anglicised one stuck in others, so search results split between the two and both are correct.
The method below follows Mr. Otter Art Studio's bowl, and a bowl is the right form to learn on. It sits still, the shape is forgiving, and a sloppy attempt still comes out looking like a bowl. Once your hands know the rhythm of dip, squeeze, smooth, the same strips go over a balloon for a mask, a hat, or a pinata. Two warnings before you start: it is messy, so cover the table and wear an apron, and it needs an overnight dry, which makes this a two-session project rather than an afternoon.
What you need
- Newspaper - one weekend edition covers a mixing bowl three times over
- All-purpose flour and tap water
- A bowl to mix in and a whisk
- A form: a bowl, a balloon, or a taped cardboard shape
- A plastic bag or cling film to wrap the form so the shell releases
- Scissors for the rim, paint, and a sealer for the finish
The paste recipe: flour to water ratio
Measure by volume, not by weight, and it scales cleanly. One part flour to two parts water is the working ratio for strip work.
| Flour | Water | Covers |
|---|
| 1/2 cup | 1 cup | A small bowl, or one mask over a balloon |
| 1 cup | 2 cups | A mixing bowl at three layers |
| 2 cups | 4 cups | A pinata or a large balloon form |
Whisk until the lumps are gone. It should look like thin pancake batter and pour off the whisk in a ribbon. Let it stand a minute before you use it, because it thickens as the flour swells. The real test is a strip of newspaper: drop one in and it should sink and go limp within a few seconds. If it floats on top, add water a splash at a time. If your strips come out carrying gobs of paste that will not pull off between two fingers, that is too thick as well.
We have the paste on its own, with the mixing detail, at how to make paper mache paste.
Cooked paste and glue paste, and when either is worth it
Raw flour and water is the default and it is fine for a bowl that dries in a day. There are two alternatives, and both earn their extra effort on bigger pieces.
Cooked paste. Whisk the flour into cold water, bring it to a low heat, and stir until it thickens to about the consistency of gravy. Let it cool all the way down before you use it. Cooked papier mache paste is smoother, it carries no raw lumps, it grips the paper harder, and it keeps three or four days in the fridge. Worth the pan for a piece you will build across several sessions.
White glue paste. Equal parts PVA or school glue and water. No flour means nothing for mould to feed on, it dries harder and slightly translucent, and it sands better. It costs real money, so save it for anything that will live outdoors, take a knock, or need to last for years. A tablespoon of white glue stirred into a flour batch is a useful halfway point.
Paper choice, and why you tear instead of cut
Newsprint is thin and it has almost no coating, so paste soaks through in seconds and the strip drapes around a curve without fighting you. Printer paper is sized to resist water. It sits on the surface, goes slippery, slides out of place, and dries into a stiff plate that cracks along any bend. Card stock is worse again. If you want colour, the glossy advertising pages of the same newspaper work, though they take longer to soak.
Tear the strips, do not cut them. A torn edge is feathered and thin, so it melts into the layer underneath and the seam disappears. A cut edge is a hard square line, and it telegraphs through the paint later as a visible ridge. Newspaper tears straight along its grain, so grab five or six sheets and tear them together. Aim for strips an inch or two wide, and halve their length for a small form.
How long it takes to dry, and how to tell
Overnight is the optimistic answer. In a dry room with air moving through it, two or three layers set up in about 24 hours. In a humid house it runs to two or three days, and there is no shortcut worth taking.
Touch is the test. A papier mache shell that still feels cool against the back of your hand is still evaporating water, however hard the outside seems. Dry paper sits at room temperature and taps with a light papery knock. Check the inside of the form and the thick overlap at the rim, since those are the last places to give up their water.
Airflow does more than heat here. A fan on low across the piece beats a radiator, and a warm oven can bubble the layers or scorch the rim. Do not stack a fresh layer onto a damp one. You seal the water in, and that is where most failures start.
Mould and rot on thick pieces
Flour paste is food. On a thin bowl that dries in a day this never comes up. On a thick pinata, a solid armature, or anything built up in one long session, the inside can stay wet for a week and grow mould where you cannot see it. The signs are green or black speckling that surfaces under the paint weeks later, a sour smell, and soft patches that dent under a fingernail. There is no rescue at that point.
Prevention is all in the drying. Two or three layers per session, no more. Dry it fully between sessions, out in open air rather than shut in a cupboard. Stir a tablespoon of salt or a squeeze of white glue into the paste batch, since both slow the growth. For a large or outdoor piece, go to the glue paste instead of flour.
Leftover paste keeps a day at room temperature and three or four days in the fridge. Once it separates and smells sour, throw it out and whisk a fresh cup.
Sealing and painting the finished piece
Trim the tattered rim with scissors, or punch a row of holes around it. Either one turns a rough edge into a deliberate one. A coat of white gesso or white acrylic knocks the newsprint back so your colours read true. Some people leave the print showing on purpose, and on a cut-petal rim it reads as a pattern rather than as unfinished work.
Acrylic or tempera, straight from the pot. Do not thin it with water. Water softens the paper underneath and undoes the drying you just waited out. Build a second dry coat instead.
Finish with a sealer. Thinned white glue works, and Mod Podge gives a light sheen and locks down any small paper edges that want to lift. None of this makes the piece food safe or waterproof, so line a bowl before snacks go in it and use an exterior varnish on anything headed outside.
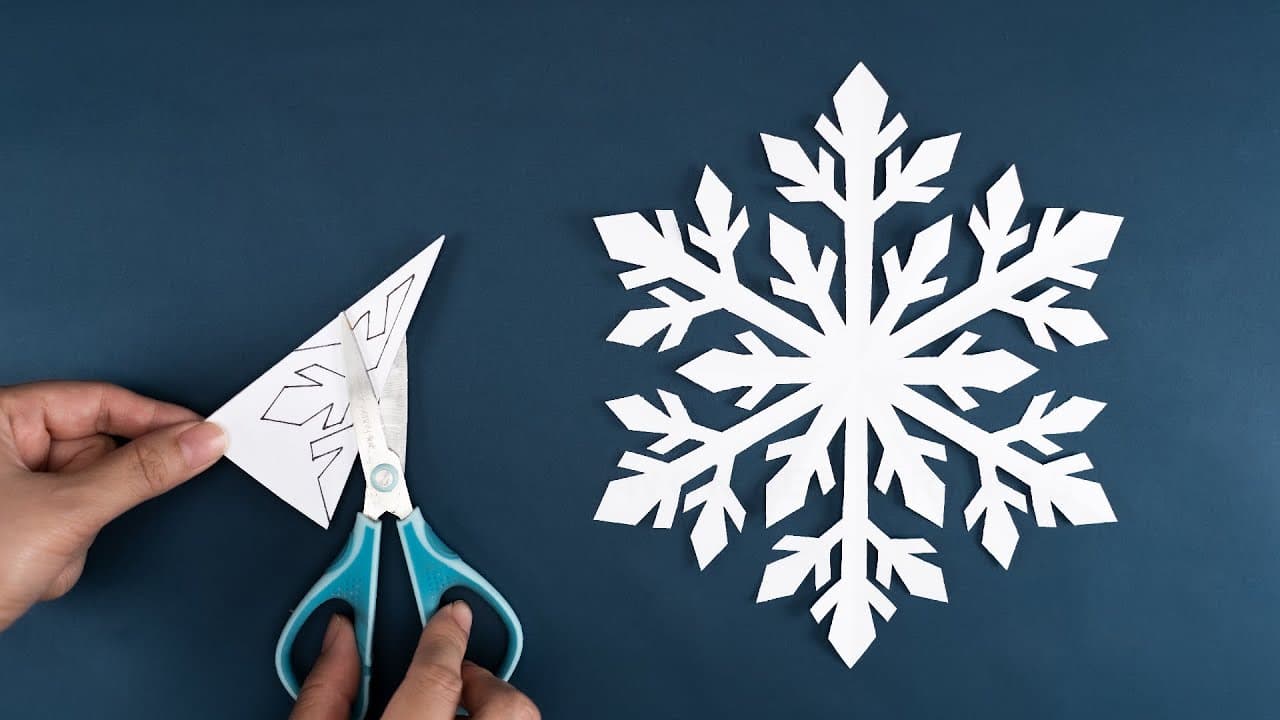
For the seasonal version of the same method, try paper mache pumpkins. For a paper project with nothing to dry overnight, there are always paper snowflakes.