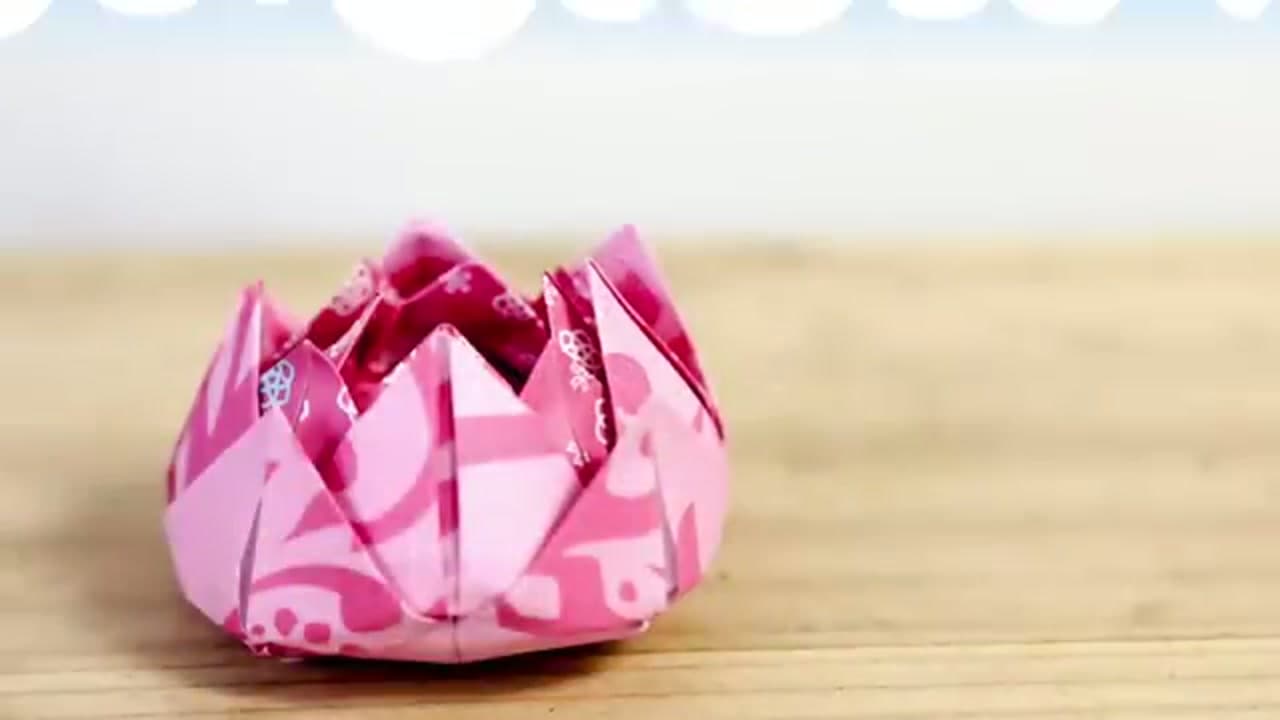
How to Make an Origami Lotus Flower

Paper CraftsMedium8:158 steps5-question quiz at endBrowse more →
Also in:Crafts

By ShowMeStepByStepPublished Updated

Based on a video by Paper Kawaii - Origami Tutorials.

The origami lotus is one of those models that looks fussy but really isn't. You fold one square of paper, work the corners into the center a few times, then peel the layers up to open the petals. That last part is the fun bit.

This one comes from Paper Kawaii, who has been teaching origami online for years. She uses a simple memory trick for the folds so you won't lose your place halfway through.

Grab a square of patterned paper and take it slow. Make two lotuses and nest them together for a bigger, fuller flower.

Step-by-Step Guide

1

Step 1: Fold the Square Into a Triangle

0:33
Step 1: Step 1: Fold the Square Into a Triangle

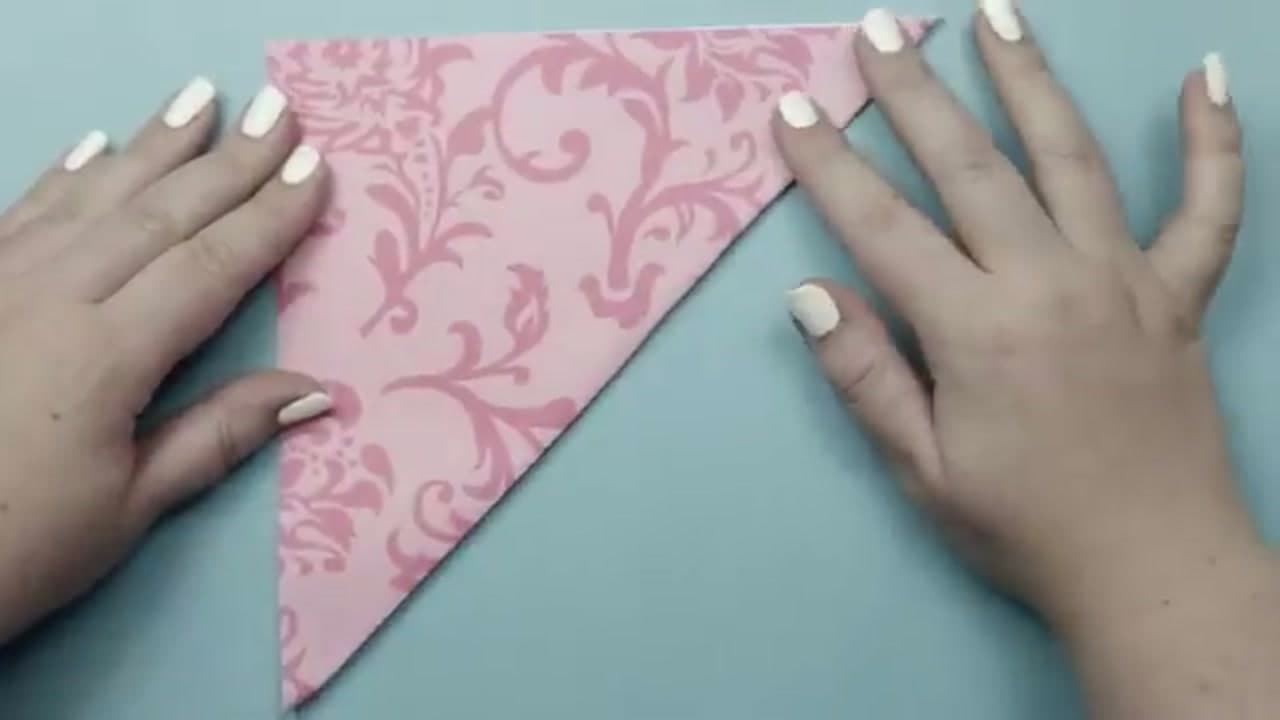
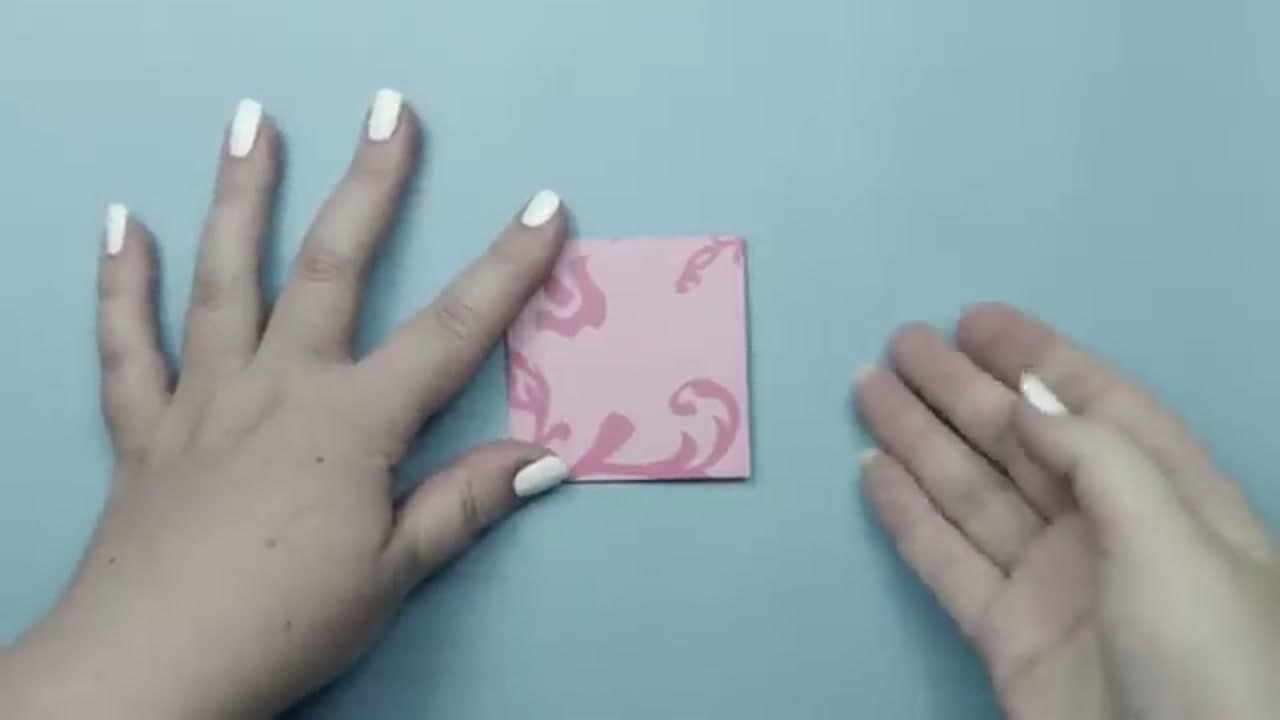
Start with a square sheet of origami paper, pattern side down. Fold it in half corner to corner so you get a triangle, then open it back up. Fold the other diagonal the same way so both crease lines cross in the middle. Run a bone folder or your thumbnail along each fold to make it crisp. These two creases set up everything that comes next.

Tip

Patterned paper looks best because the print shows on the finished petals.

2

Step 2: Fold All Four Corners to the Center

1:30
Step 2: Step 2: Fold All Four Corners to the Center

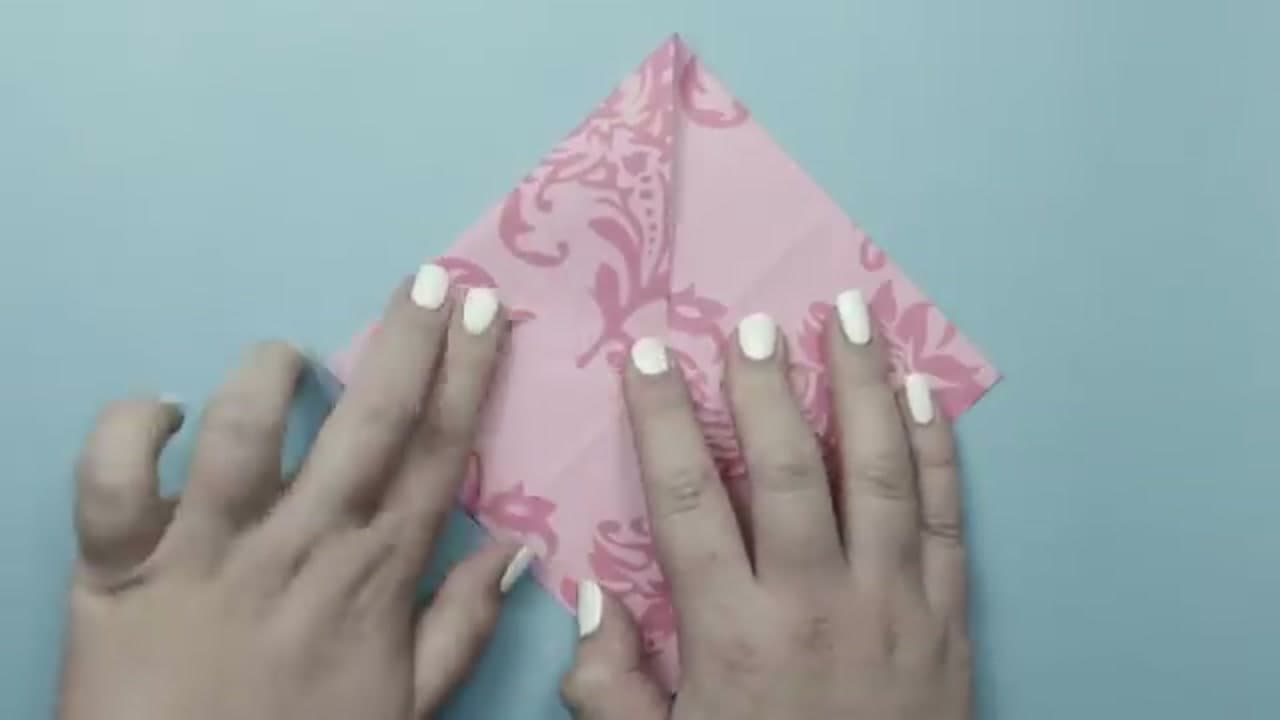
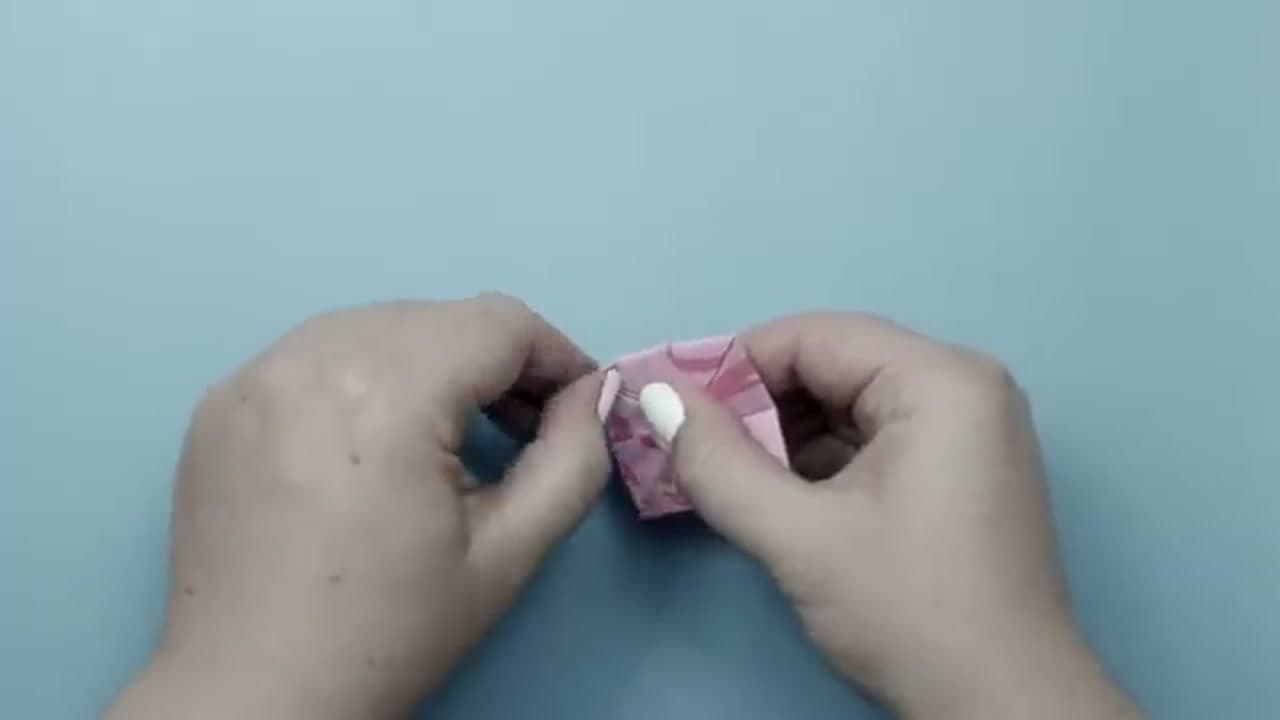
Open the paper flat, pattern side down. Bring each of the four corners in to meet at the center point. Line the tips up so they just touch in the middle. When all four are folded you'll have a smaller square. Press every crease flat with your fingers or the bone folder so the corners stay put.

Products used in this step

3

Step 3: Fold the Corners In Again

2:08
Step 3: Step 3: Fold the Corners In Again

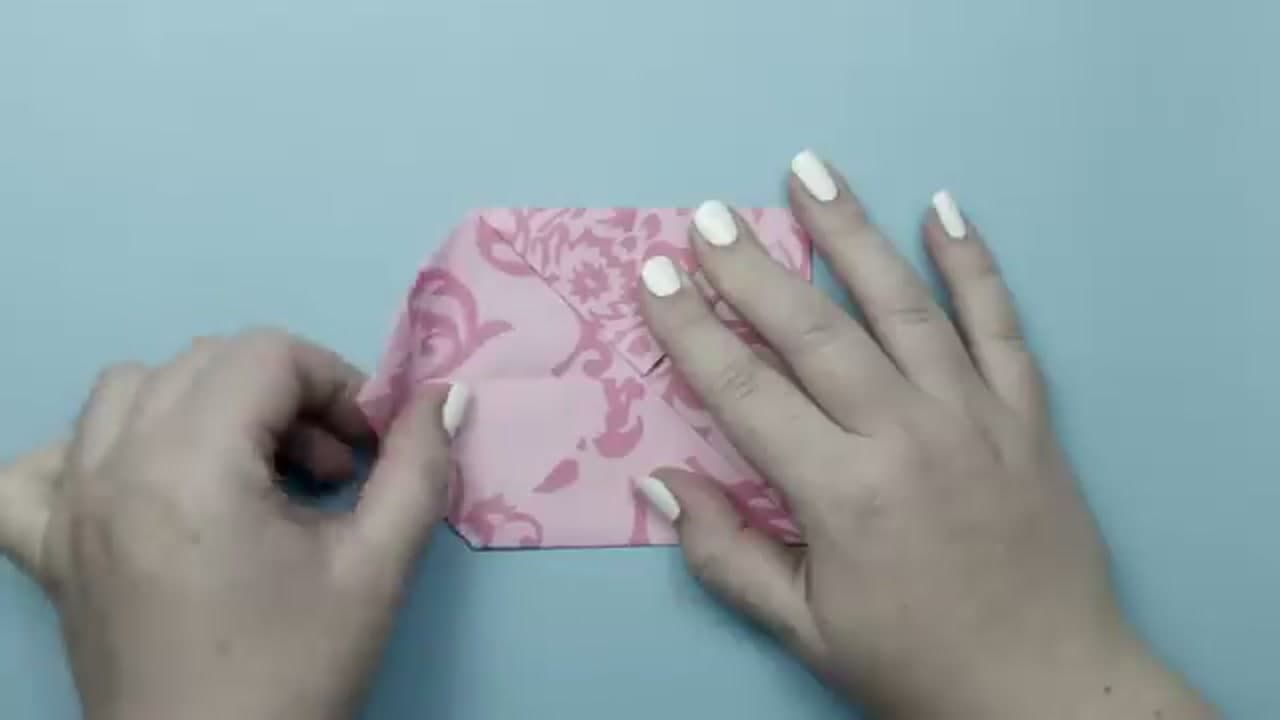
Take the four new corners and fold them into the center again. Paper Kawaii uses the number 31 to remember this model: fold the corners in three times, flip it over, then fold the corners in one more time. You're on round two of the three. The square keeps getting smaller and a little thicker each pass.

Tip

If the layers start to slip, weigh the center down with one finger while you fold.

4

Step 4: Press the Creases With a Bone Folder

3:00
Step 4: Step 4: Press the Creases With a Bone Folder

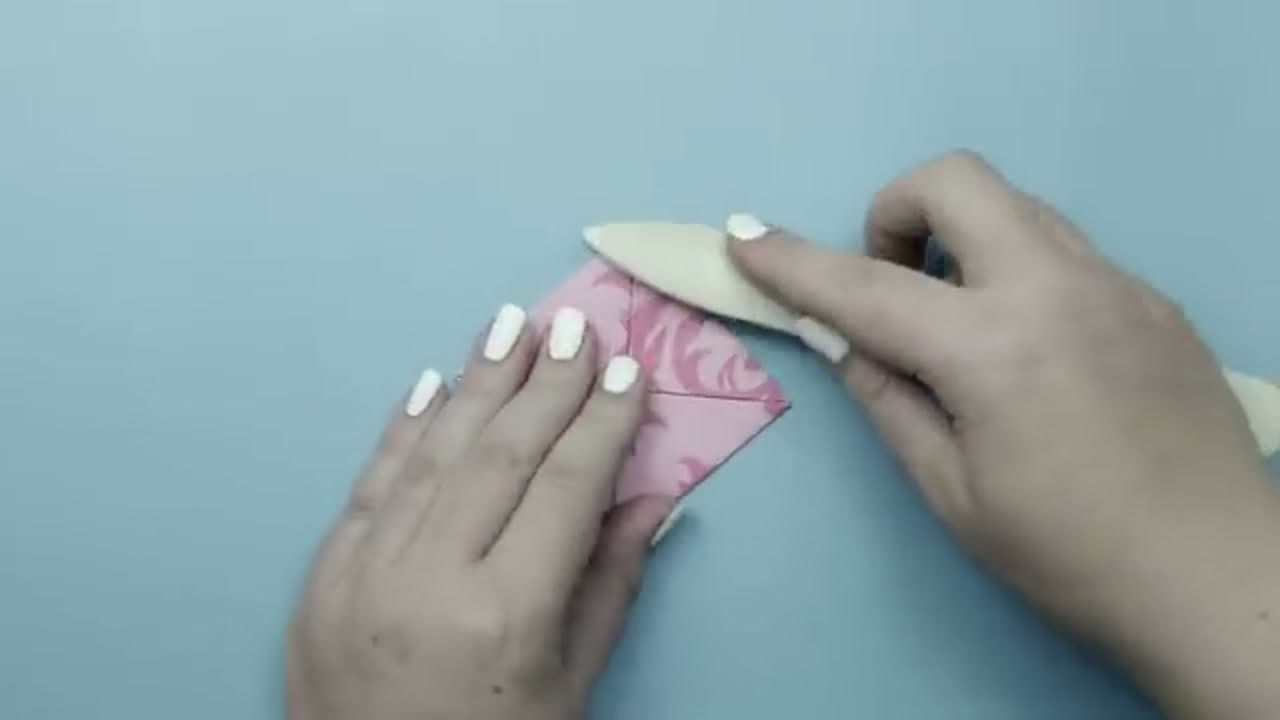
By now you have several layers stacked up, so the folds want to spring open. Run a bone folder firmly along every edge to lock the creases down. Sharp, flat folds here are what let the petals peel up cleanly at the end instead of tearing. Spend a few extra seconds on this. It pays off.

5

Step 5: Flip and Fold One Last Time

3:15
Step 5: Step 5: Flip and Fold One Last Time

Flip the whole piece over so the smooth back is facing up. Fold these four corners into the center one final time. That's the last fold of the sequence. You should be holding a small tight square with all the folded flaps hidden underneath. This little square is the base your lotus opens out of.

6

Step 6: Peel the First Petals Up

4:15
Step 6: Step 6: Peel the First Petals Up

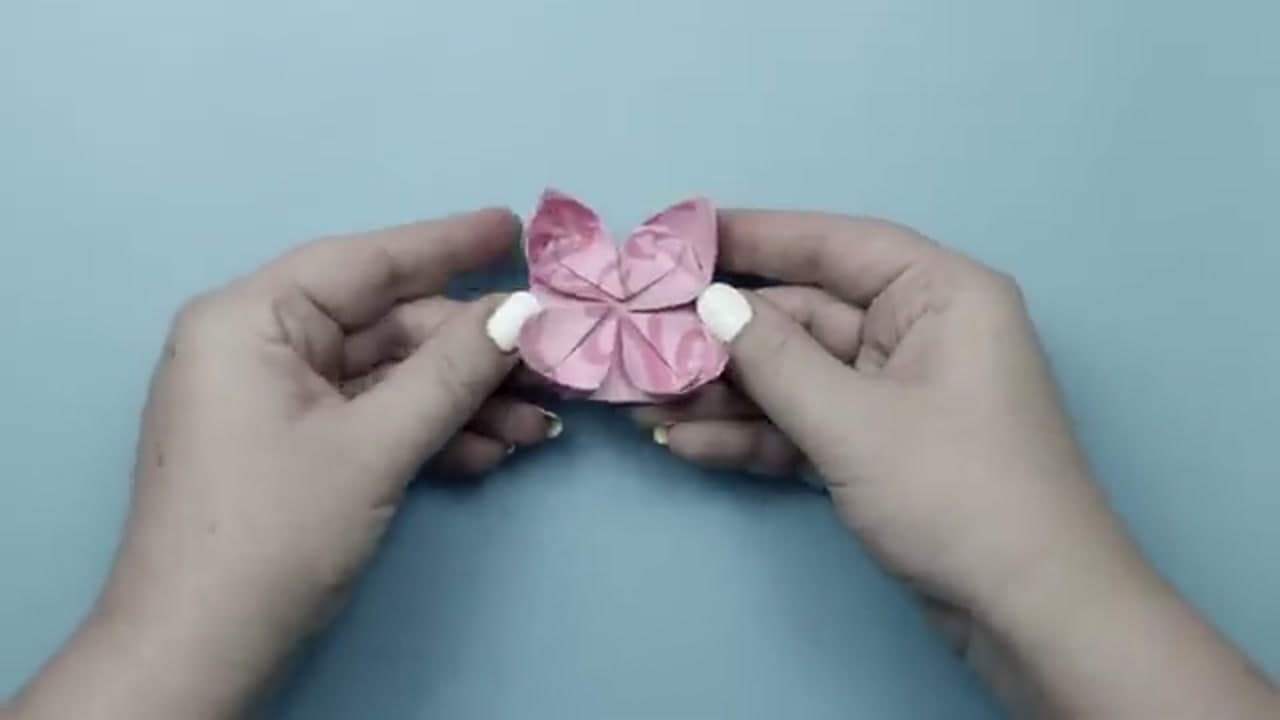
Now the fun part. Reach underneath one corner and gently pull a folded flap up and over so it stands as a petal. Go slow and support the base with your other hand so the paper doesn't rip at the folded tip. Work your way around all four corners until the first ring of petals is standing up.

Tip

Be careful not to tear the paper. If a petal resists, ease it rather than forcing it.

7

Step 7: Peel the Inner Petals

6:30
Step 7: Step 7: Peel the Inner Petals

There are more petals tucked underneath the first ones. Peel those up the same way, one layer at a time, pulling from the base of each flap. Each round you open adds another ring of petals and pushes the outer ones wider. The flat little square starts to look like an actual flower here.

8

Step 8: Shape Your Finished Lotus

7:48
Step 8: Step 8: Shape Your Finished Lotus

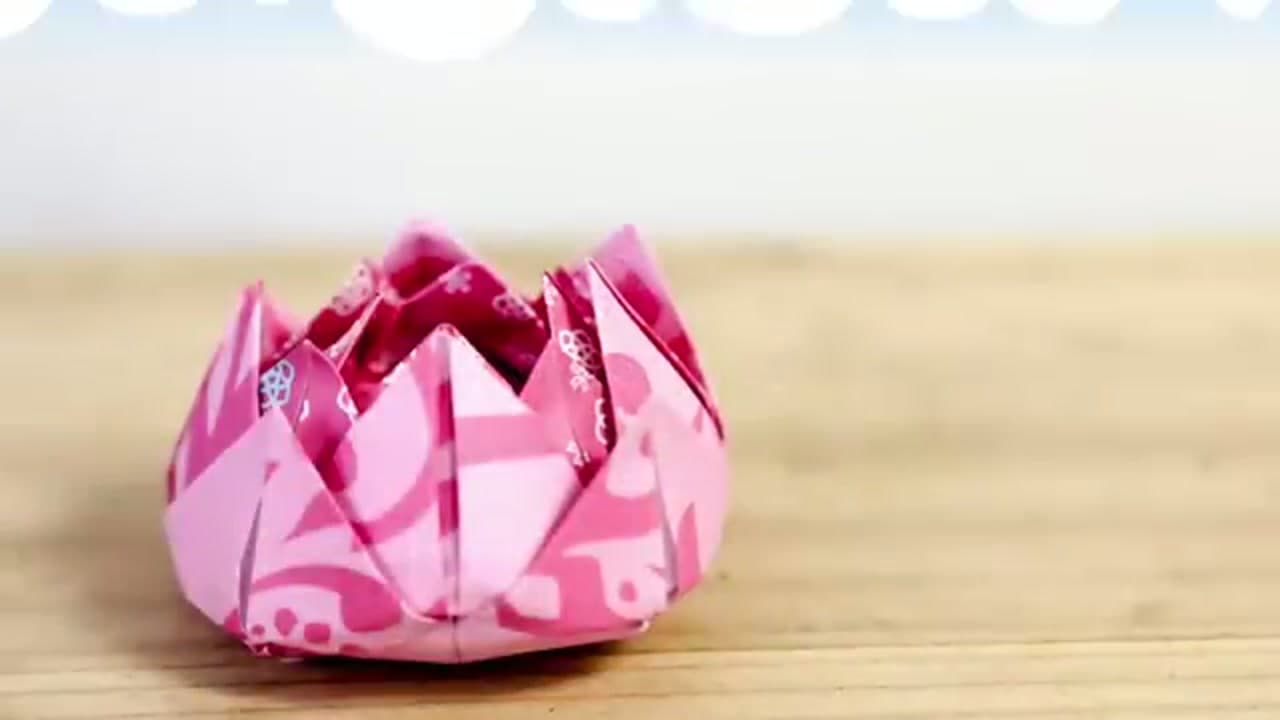
Ease the last inner petals into place and pinch the outer ones to round out the shape. Your origami lotus is done. Sit it on a shelf, float it in a bowl, or make a second one and nest them together for a bigger, fuller bloom. Once you've folded a couple you'll have the 31 pattern memorized.

Products Used

☐ The Checklist

How to Make an Origami Lotus Flower

Tools
2
Materials
1
Steps
8
Video
8 min

Tools

2 items

Materials

1 item

Your Guide

Paper Kawaii - Origami Tutorials

As an Amazon Associate we earn from qualifying purchases. Links on this page may be affiliate links - clicking them and buying doesn't change your price, but helps support ShowMeStepByStep.

Tags

Test your knowledge

Did the lesson stick? Find out in 2 minutes.

5 quick questions covering what you just read. No signup, no score saved — just a gut check.

Quick reference

Key takeaways from How to Make an Origami Lotus Flower

5 questions, answers, and one-line explanations. Tap to expand.

  1. 1.The '31' memory trick for this lotus means folding the corners in how?

    Answer: Three times, flip, once more

    Paper Kawaii's cue: fold the corners in three times, flip over, then fold once more.

  2. 2.Why press every crease firmly, ideally with a bone folder?

    Answer: Stacked layers spring open

    With many layers stacked, sharp creases keep the folds from popping back open.

  3. 3.How are the petals formed at the end?

    Answer: Peel each flap up

    You gently peel each folded flap up and over to stand as a petal.

  4. 4.Why support the base while peeling the petals up?

    Answer: The tips can rip

    Holding the base keeps the paper from tearing at the folded tip as it lifts.

  5. 5.This lotus starts with the same move as many models: all four corners to the center. That base is called what?

    Answer: The blintz base

    Folding all four corners to the middle is the blintz base, the lotus's foundation.

Did this work for you?

What's next

Related collections

Curated theme pages that include this tutorial.

Weekly Digest

Liked this paper crafts tutorial?

Pick the categories you want to hear about. Weekly digest of new step-by-step tutorials. No spam, easy unsubscribe.

Send me tutorials about

We only email about new tutorials. Easy unsubscribe anytime.