How to Paint Rocks

CraftsEasy6:256 stepsBrowse more →
Also in:Painting

By ShowMeStepByStepPublished

Based on a video by Rock Painting 101.

Rock painting is one of the easiest crafts to start, and you probably have most of what you need at home already. This tutorial from the Rock Painting 101 YouTube channel walks you through the whole thing, start to finish, so you can paint your very first rock with confidence.

You will go from a plain stone to a finished, sealed kindness rock. Along the way you will learn where to get good rocks, how to clean them, which paints and pens work best for beginners, and how to seal your art so it survives outside.

The best part comes at the end: hiding your painted rocks around town for someone else to find. It is a small thing that makes people smile, and once you start, you will want to paint dozens.

Step-by-Step Guide

1

Step 1: Choose Your Rocks

2:02
Step 1: Step 1: Choose Your Rocks

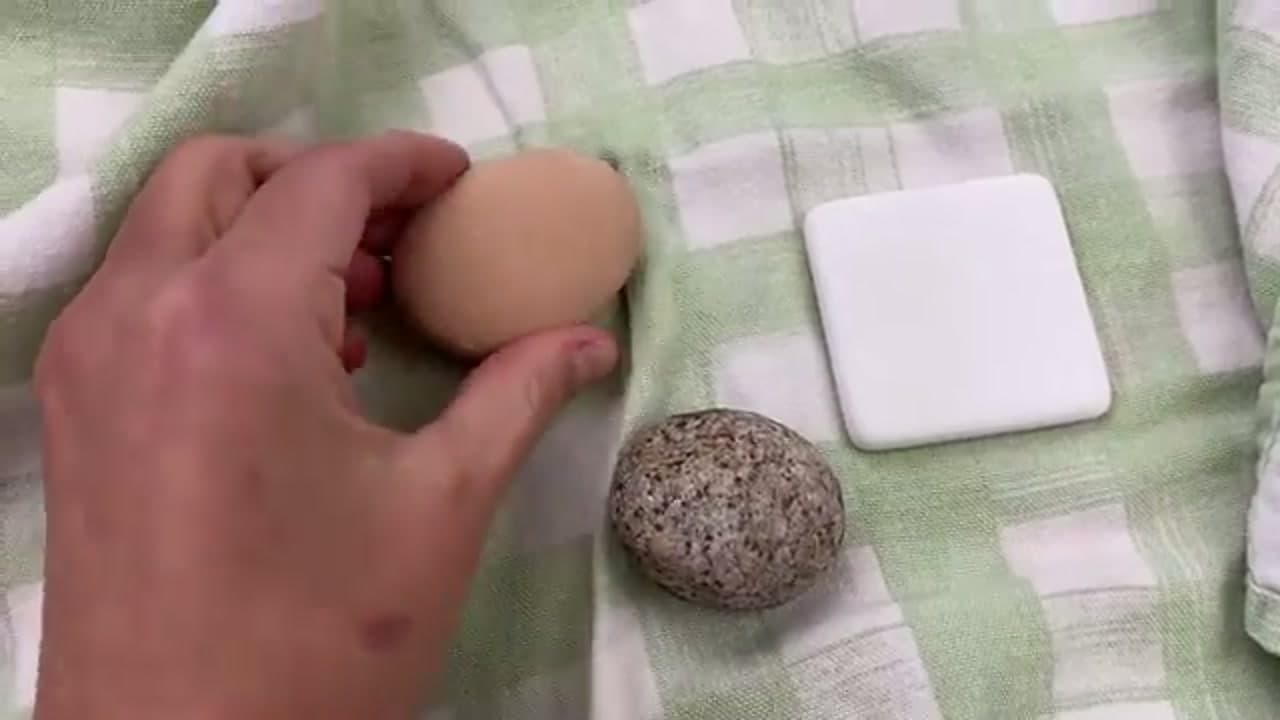
Start with smooth, flat rocks. They give you the most room to paint and they are the kindest to your brushes. You can hunt for them in your own yard, order a bag online, or pick some up at a landscaping store. One heads up: a lot of parks do not allow you to take rocks, so skip those and stay out of trouble. Aim for shapes that feel good in your hand and have a flat-ish face to work on.

Tip

River rocks and beach pebbles have the smoothest surface, which makes paint pens glide instead of skip.

Products used in this step

2

Step 2: Prep and Clean the Rocks

1:58
Step 2: Step 2: Prep and Clean the Rocks

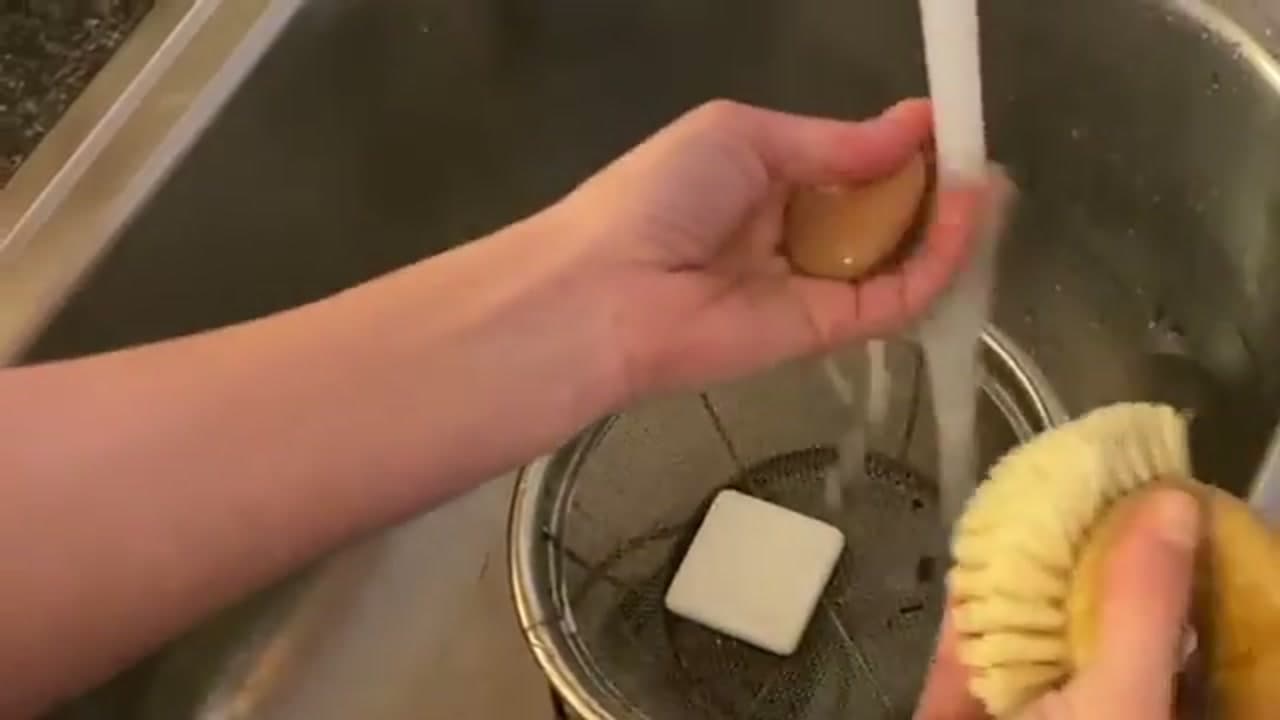
Clean rocks hold paint much better. Run each one under warm water and give it a good scrub with a vegetable brush. That knocks off the dust and grit so the paint has a clean surface to grab. Please skip the dishwasher, even though people swear by it online. Once they are clean, lay the rocks flat to dry all the way through. Flip them halfway so every side gets air and nothing stays damp underneath.

3

Step 3: Gather Your Paints and Pens

3:05
Step 3: Step 3: Gather Your Paints and Pens

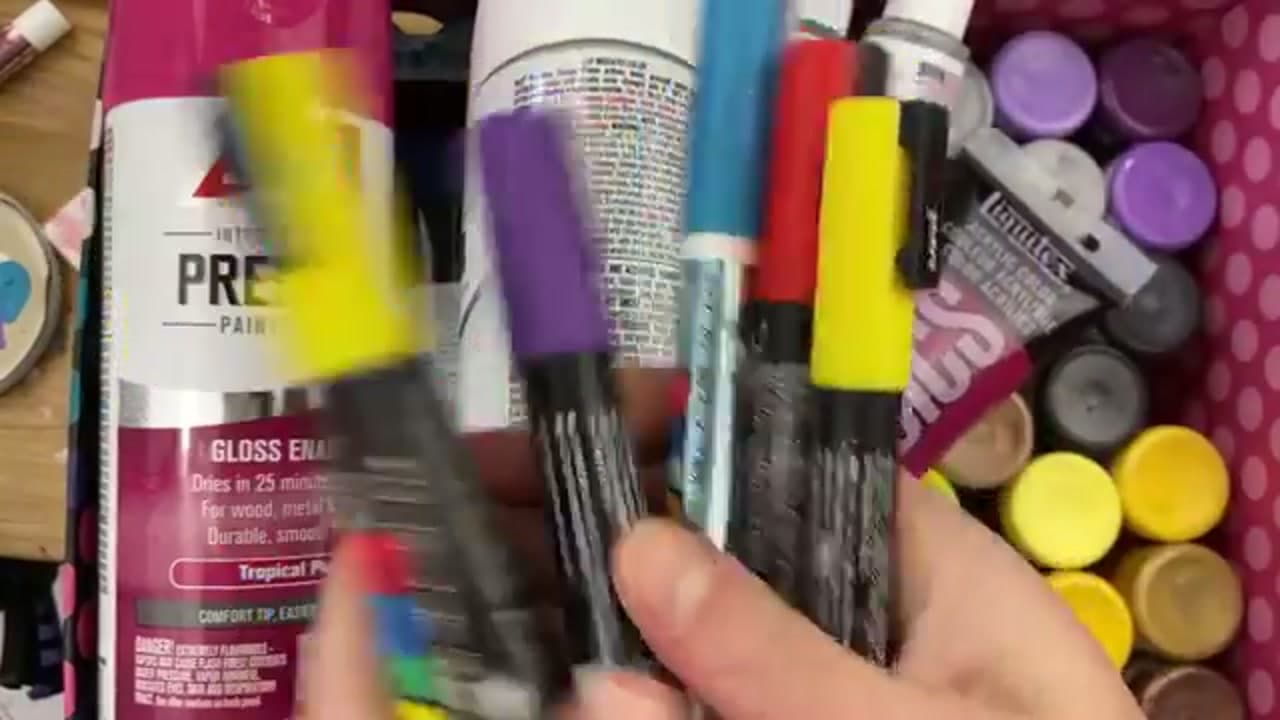
Raid your craft stash first. Regular tube acrylics work great, and you can add water if the paint feels too thick. If you are brand new to this, paint pens are the easiest way to start. They come in tons of colors and tip sizes, and you get way more control than you do with a brush. Grab a handful of colors you love, plus a base coat color if you want a smooth background to draw on later.

Tip

Water-based paint pens like Posca sit right on top of the rock and dry fast, which makes them forgiving for first-timers.

4

Step 4: Base Coat or Paint Straight On

3:45
Step 4: Step 4: Base Coat or Paint Straight On

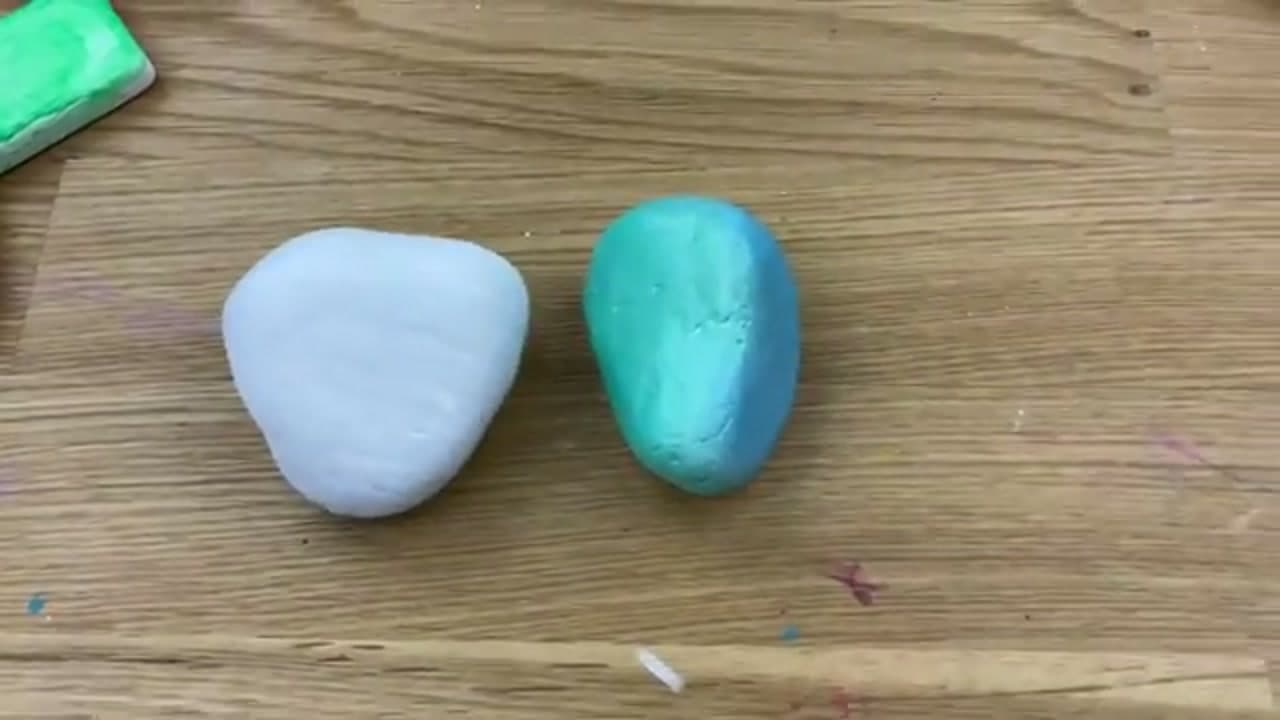
Now decide your background. A base coat gives you a clean, even color to draw on, and it hides the rock's natural texture. You can brush it on, spray it, or pour paint over the rock for a marbled look. If your rock is already pretty on its own, skip the base coat and paint right on the stone. Whatever you choose, let each layer dry fully before adding the next one so your colors stay crisp.

Tip

Two thin base coats look smoother than one thick one and are far less likely to crack as they dry.

5

Step 5: Paint Your Design and Seal It

4:10
Step 5: Step 5: Paint Your Design and Seal It

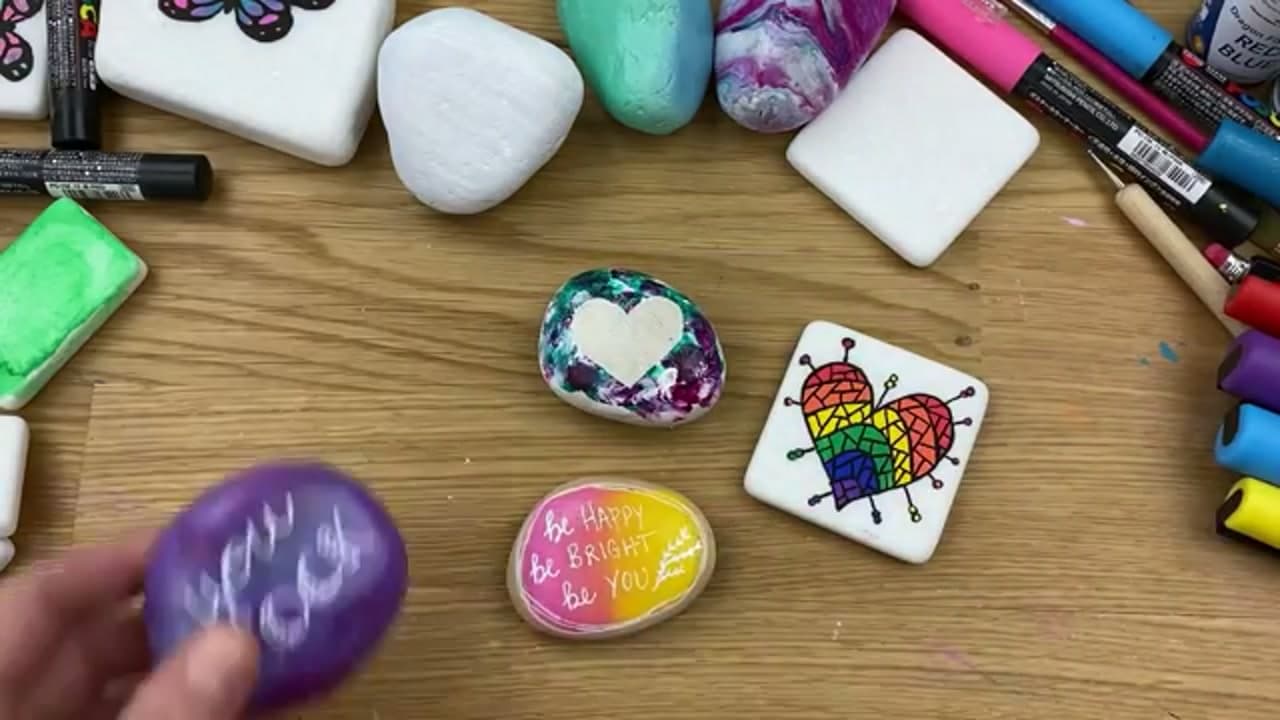
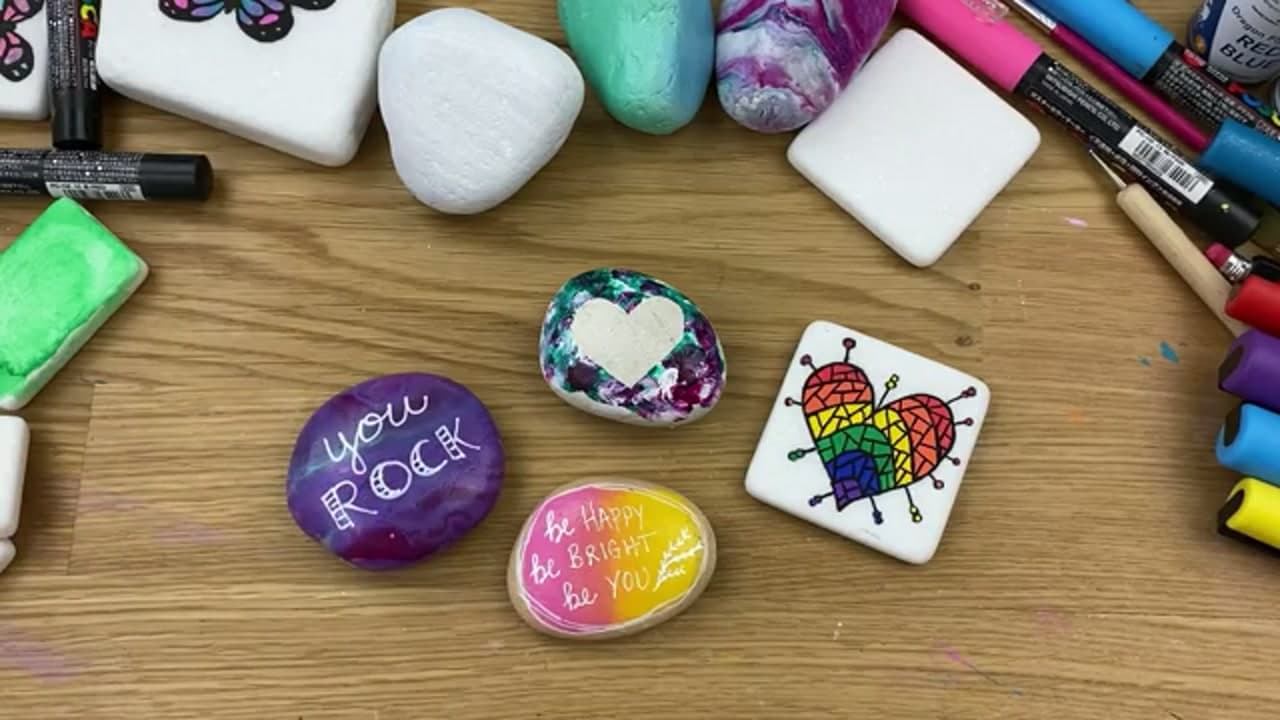
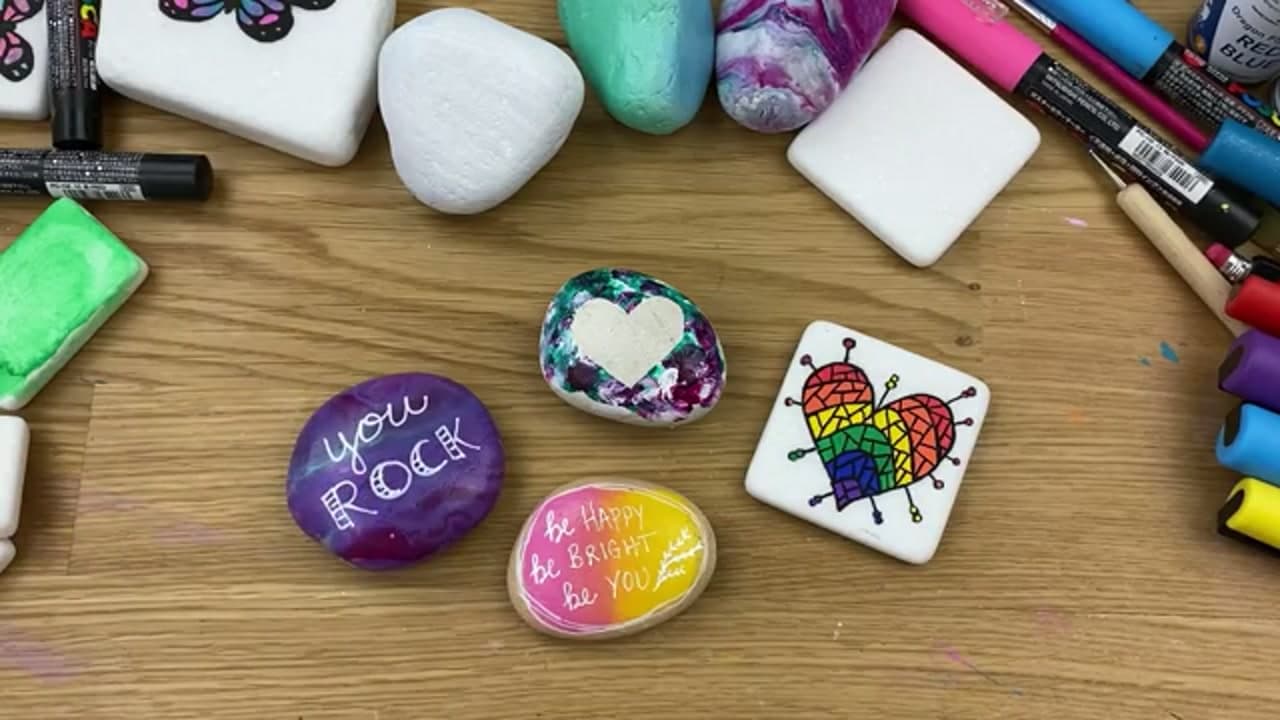
Here is where the fun kicks in. Kindness rocks are a favorite: a colorful background with a short saying on top, like "you rock" or "be happy." You can also do hearts, flowers, or simple shapes. Once your design is completely dry, seal it so it can handle rain and sun outside. A spray sealer is quick if you have a garage or good airflow, and brush-on sealer works too. Do not skip this part if the rock is going outdoors.

Tip

Let paint pens cure for a few hours before sealing, or the sealer can smear fresh ink.

Products used in this step

6

Step 6: Hide Your Rocks Around Town

4:15
Step 6: Step 6: Hide Your Rocks Around Town

The last step is letting them go. Tuck your finished rocks in parks, along trails, or around your neighborhood for someone to stumble on. It is a tiny random act of kindness that genuinely brightens a stranger's day. To connect with other painters, search your city name plus the word "rocks" on Facebook and you will likely find a local hiding group. If your town does not have one yet, start it. Then go paint more, because you will run out of hiding spots fast.

Products Used

☐ The Checklist

How to Paint Rocks

Tools
5
Materials
5
Steps
6
Video
6 min

Your Guide

Rock Painting 101

As an Amazon Associate we earn from qualifying purchases. Links on this page may be affiliate links - clicking them and buying doesn't change your price, but helps support ShowMeStepByStep.

Tags

Did this work for you?

What's next

Weekly Digest

Liked this crafts tutorial?

Pick the categories you want to hear about. Weekly digest of new step-by-step tutorials. No spam, easy unsubscribe.

Send me tutorials about

We only email about new tutorials. Easy unsubscribe anytime.