How to Make a Mosaic Flower Pot

CraftsMedium5:528 stepsBrowse more →
Also in:Gardening

By ShowMeStepByStepPublished

Based on a video by First Day of Home.

Got a pretty plate with a chip in it? Don't toss it. Chrissy from First Day of Home turns thrift-store plates into mosaic flower pots, and the whole thing costs a few dollars if you shop the Goodwill shelf like she does.

You'll break the plate into small pieces, glue them onto a plain terracotta pot in your own pattern, then grout and wipe it to reveal the design. The grouting is the fun part - the pot looks like a mess right up until you wipe it clean.

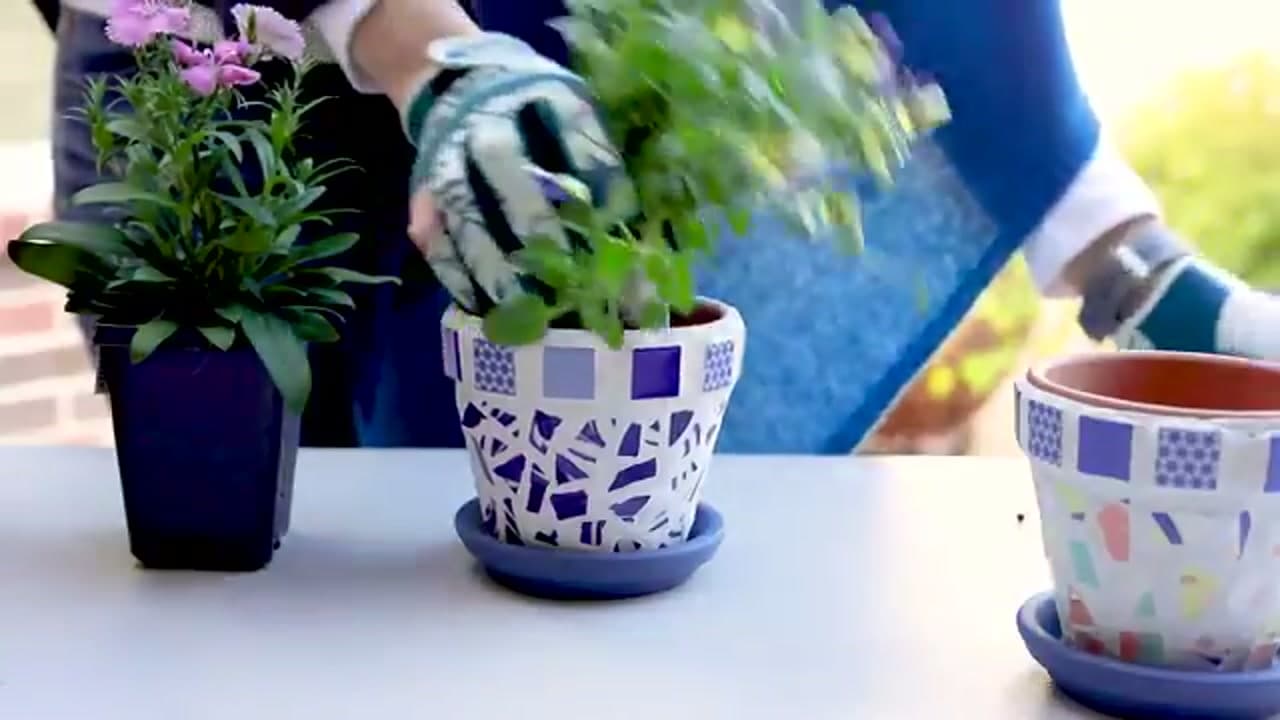
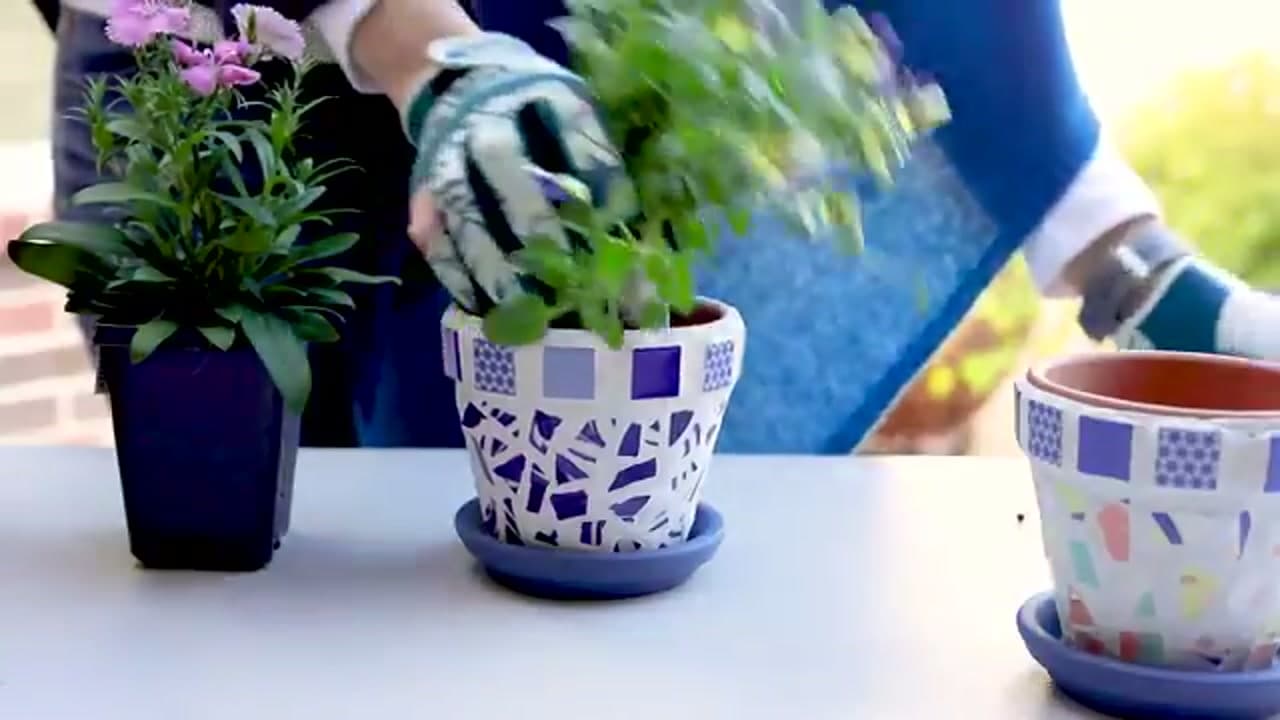
By the end you'll have a planter that's ready for pansies, dianthus, or whatever brightens your container garden this spring.

Step-by-Step Guide

1

Step 1: Seal the Pot and Gather Supplies

0:44
Step 1: Step 1: Seal the Pot and Gather Supplies

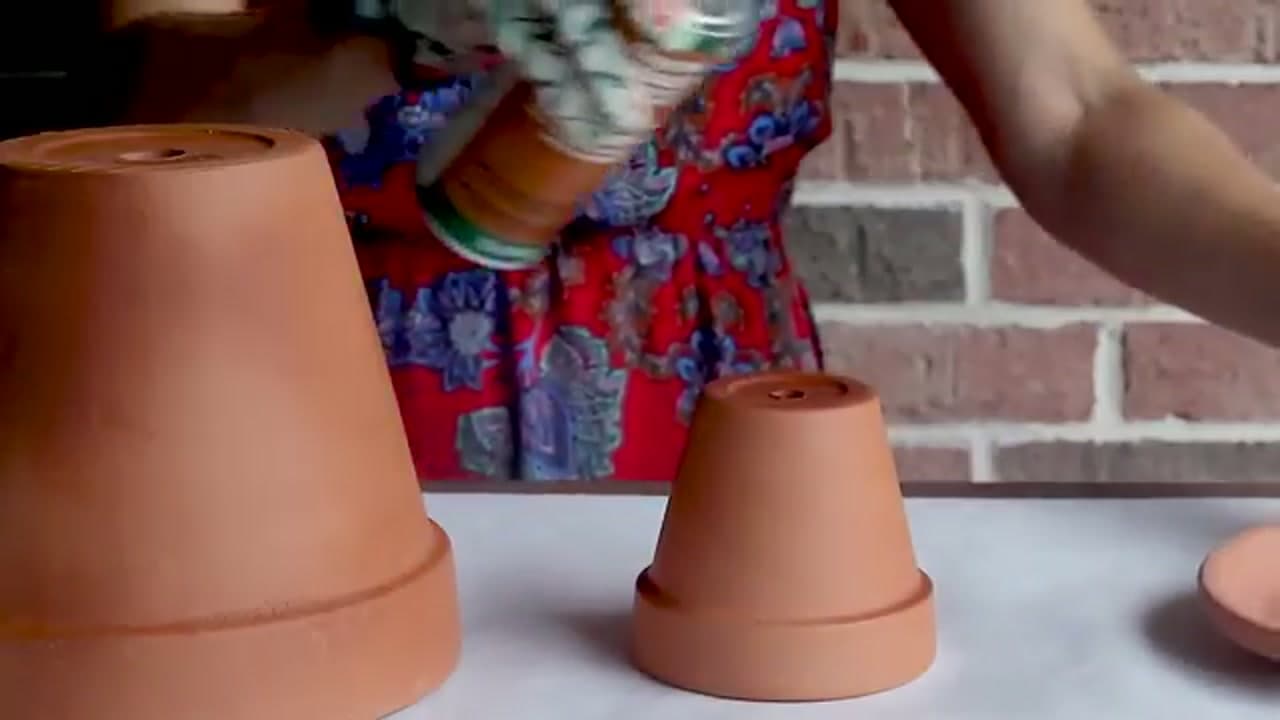
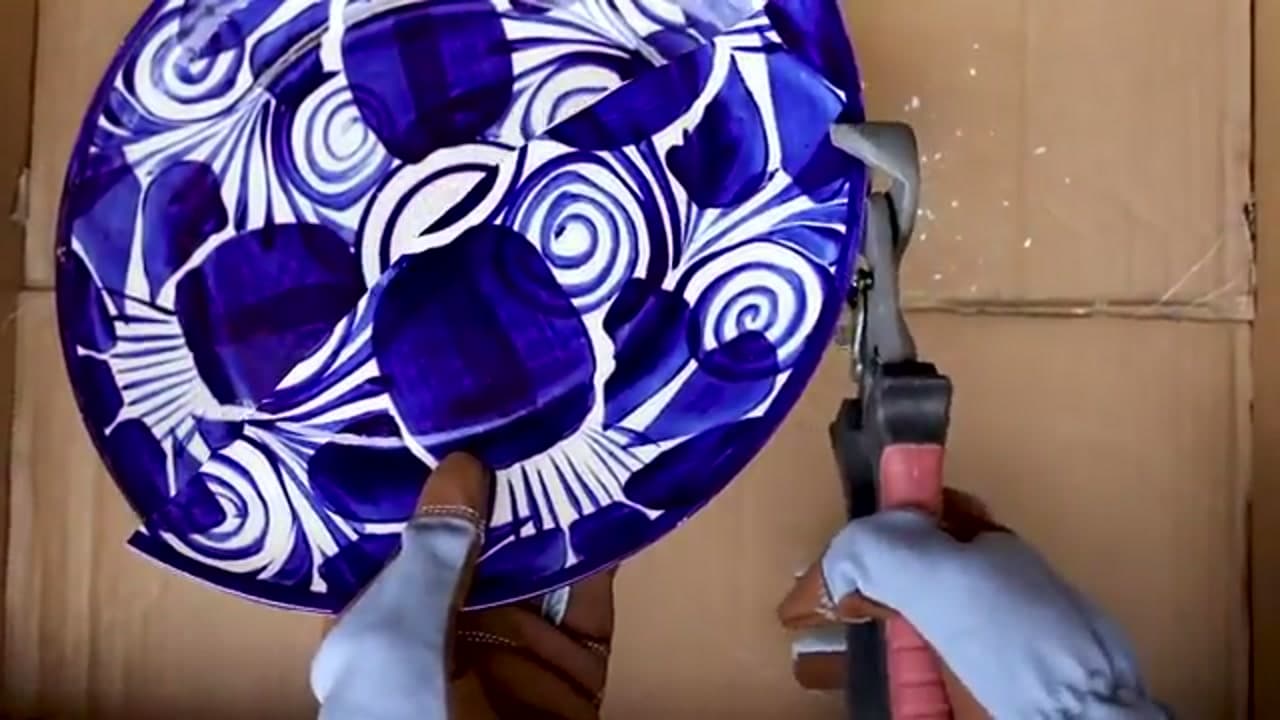
Start with plain terracotta pots. Chrissy seals the inside and outside of each pot with a clay pot sealer first, which helps the finished piece hold up outdoors. Pull together the rest of your supplies while that dries: a plate you love, tile nippers, gloves, and safety goggles. She grabbed a blue and white plate at her local thrift store and knew right away it would make a pretty pot.

Tip

No plate on hand? Pre-cut mosaic tiles from a craft store work just as well and mix in nicely with plate pieces.
2

Step 2: Break the Plate with Tile Nippers

1:20
Step 2: Step 2: Break the Plate with Tile Nippers

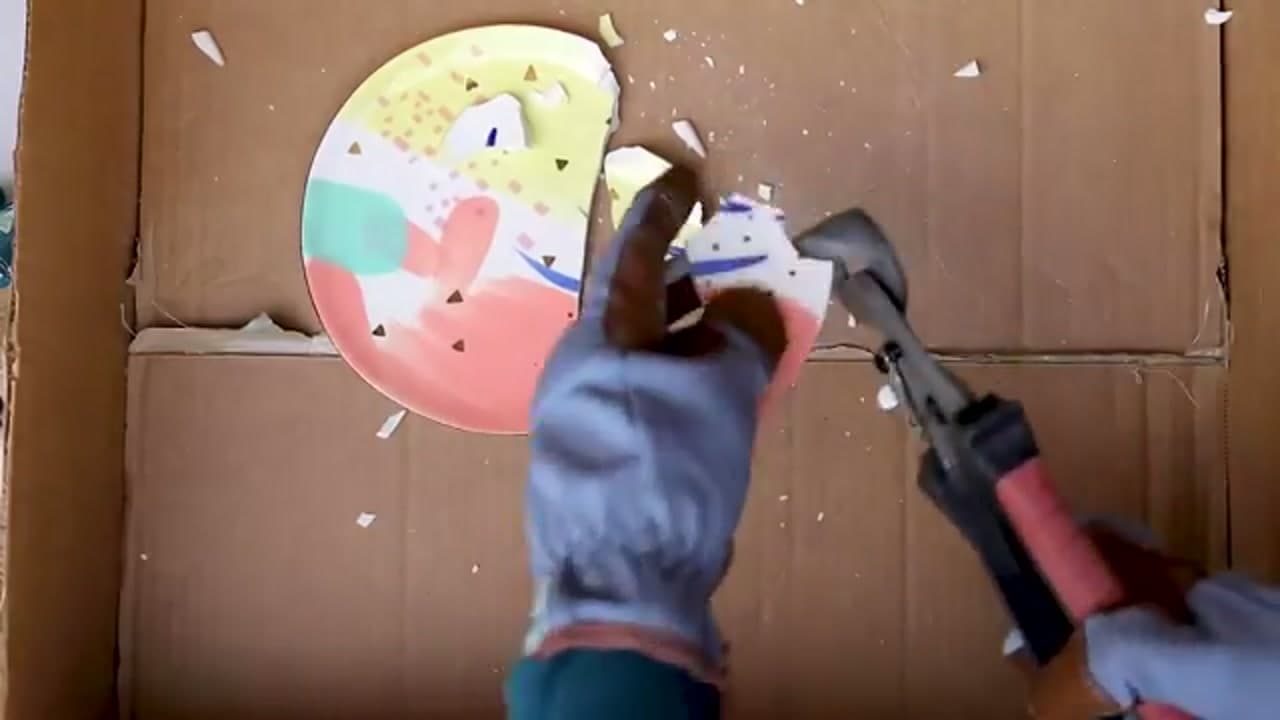
Put your safety goggles and gloves on before you break anything. Take your tile nippers and start snapping the plate into smaller pieces. Chrissy works inside a cardboard box so the shards stay contained, because it gets messy as the pieces get smaller. If you'd rather keep it fully sealed off, drop the plate in a ziploc bag and break it inside the bag.

Tip

Chrissy calls this the best stress relief in the whole project. Take your time and enjoy it.

3

Step 3: Nip the Pieces Down to Size

2:05
Step 3: Step 3: Nip the Pieces Down to Size

Keep nipping until your pieces land around half an inch to three-quarters of an inch. That size lays flat on a small pot and grouts cleanly. Chrissy mixed in a second plate she found at Goodwill for a couple of dollars, though she notes a curved salad plate is harder to cut than a flatter dinner plate. Experiment with different plates and pot sizes to see what you like.

Products used in this step

4

Step 4: Glue the Tiles onto the Pot

3:05
Step 4: Step 4: Glue the Tiles onto the Pot

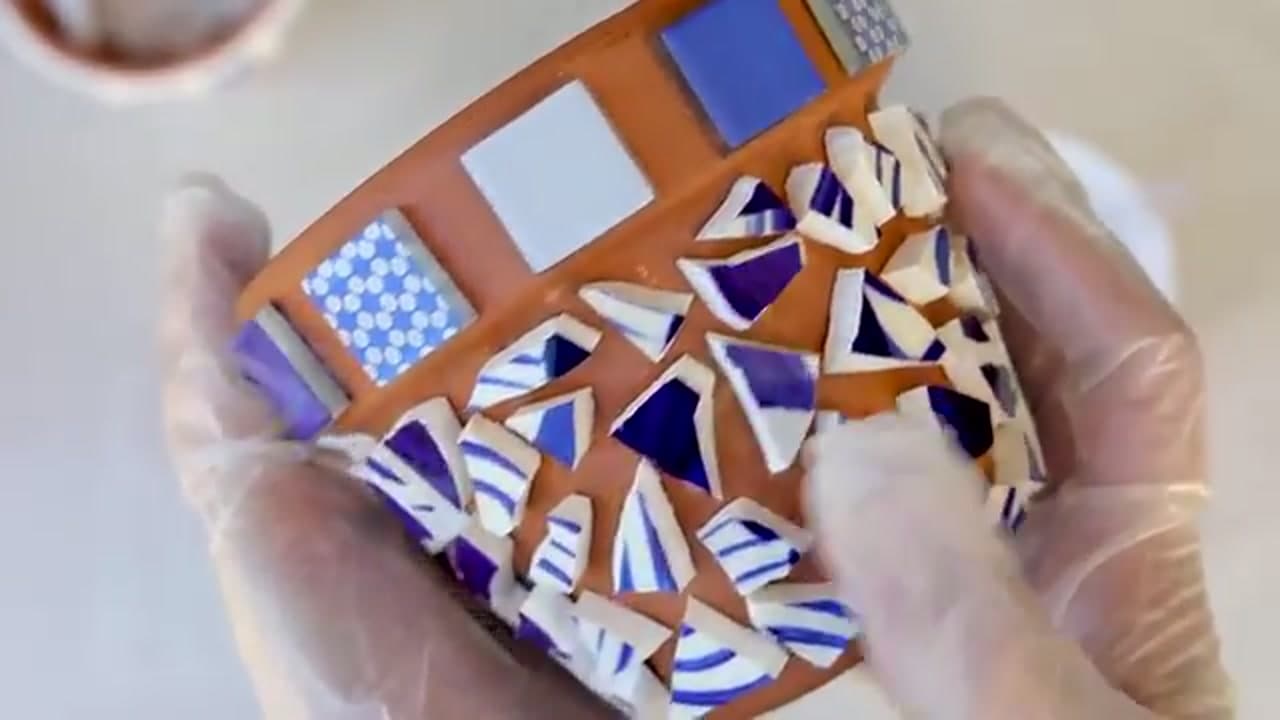
Now the design comes together. Spread tile adhesive on the pot and press your pieces on in a pattern. Chrissy scales her tile sizes to the pot, so for these small pots she sticks with the half-inch to three-quarter-inch pieces. She sets square tiles around the rim as a border, then fills the body in a random pattern. If she did it again, she'd measure the rim first and space the border tiles a little closer together.

Tip

Lay a few tiles out dry before gluing so you can see the pattern and count how many border pieces you need.

Products used in this step

5

Step 5: Mix the Grout

3:20
Step 5: Step 5: Mix the Grout

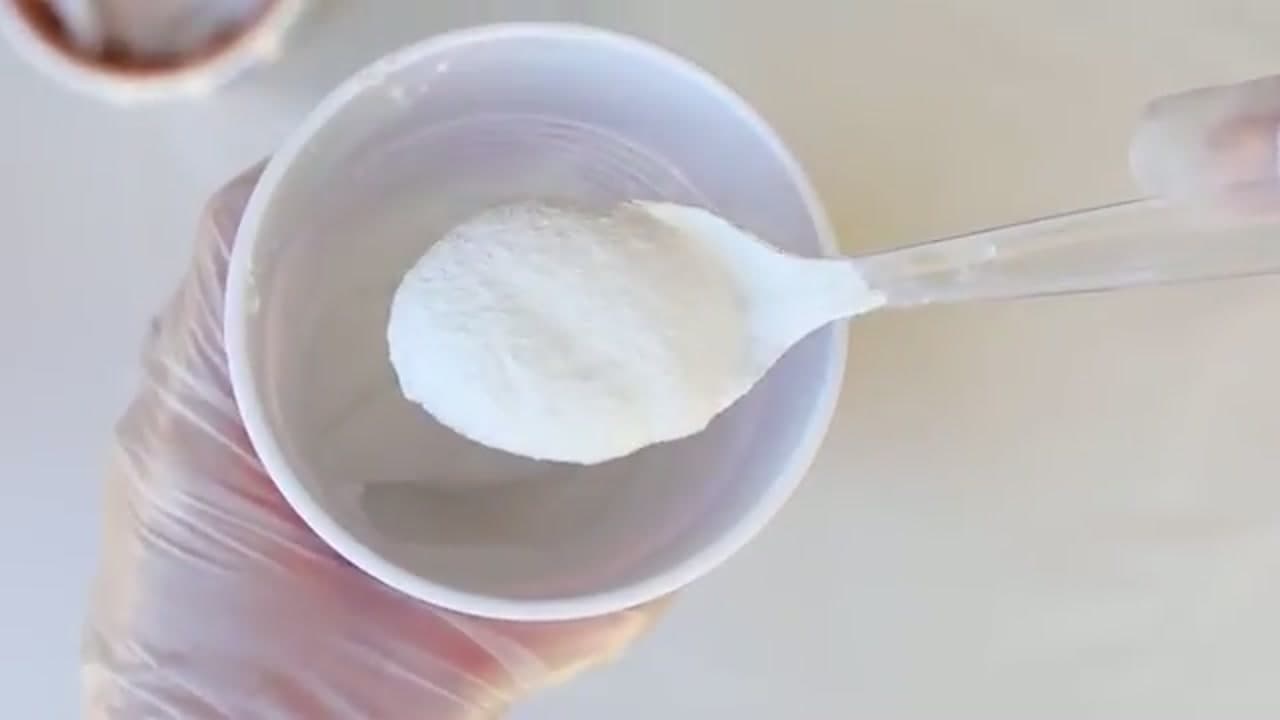
Let the adhesive set for about five or six hours, then mix your grout. Chrissy stirs powdered grout with water until it hits a consistency like toothpaste. Her one big piece of advice: make more grout than you think you'll need. You do not want to run out halfway through a pot and have to mix a fresh batch that doesn't match.

Products used in this step

6

Step 6: Spread Grout Over the Tiles

3:50
Step 6: Step 6: Spread Grout Over the Tiles

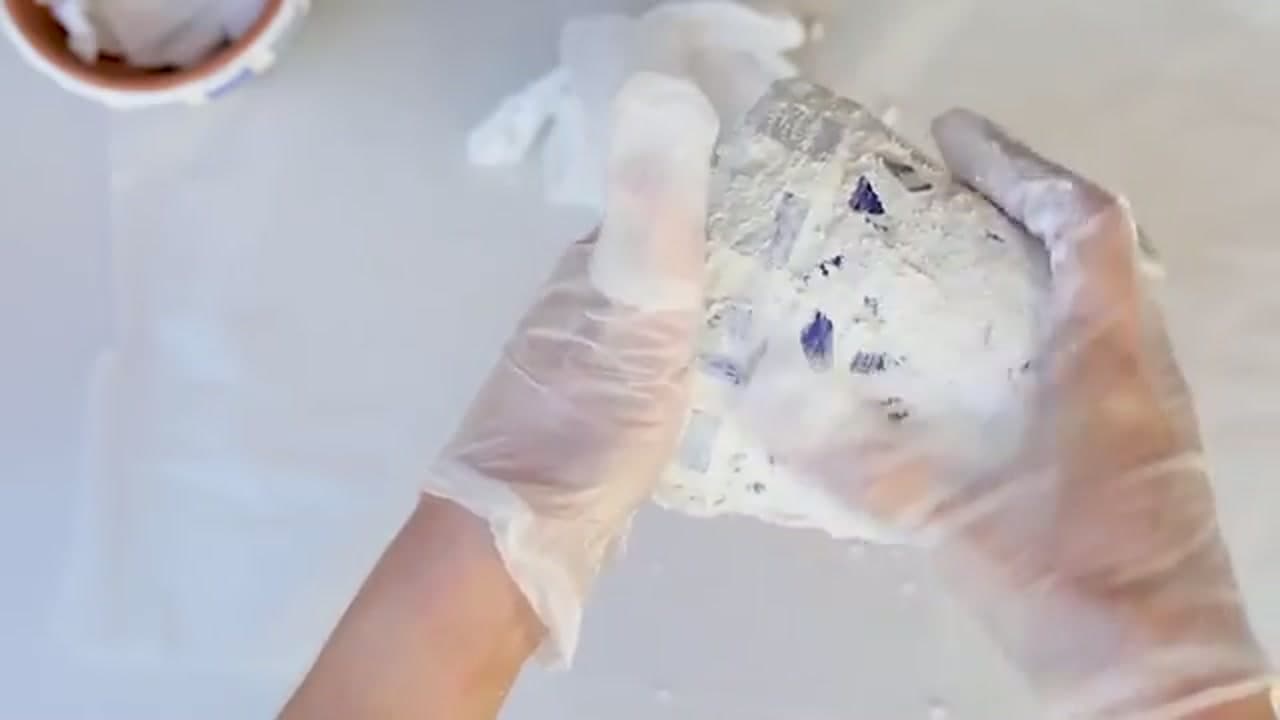
Work the grout over the entire pot with gloved hands, pushing it into every crack and crevice between the tiles. Do not panic when the whole thing disappears under a layer of grout. It looks like a mess at this stage and that is exactly right. The gaps have to be packed full for the mosaic to hold together and look finished.

Tip

Press firmly so no air pockets hide in the gaps between pieces.

Products used in this step

7

Step 7: Wipe It Clean to Reveal the Design

4:10
Step 7: Step 7: Wipe It Clean to Reveal the Design

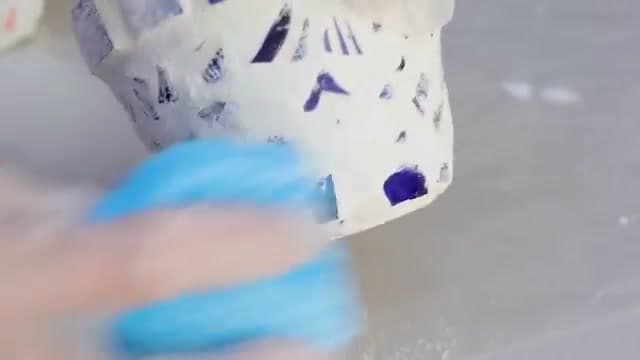
This is where it gets pretty. Take a sponge that's just barely damp and scrape the grout off the faces of the tiles. The pattern appears as you go, and the colors pop back through the haze. Rinse and wring your sponge often so you're not smearing grout back onto the tiles you already cleaned.

Products used in this step

8

Step 8: Cure, Seal, and Plant

5:02
Step 8: Step 8: Cure, Seal, and Plant

Let the pot cure overnight so the grout sets before you touch it. The next day, buff it with a clean damp cloth to clear any last grout haze. Chrissy also seals the grout with a mosaic tile sealer, which isn't required but helps the pot last longer outside. Then plant your flowers and set it out on the patio. That thrift-store plate is now a planter no one else has.

Tip

Sealing the grout is optional but worth it if the pot lives outdoors year round.

Products used in this step

Products Used

☐ The Checklist

How to Make a Mosaic Flower Pot

Tools
6
Materials
7
Steps
8
Video
6 min

Your Guide

First Day of Home

As an Amazon Associate we earn from qualifying purchases. Links on this page may be affiliate links - clicking them and buying doesn't change your price, but helps support ShowMeStepByStep.

Tags

Did this work for you?

What's next

Weekly Digest

Liked this crafts tutorial?

Pick the categories you want to hear about. Weekly digest of new step-by-step tutorials. No spam, easy unsubscribe.

Send me tutorials about

We only email about new tutorials. Easy unsubscribe anytime.