1
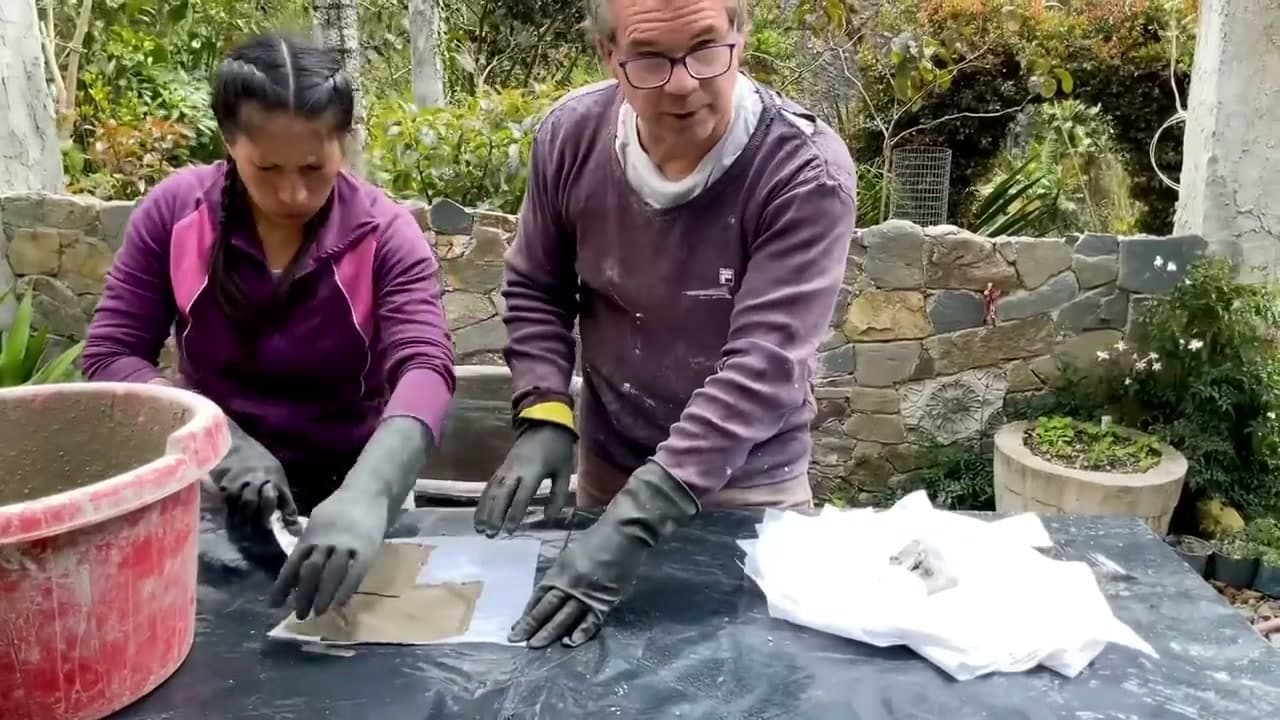
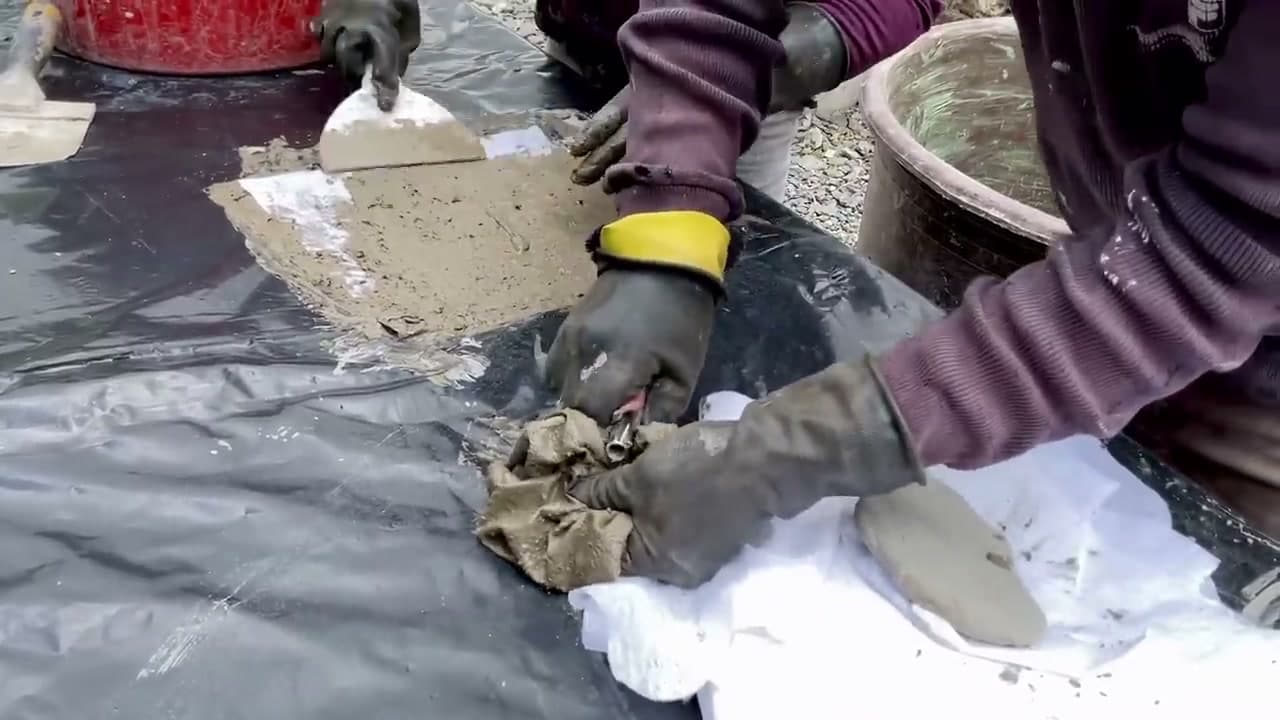
Step 1: Cut Your Cement Fabric Into Squares
2:55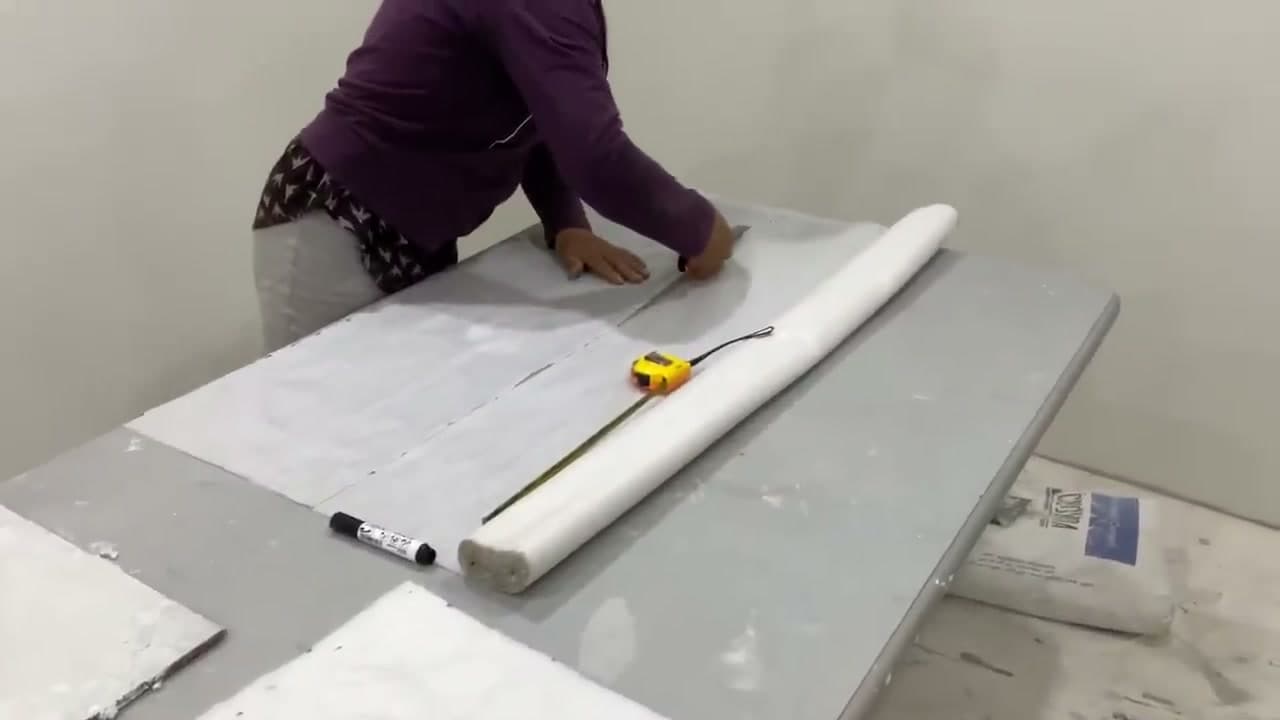
Cut your cement-impregnated fabric into roughly 1 foot by 1 foot squares. For a full-size planter you want about 40 squares; a small desk planter needs maybe 10 to 15. Small squares are far easier to wrap around a curved mold than wrestling with one big sheet.
The fabric is a polypropylene-and-cement composite (Sika is the common brand). Plain landscape fabric works in a pinch, but a true cement fabric gives you the strongest finished planter.
Tip
Lay your squares flat in a stack so they're ready to grab when your hands are covered in wet cement.