How to Carve a Pumpkin (Classic Jack-O'-Lantern Step-by-Step)

CraftsEasy9:248 stepsBrowse more →

By ShowMeStepByStepPublished

Based on a video by DaveHax.

A jack-o'-lantern is the easiest big-impact Halloween decoration you can make. One pumpkin, a knife, a marker, and forty minutes - and the porch looks like a holiday. The technique is the same whether you carve a simple triangle-eye smile or go full Spider-Man web pattern. Cut the top, hollow it out, draw your design, carve, light it.

Pick a pumpkin with a flat-ish bottom so it won't roll, and a sturdy stem you can grab as a handle for the lid. Heavier is better - a hollow-feeling pumpkin is past its prime and the walls will be thin and prone to cracking. If you're carving with kids, get one with smooth skin instead of deep ribs; the marker lines are easier to follow.

This tutorial walks the classic toothy jack-o'-lantern from DaveHax's roundup of Halloween pumpkin ideas. Once you've got the basic technique, the variations at the bottom (Spider-Man, Batman, monogram, disco ball) all use the exact same hollow-out and the only thing that changes is what you draw on the front.

One bit of fall-cooking trivia: don't throw the seeds out. They roast into a snack you can eat off a sheet pan in 25 minutes - see how to roast pumpkin seeds for the easy oven method.

Step-by-Step Guide

1

Pick Your Pumpkin and Lay Out Your Tools

1:40
Step 1: Pick Your Pumpkin and Lay Out Your Tools

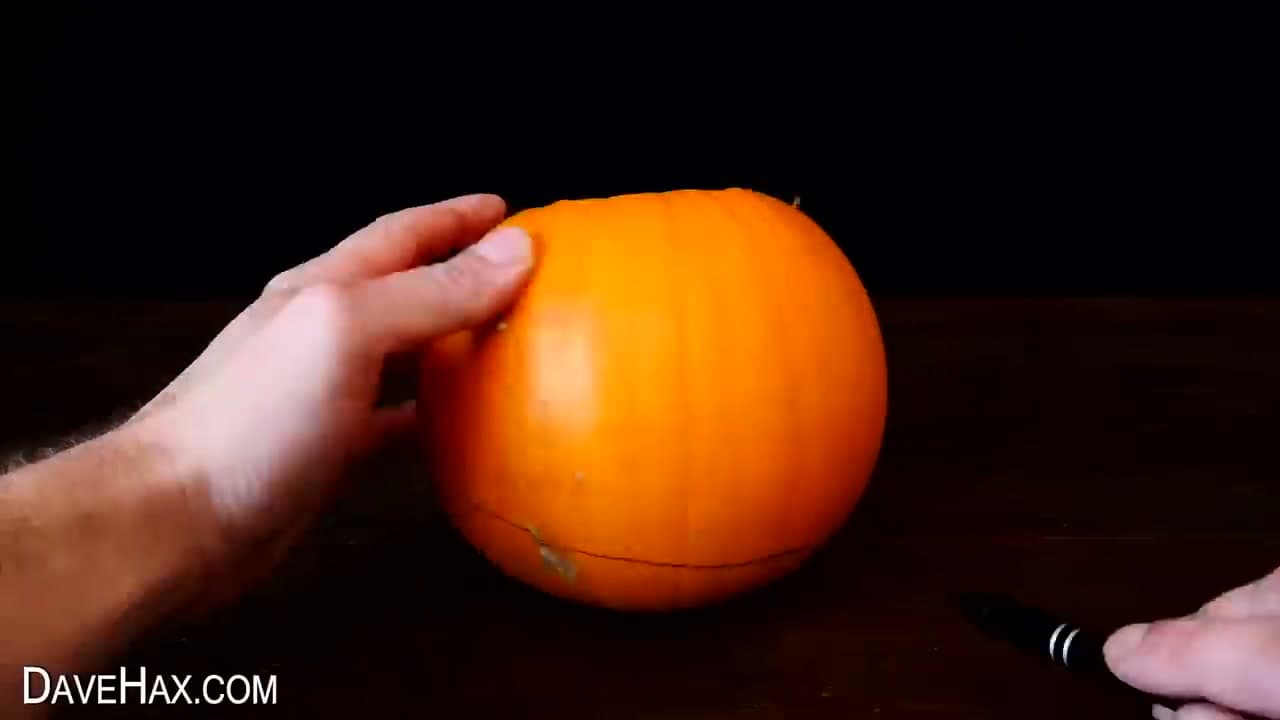
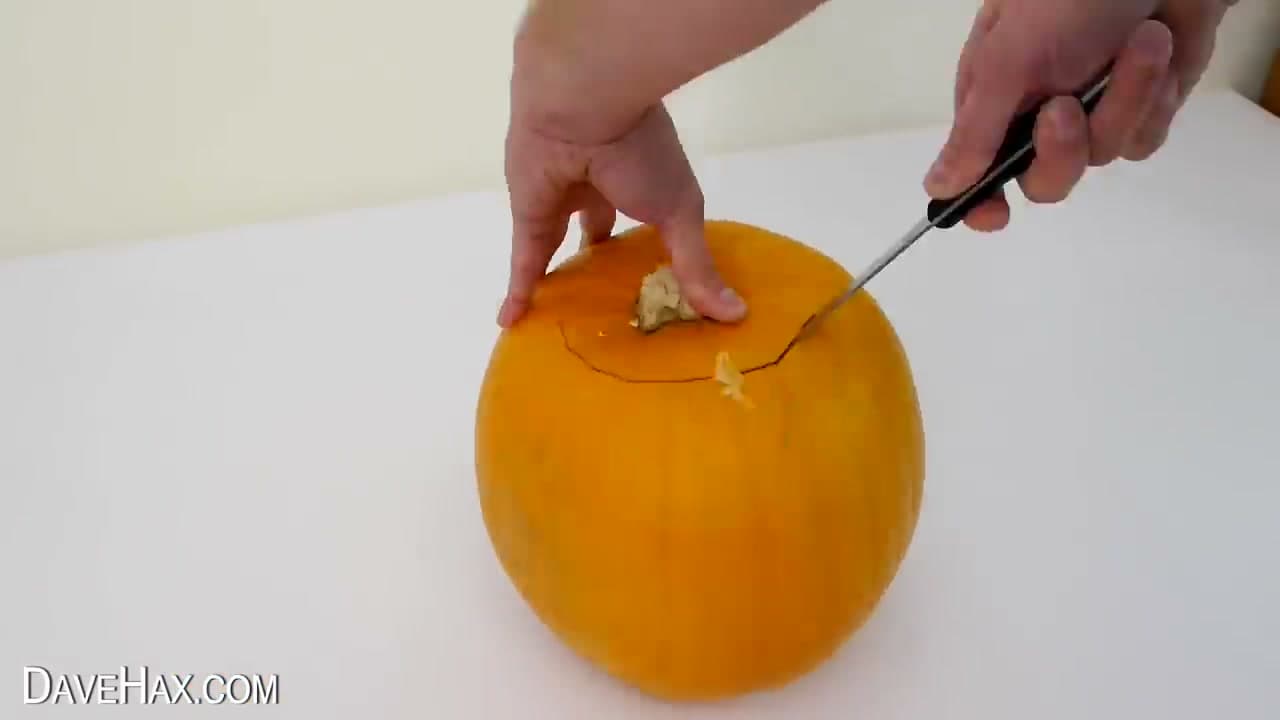
Grab a fresh pumpkin - heavy for its size, with a stem still attached and a flat-enough bottom that it won't roll on the table. Set it on a cutting board or a few layers of newspaper because this is going to get messy.

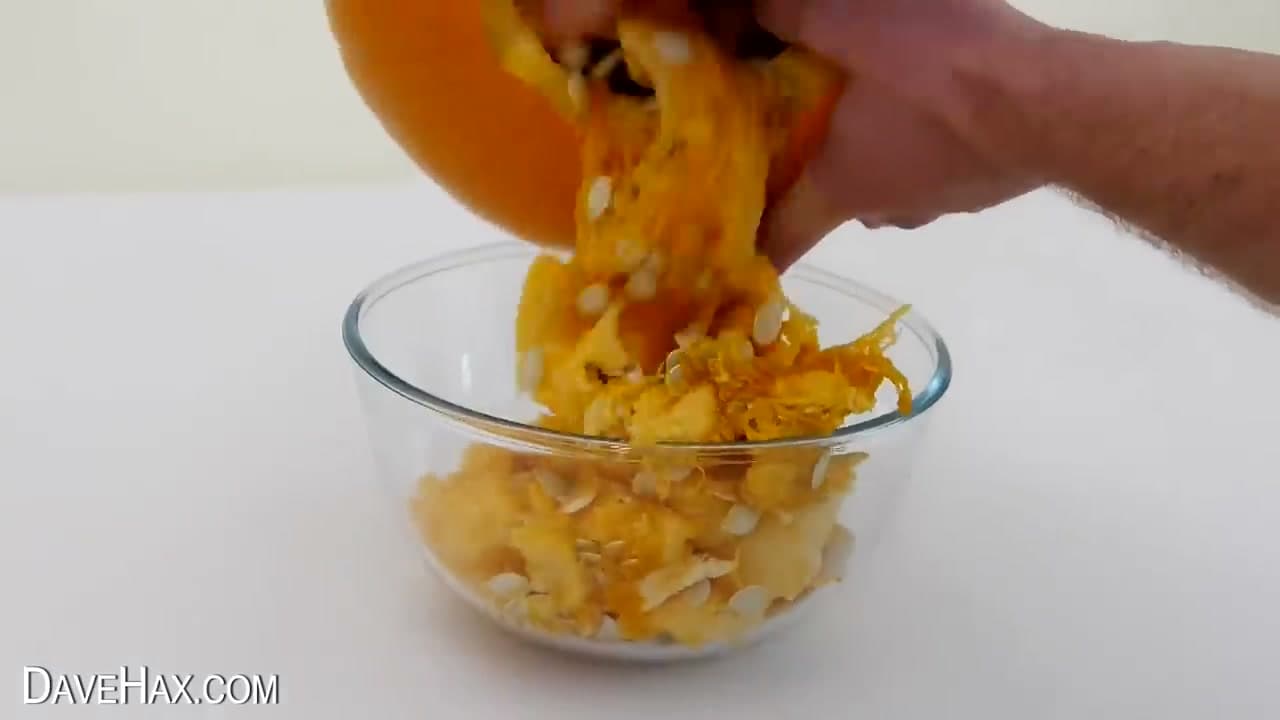
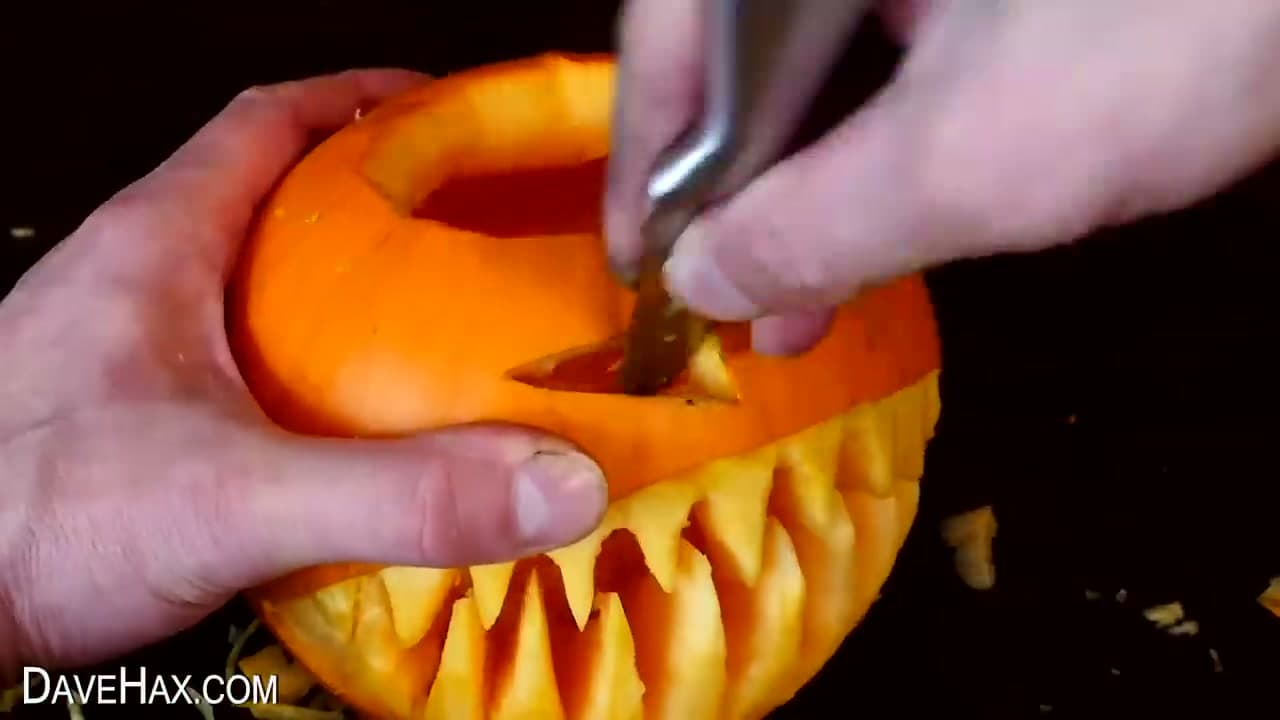
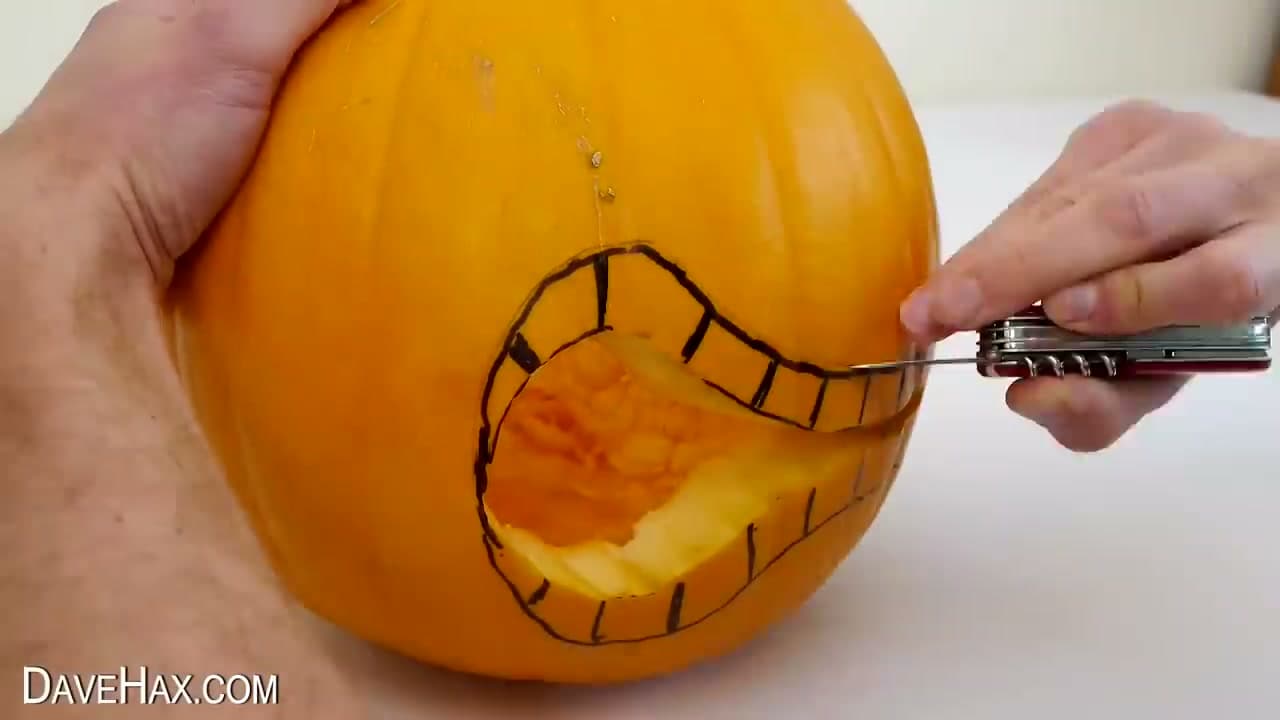
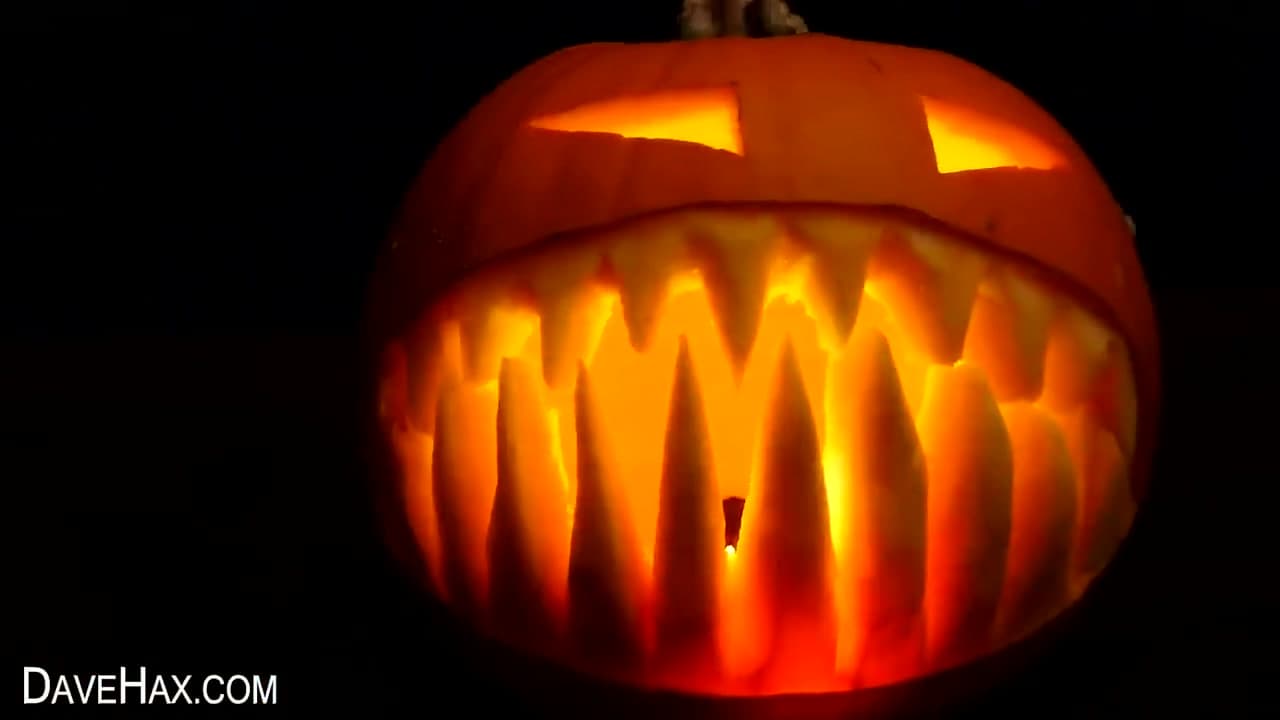
Lay out your tools: a serrated kitchen knife for the lid, a small paring knife for the face, a pumpkin scoop (or just a sturdy metal spoon), a black permanent marker for sketching, and a battery tealight for lighting it later. A bowl on the side catches the seeds. That's it - no pricey pumpkin-carving kit required, though a $5 kit does come with a nice serrated scoop if you carve more than one.

Tip

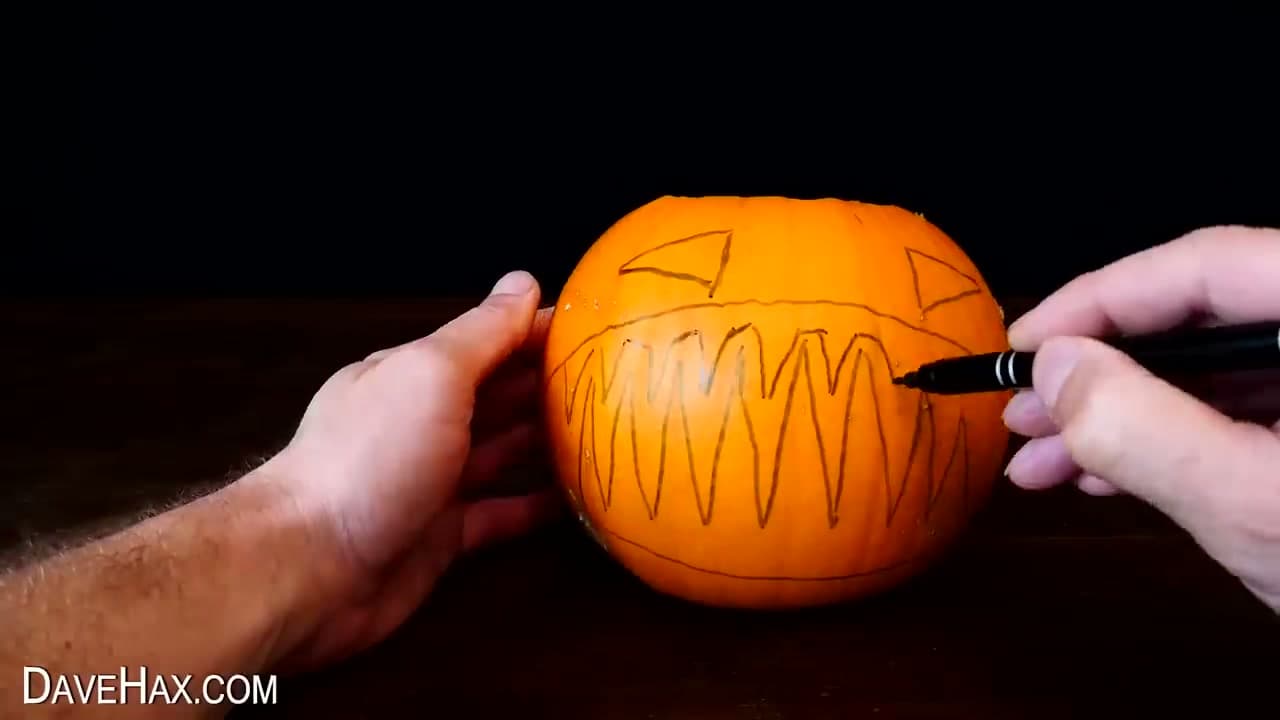
Wipe the spot you're about to draw on with a damp paper towel first. The marker glides smoother on clean skin and the line stays thin and accurate.

2

Cut the Top Off the Pumpkin

0:18
Step 2: Cut the Top Off the Pumpkin

Draw a circle around the stem about four inches across - big enough for your hand and the scoop to fit through. Cut on the marker line with a serrated kitchen knife, angling the blade inward toward the center as you go. That angle is the trick: it leaves a ledge inside the pumpkin so the lid drops back in without falling through.

Saw with short back-and-forth strokes, keeping the knife tip aimed at the center of the pumpkin. Once you've cut all the way around, work the stem upward to free the lid. Twist gently if it sticks - the pulp on the underside grips the rim.

Tip

Skip the lid if you're using a battery tealight - cut a coin-sized hole in the back of the pumpkin instead, hollow through there, and leave the top intact. The pumpkin lasts twice as long because the top doesn't dry out from the inside.

3

Scoop Out the Seeds and Pulp

0:20
Step 3: Scoop Out the Seeds and Pulp

Reach inside with a pumpkin scoop or a sturdy spoon and pull out the seeds and stringy orange pulp. Drop everything straight into a bowl as you go - don't dump it on the counter, you'll regret it.

Scrape the inside walls until they feel smooth and pale, especially the section behind where you'll cut the face. A thinner front wall is way easier to carve and the light shines through brighter when you're done. Most people stop scraping too early; keep going until the walls feel like the flesh of a melon, not stringy.

Don't throw the seeds out. Rinse them in a colander to wash off the orange goo, dry them on a paper towel, and follow how to roast pumpkin seeds for the easy oven method - they're a free snack out of the same pumpkin you're decorating.

Tip

If your scoop is dull, try an ice cream scoop with a sharp edge - it pulls the pulp off the walls in one clean sweep instead of just pushing it around.

4

Draw the Face on the Pumpkin

1:50
Step 4: Draw the Face on the Pumpkin

Use a black permanent marker to sketch the face directly onto the front of the pumpkin. For a classic look, draw two triangle eyes, a smaller triangle nose, and a wide mouth with pointed teeth - alternating top and bottom like a zigzag.

Sketch loose at first, then go back over your favorite lines a second time to make them thicker. The marker line is your cut guide, so the bolder it is, the less you'll need to squint while you're carving. If you make a mistake, wipe it off with a wet paper towel before the ink sets - washable markers come off even easier than permanent, and any leftover ink will get sliced away when you cut anyway.

Tip

Use a free printable pumpkin pattern if you don't trust your freehand. Tape the pattern over the pumpkin and trace the lines through the paper with a pin or thumbtack, then connect the dots with the marker.

5

Cut Out the Eyes and Nose

2:10
Step 5: Cut Out the Eyes and Nose

Switch to the small paring knife. Push the tip straight into the pumpkin along one of the triangle eye lines and saw gently along the marker mark, keeping the blade perpendicular to the pumpkin's surface. Cut the full triangle, then push the loose piece in or out with your thumb - it'll pop free.

Repeat for the second eye and the nose. Take your time and let the knife do the work; if you're sawing hard, you're cutting in the wrong place. The walls you scraped down in step 3 should be about half an inch thick now, which a sharp paring knife handles in one easy pass per line.

Tip

If a piece won't pop out, your cut isn't through. Run the blade around the shape one more time and try again - don't force it with your thumb or you'll crack the surrounding pumpkin skin.

6

Carve the Mouth and Teeth

0:40
Step 6: Carve the Mouth and Teeth

Cut along the top lip line of the mouth, then the bottom lip line. Don't cut between the teeth yet. Once the top and bottom outlines are through the skin, go back and make a short cut between every two teeth - top to bottom of the mouth opening - so each tooth stands alone.

Push the chunks of pumpkin out from the inside one by one. The teeth that are left should be roughly the same width and stand a little proud of the mouth opening. If a tooth looks lopsided, trim a sliver off the wider side with the paring knife to even it out.

For extra fang-y teeth like the DaveHax demo pumpkin, draw the teeth tall and pointed instead of short and square, and skip cutting all the way through between them - just slice the skin off the front so the orange flesh shows white when lit.

Tip

Save one of the bigger pumpkin chunks you cut out. If a tooth breaks off later, dab the broken edges with a toothpick and a little water, then press the chunk back into place. It'll hold for one Halloween night.

7

Light the Pumpkin

2:22
Step 7: Light the Pumpkin

Drop a battery tealight inside the pumpkin and set the lid back on. The face glows orange through the carved openings - exactly the effect you wanted.

Battery tealights are way better than real tea candles for a porch pumpkin. They don't blow out in the wind, they don't scorch the inside of the lid, they don't risk a fire if a costume brushes the pumpkin, and they last 24-48 hours on one set of batteries. If you do use a real candle, set the pumpkin on a tile or concrete surface (not wood), keep the lid slightly cracked so heat escapes, and don't leave it lit overnight.

For a brighter glow, swap the tealight for a small LED puck light or a string of fairy lights bunched at the bottom. Fairy lights are especially good for pumpkins with lots of small carved holes, like the spider-web design.

Tip

Slick the inside cut edges with petroleum jelly - it slows down the dry-out and shrivel that hits carved pumpkins after about 48 hours. Keep the carved pumpkin somewhere cool when it's not on display and it'll last most of a week.

8

Try a Design Variation

4:50
Step 8: Try a Design Variation

Once you've nailed the classic, the same prep-and-carve flow works for any design. Just draw a different face on the front and cut along the new lines.

Four favorites from the source video:

Spider-Man web - draw the eyes near the top, then radial lines out from a center point, then connect those lines with curved web strands. Carve the eyes through. For the web lines, only cut the skin off so the orange flesh shows white when lit (don't cut all the way through).

Batman logo - sketch an oval outline, then the bat silhouette inside it. Carve the oval and the negative space around the bat through; leave the bat itself intact. This one looks unbelievable from across the yard.

Monogram or message - press plastic message-board letters into the pumpkin skin in two rows, then carve away the skin between them so the letters show as orange-on-white. You can spell a name, "BOO," or whatever else.

Disco-ball pattern - skip drawing entirely. Poke holes in a grid pattern all over the pumpkin with a Phillips screwdriver or a drill bit. Hang the pumpkin from a string in the porch and the light beams shine out in every direction.

Tip

For the Spider-Man and message-board designs, use a washable marker instead of permanent. The web/grid lines are dense and you'll definitely make mistakes - getting them off cleanly with a wet paper towel keeps the finished surface looking sharp.

Products Used

☐ The Checklist

How to Carve a Pumpkin (Classic Jack-O'-Lantern Step-by-Step)

Tools
5
Materials
3
Steps
8
Video
9 min

Your Guide

DaveHax

As an Amazon Associate we earn from qualifying purchases. Links on this page may be affiliate links - clicking them and buying doesn't change your price, but helps support ShowMeStepByStep.

Tags

What's next

Weekly Digest

Liked this crafts tutorial?

Pick the categories you want to hear about. Weekly digest of new step-by-step tutorials. No spam, easy unsubscribe.

Send me tutorials about

We only email about new tutorials. Easy unsubscribe anytime.