1
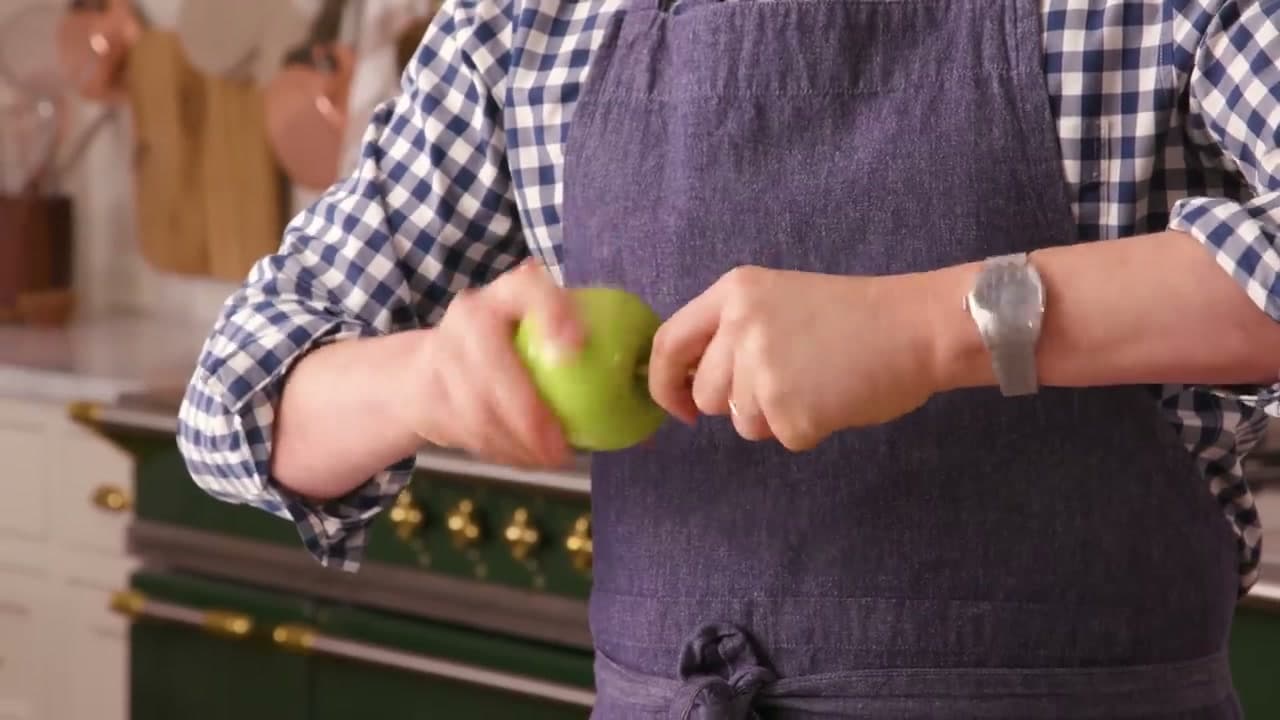
Step 1: Wash the Wax Off the Apples
0:55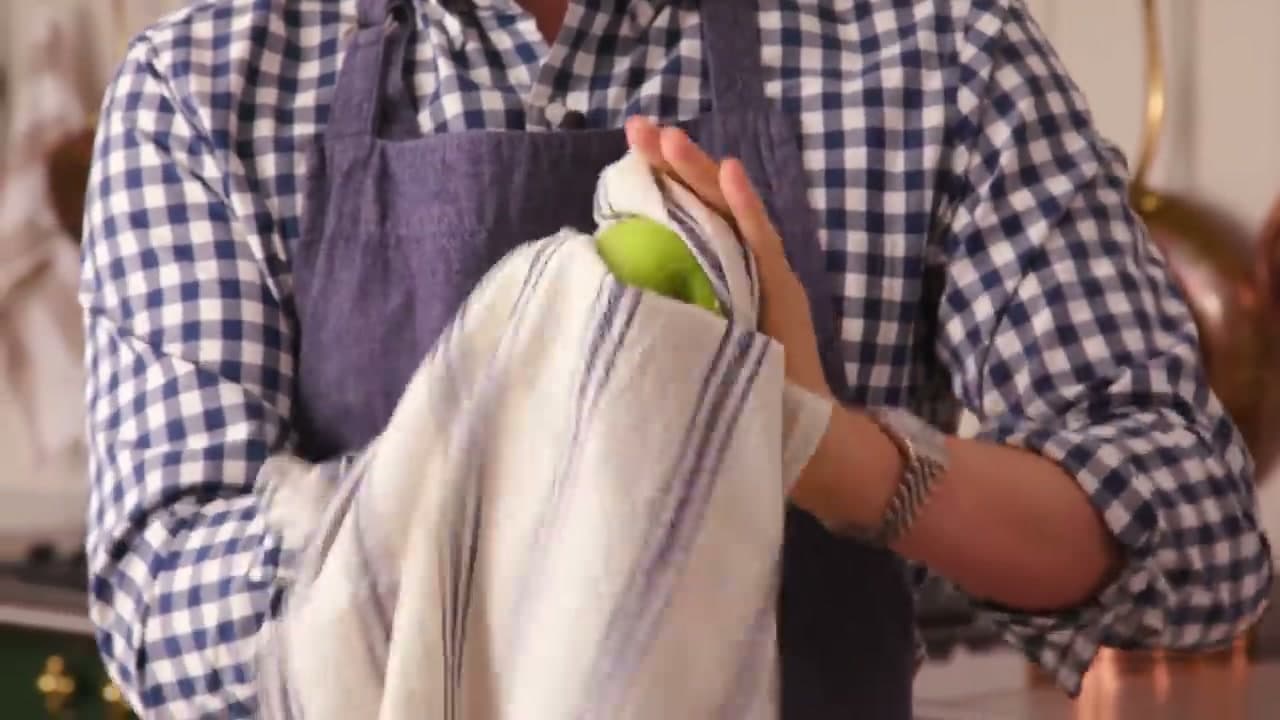
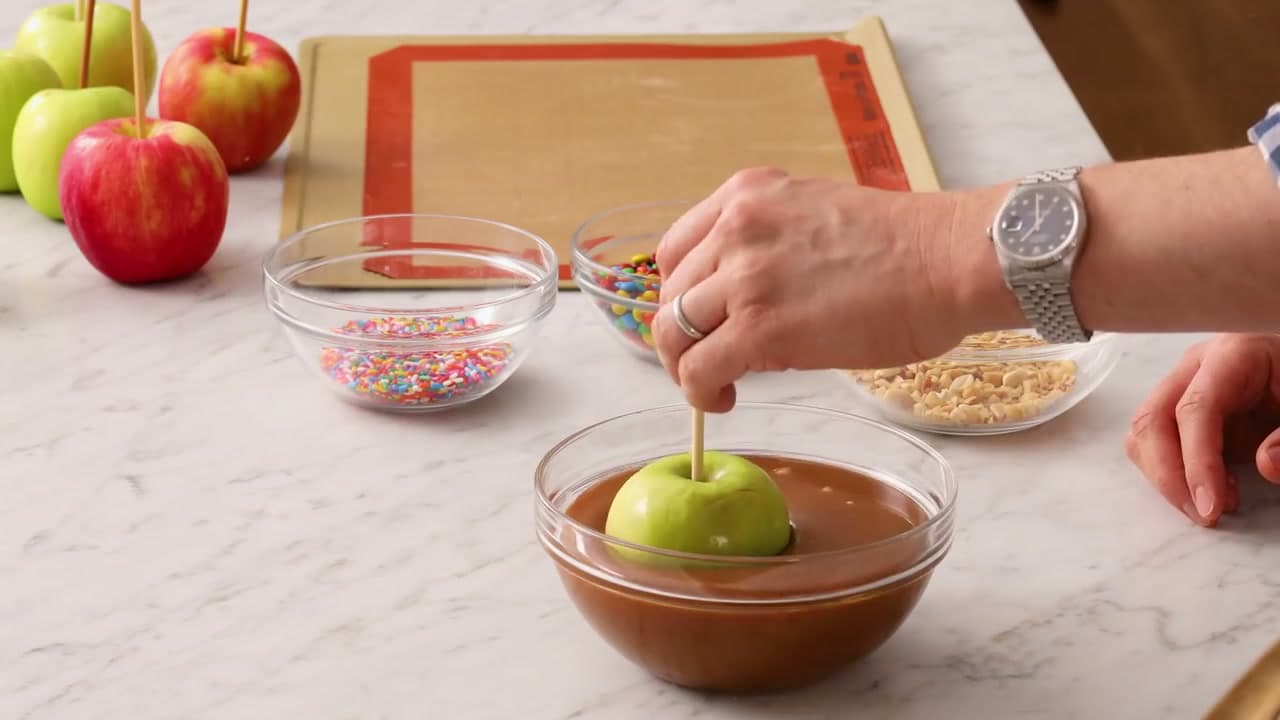
Most grocery-store apples are coated in food-grade wax that keeps them shiny in the produce aisle. Hot caramel slides right off that wax. Fill a bowl with nearly-boiling water, dip each apple for a few seconds, then rub it down vigorously with a clean kitchen towel. Polish it like you're handing it to a teacher.
Tip
Granny Smith is the traditional choice because the tartness cuts the sweet caramel. Honeycrisp and other firm eating apples work too - skip mealy varieties like Red Delicious.