How to Make an Explosion Box Card

Card MakingMedium19:1010 stepsPart of Crafting for BeginnersBrowse more →
The finished result: How to Make an Explosion Box Card

By Show Me Step by StepPublished Updated

Based on a video by Scrapbook.com.

An explosion box looks like a small gift box. Lift the lid and the walls fall open, then a second box falls open inside it, then a third. Every panel can hold a photo, a note or a little treat. Channin Pelletier shows the whole build for Scrapbook.com with three layers and three lids, all cut from 12x12 paper with a scoring board and a trimmer.

Once you know the measurements, each layer takes about ten minutes. No die cutting machine needed.

Explosion box measurements

Each layer is a square of paper scored a third of the way in from every side, so the middle panel becomes the floor and the outer panels become the walls. Each lid is a square scored at 1 inch on all four sides.

  • Layer one: 12 x 12 inches, score at 4. Lid: 6 1/8 inch square.
  • Layer two: 11 1/4 x 11 1/4 inches, score at 3 3/4. Lid: 5 7/8 inch square.
  • Layer three: 10 1/2 x 10 1/2 inches, score at 3 1/2. Lid: 5 5/8 inch square.

The pattern behind the numbers: each lid is 2 1/8 inches bigger than the box panel it covers. That leaves 1/8 inch of wiggle room so the lid slides on without crushing the walls. Use the same rule to make a bigger or smaller box.

Choosing paper

Double-sided patterned paper is the secret. The outside of the box shows one pattern and the inside of every wall shows the other, so the box looks finished from both sides before you add a thing. Pick a medium weight paper or light cardstock, around 65 to 80 lb. Thin paper will not hold the walls up. Very heavy cardstock cracks along the folds. Channin uses one collection for every layer so the colours tie together.

Save the corner squares you cut off. They are the right size to mat photos and sentiments later.

What to put inside

  • Square photos of a trip, a wedding, a new baby or grandchildren.
  • Short notes on each wall, like a card that keeps going.
  • A treat in the centre of the smallest box: wrapped chocolates, a gift card or folded cash.
  • Stamped images and sentiments if you are a card maker.

A small square die set is handy here. Because every panel is square, a nesting square die cuts photos and mats that sit centred on each wall.

Gift ideas

An explosion box makes a good birthday card, anniversary gift or Mother's Day surprise. It also suits a family reunion keepsake, like Channin's. A grandchild can help pick the photos and write the notes. Write the name on the outer lid so it looks like a wrapped present on the table.

Troubleshooting

If the walls flop outward, crease every score line harder with a bone folder. If the lid will not fit, the box walls are leaning in. Check that each layer was glued in the centre of the one below. If a lid is loose, your lid square was cut a little big; trim 1/16 inch off and score again.

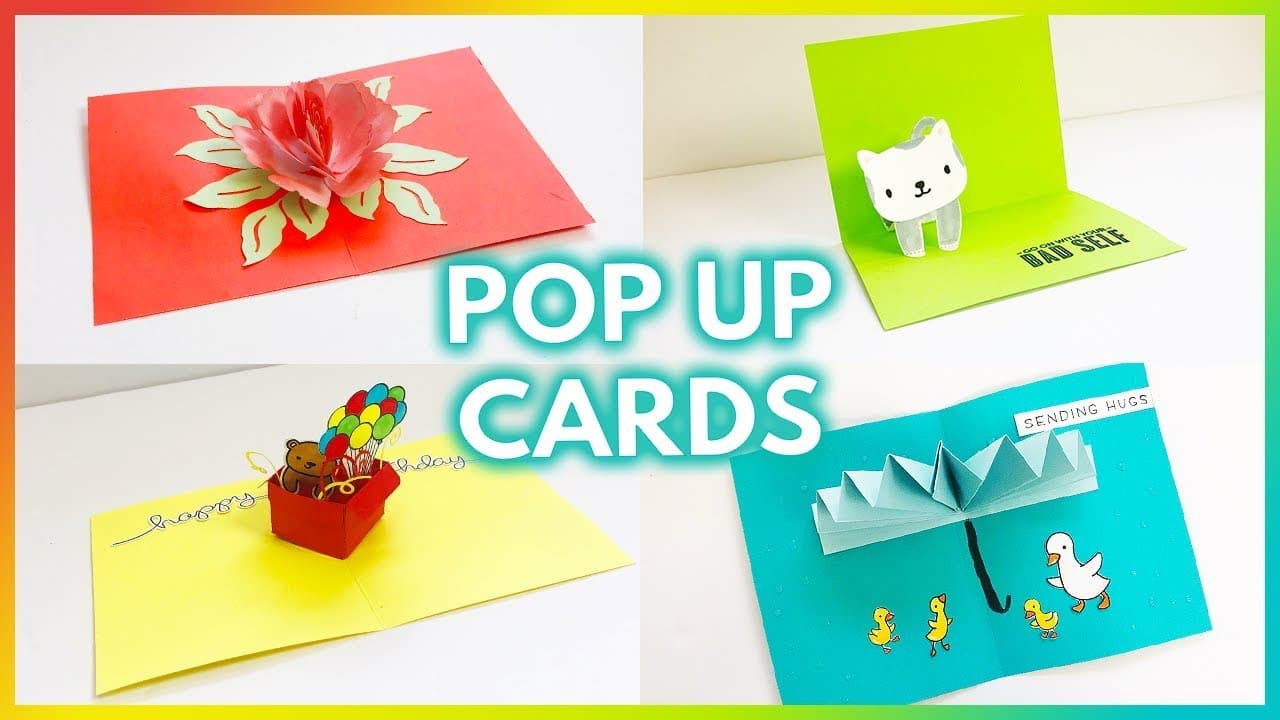
Want more fun folds? Try a pop up card or a waterfall card. For a lidded box with no glue, see how to fold an origami box. Have more photos than walls? Make a mini scrapbook album.

What you'll need

Step-by-Step Guide

10 steps · about 19 minutes.Check off each step as you go and your progress saves automatically.

1

Score the 12x12 Explosion Box Base at 4 Inches

2:20
Step 1: Score the 12x12 Explosion Box Base at 4 Inches - How to Make an Explosion Box Card

Start with a 12 x 12 sheet of double-sided paper. If yours has a printed strip along one edge, trim it off so you have a true square. Set the paper into the corner of your scoring board and score at 4 inches all the way across. Turn the sheet a quarter turn and score at 4 again. Repeat until all four sides are scored and you can see a grid of nine squares.

Tip

Always push the paper snug into the top corner of the board before each score.

2

Cut the Corner Squares Out of the Explosion Box Base

4:28
Step 2: Cut the Corner Squares Out of the Explosion Box Base - How to Make an Explosion Box Card

Now cut away the four corner squares so the sheet becomes a plus shape. Line a score line up under the trimmer blade and cut only to the point where it meets the crossing score line, 4 inches in. Slide the paper and cut the other line on that side, then turn the sheet and repeat. Scissors work too. Keep the corner squares for matting photos later.

Tip

Stop the blade right at the crossing line. Cutting past it slices into the floor.

3

Cut and Score the Explosion Box Lid Square

5:52
Step 3: Cut and Score the Explosion Box Lid Square - How to Make an Explosion Box Card

For the first lid, cut a square of the same paper to 6 1/8 inches. Matching the box makes it look like a wrapped present, but any paper or plain cardstock works. Set the square into the corner of the scoring board and score at 1 inch. Turn and repeat on all four sides. You should see two score lines along every edge.

Tip

Lid size is the box panel plus 2 1/8 inches, so you can scale this to any box.

4

Snip the Lid Tabs Along the Score Lines

6:42
Step 4: Snip the Lid Tabs Along the Score Lines - How to Make an Explosion Box Card

Hold the lid square with one side facing you. Cut up the right-hand score line only, and stop where it meets the crossing score line. Leave the left-hand line alone. Turn the square and do the same on the next side, always cutting the right-hand line. After four cuts you have four small tabs, one at each corner.

Tip

Cutting the same side every time keeps all the tabs folding the same way.

5

Tape and Fold the Explosion Box Lid Corners

7:50
Step 5: Tape and Fold the Explosion Box Lid Corners - How to Make an Explosion Box Card

Crease all the lid score lines with a bone folder. Cut a strip of 1/4 inch double-sided tape about an inch long and press it onto the outside edge of a tab, right beside your cut. Peel the backing, lift the side up and tuck the tab behind the neighbouring wall. Press to hold. Repeat on the other three corners and the lid is done.

Tip

Check that the pretty side of the lid faces out before you add the tape.

6

Crease the Explosion Box Walls and Test the Lid

8:50
Step 6: Crease the Explosion Box Walls and Test the Lid - How to Make an Explosion Box Card

Go back to the plus-shaped base and run the bone folder hard along the four score lines around the centre square. These folds are what hold the walls up. Lift all four walls together and slide the lid on to check the fit. That is your first layer. Open it flat again before you make the next one.

Tip

A firm crease now saves walls that flop open later.

7

Make the Second Explosion Box Layer at 11 1/4 Inches

9:48
Step 7: Make the Second Explosion Box Layer at 11 1/4 Inches - How to Make an Explosion Box Card

The second layer is a little smaller so it nests inside the first. Trim a 12 x 12 sheet to 11 1/4 inches square. Score at 3 3/4 inches on all four sides, then cut out the four corners the same way as before. Its lid is a 5 7/8 inch square, scored at 1 inch, snipped, taped and folded like the first lid.

Tip

Try a contrasting pattern here. Each layer shows when the box opens.

8

Make the Third Explosion Box Layer at 10 1/2 Inches

14:30
Step 8: Make the Third Explosion Box Layer at 10 1/2 Inches - How to Make an Explosion Box Card

The third and smallest layer starts as a 10 1/2 inch square. Score at 3 1/2 inches on all four sides and remove the corners on the trimmer, stopping each cut where the score lines cross. The last lid is a 5 5/8 inch square scored at 1 inch. Crease every fold well. This layer holds the centre treat or the final photo.

Tip

Stack all three bases to check each one is a little smaller than the last.

9

Glue the Explosion Box Layers Together

16:48
Step 9: Glue the Explosion Box Layers Together - How to Make an Explosion Box Card

Lay the largest layer flat. Run a tape runner over the centre square of the second layer's underside. Gather its walls up so you can see the middle, centre it on the first layer and press down. Do the same with the smallest layer on top of the second. Glue only the centre squares so every wall can still fall open.

Tip

Lift the walls while you place each layer. It is much easier to centre that way.

10

Fill the Explosion Box Panels With Square Photos

17:46
Step 10: Fill the Explosion Box Panels With Square Photos - How to Make an Explosion Box Card

Now decorate. Every panel is square, so a set of nesting square dies cuts photos and mats that fit. Add photos to the inside of the walls, or both sides for up to eight per layer. Fussy cut a few titles and sentiments and lift them on foam dots. Pop a treat or gift card in the centre, close the walls and put on the lids.

Tip

Plan the photo order so the best one waits in the smallest box.

How to Make a Stepper Card

Keep going

How to Make a Stepper Card

9 steps · about 9 minutes

Products Used

The Checklist

How to Make an Explosion Box Card

Tools
5
Materials
6
Steps
10
Video
19 min

Tools we recommend

Your Guide

Scrapbook.com

As an Amazon Associate we earn from qualifying purchases. Links on this page may be affiliate links - clicking them and buying doesn't change your price, but helps support Show Me Step by Step.

Tags

Sunday How-To

New card making tutorials, every Sunday

One short email with the week's best step-by-step guides. Free, no spam, unsubscribe anytime.

Did this work for you?

What's next

Weekly Digest

Liked this card making tutorial?

Pick the categories you want to hear about. Weekly digest of new step-by-step tutorials. No spam, easy unsubscribe.

Send me tutorials about

We only email about new tutorials. Easy unsubscribe anytime.