How to Soften Polymer Clay (Conditioning Hard or Crumbly Clay)

PotteryEasy5:129 stepsBrowse more →
Also in:Crafts

By ShowMeStepByStepPublished

Based on a video by PolymerClayTutor.

Polymer clay doesn't really go bad. What goes is the plasticizer - the oil mixed into the clay that keeps it soft and pliable. After a couple of years on the shelf, blocks of Premo, Fimo, or Sculpey can crumble in your hands and pasta-machine into shards. Most people assume the block is dead and throw it in the bin.

It isn't. A drop or two of oil - mineral oil, baby oil, or Sculpey Clay Softener - mixed into the broken-up clay puts the plasticizer back. Cindy Lietz from PolymerClayTutor walks through the method on a block of old Fimo that had gone almost to powder. Five minutes later it's a smooth, pliable lump you can actually sculpt with.

This guide covers the oil method in detail and finishes with quick notes on the two other ways crafters condition hard clay (hand-warming plus pasta machine). The oil method is the rescue technique. The other two are for clay that's just stiff, not dust-dry.

Step-by-Step Guide

1

Break the Hard Clay into Small Pieces

0:35
Step 1: Break the Hard Clay into Small Pieces

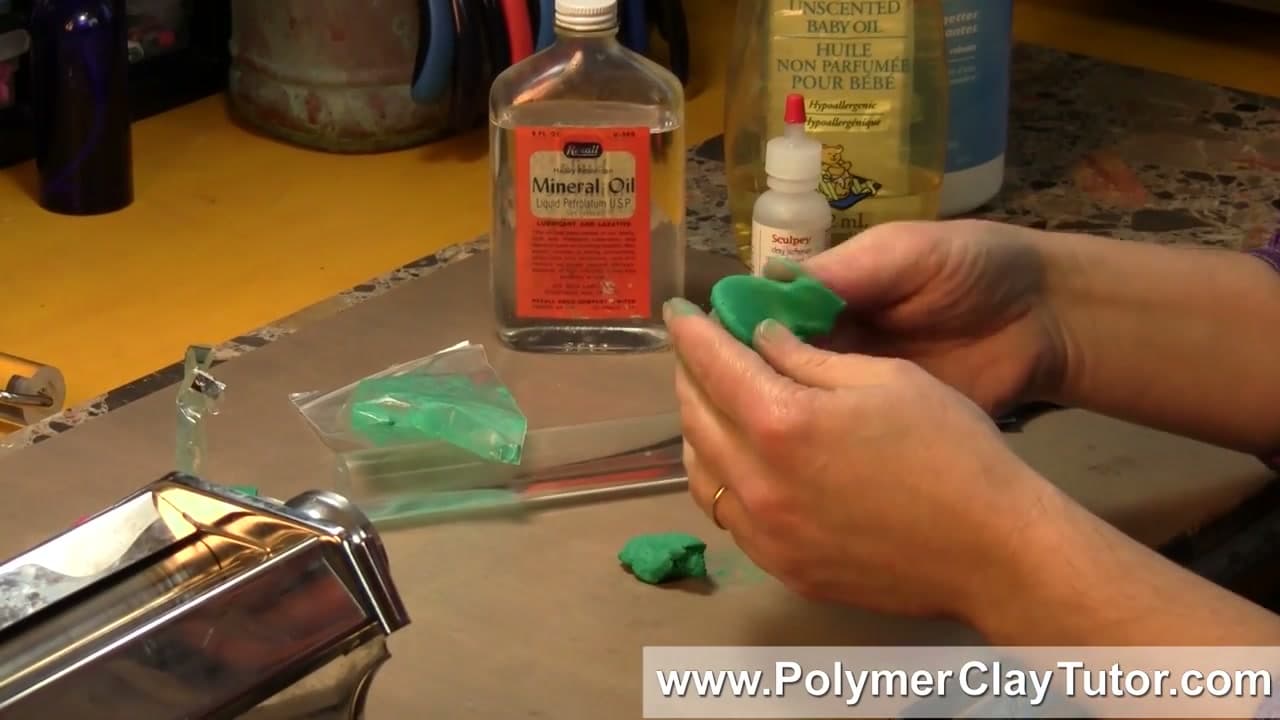
Start by snapping the dry block into the smallest pieces you can. Crumbly clay won't bend, so just keep breaking. If a block has gone almost to dust, that's fine - the smaller the pieces, the faster the oil will work its way through.

Don't try to run hard clay through a pasta machine yet. It'll just shatter into shards and you'll be picking pieces out of the rollers. Conditioning happens first, machine second.

Tip

If a block has been sitting for years, set it on the counter for an hour to come up to room temperature before you break it. Cold clay is even more brittle.

2

Pick an Oil - Mineral, Baby, or Sculpey Clay Softener

1:02
Step 2: Pick an Oil - Mineral, Baby, or Sculpey Clay Softener

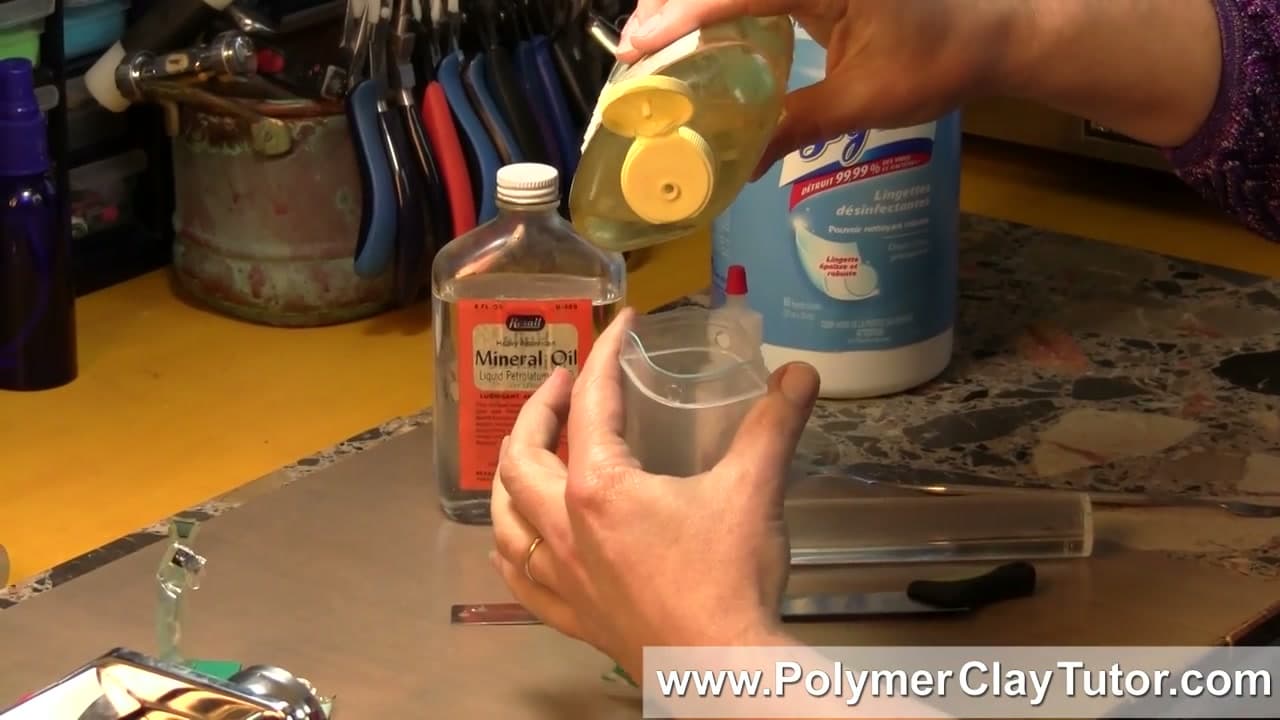
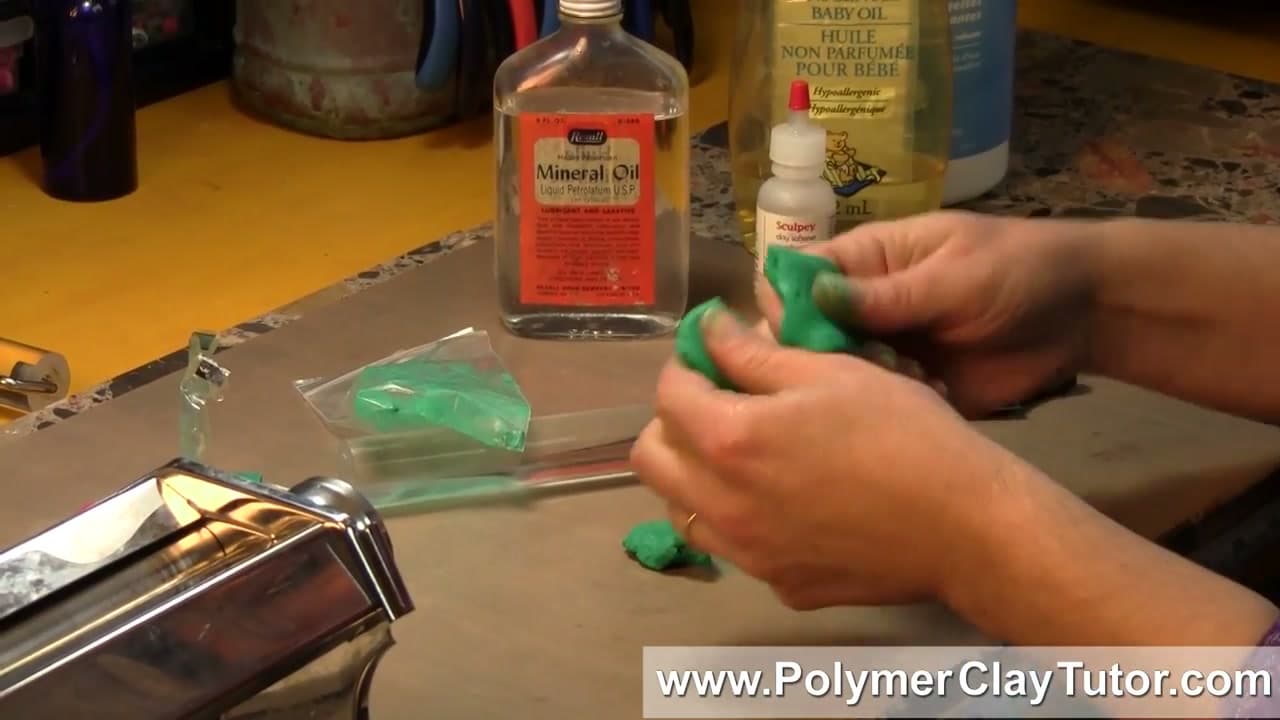
Three oils work. Sculpey Clay Softener is the official product and it's an oil-based softener made for this. Mineral oil from the drugstore works just as well and costs almost nothing. Unscented baby oil is the same idea - skip scented baby oil so you don't add fragrance to the clay.

Cindy uses all three interchangeably. The expensive softener doesn't outperform plain mineral oil here. Pick whichever is easiest to find. Avoid vegetable oils - they can go rancid in the clay over time.

3

Drop the Broken Clay into a Zip-Top Bag

1:40
Step 3: Drop the Broken Clay into a Zip-Top Bag

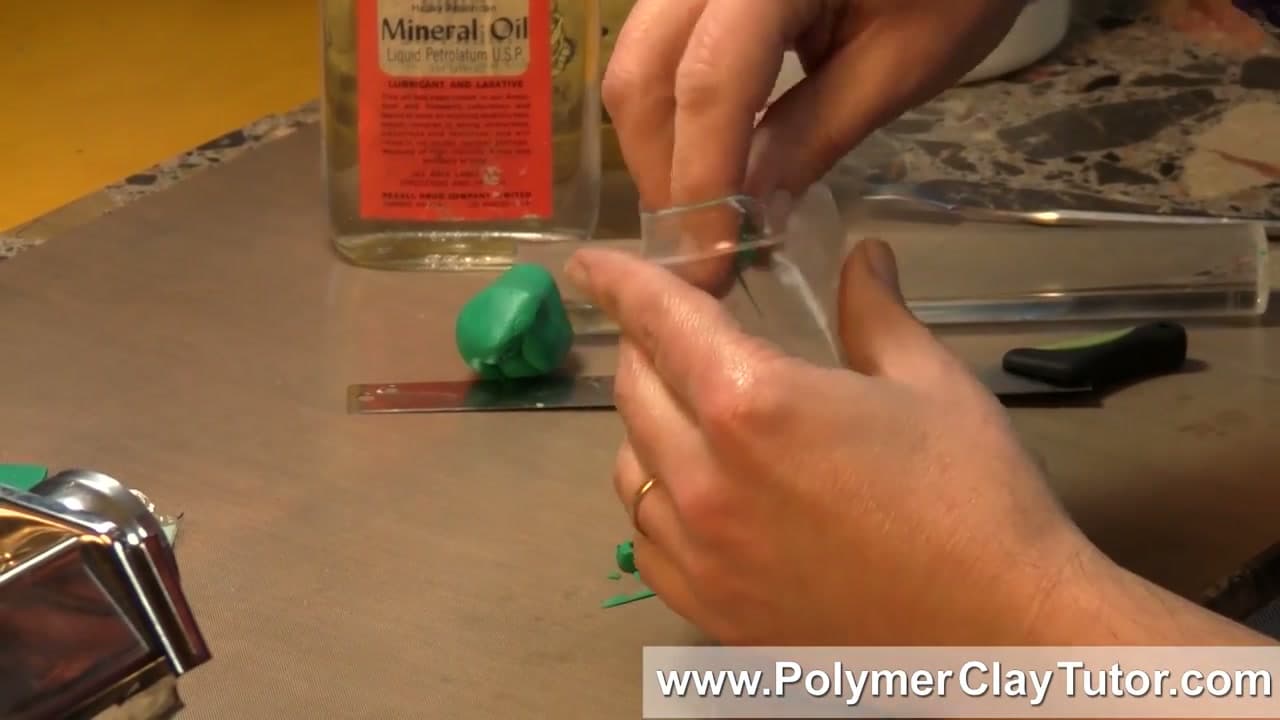
Put the broken-up pieces into a small zip-top sandwich bag. The bag does two jobs - it contains the mess, and it lets you knead the clay through plastic so the oil doesn't coat your hands until you want it to.

A regular sandwich bag is the right size for a half-block to a full block. Bigger bag for a bigger batch.

Products used in this step

4

Add One Drop of Oil at a Time

2:00
Step 4: Add One Drop of Oil at a Time

One drop. Maybe two for a full block. That's it. Squeeze the bottle gently and tip a single drop into the bag with the clay.

If too much comes out, dab some back out with the corner of the bag. Too much oil is the only thing that can go wrong here - over-oiled clay turns sticky and you'll have to leech it back out on paper, which is a pain.

Tip

Start with less than you think. You can always add another drop in two minutes if the clay still feels dry. You can't take it back out easily.

5

Mash the Clay Through the Bag With a Roller

2:35
Step 5: Mash the Clay Through the Bag With a Roller

Seal the bag and start working the oil into the clay from the outside. If the clay is too hard to squish with your fingers, lay the bag on a flat surface and press a smooth acrylic roller or rolling pin across it. Roll and press until the pieces start to merge.

This is the messy step done clean. The oil spreads through the broken pieces while everything stays inside the plastic.

Products used in this step

6

Take the Clay Out and Knead by Hand

4:00
Step 6: Take the Clay Out and Knead by Hand

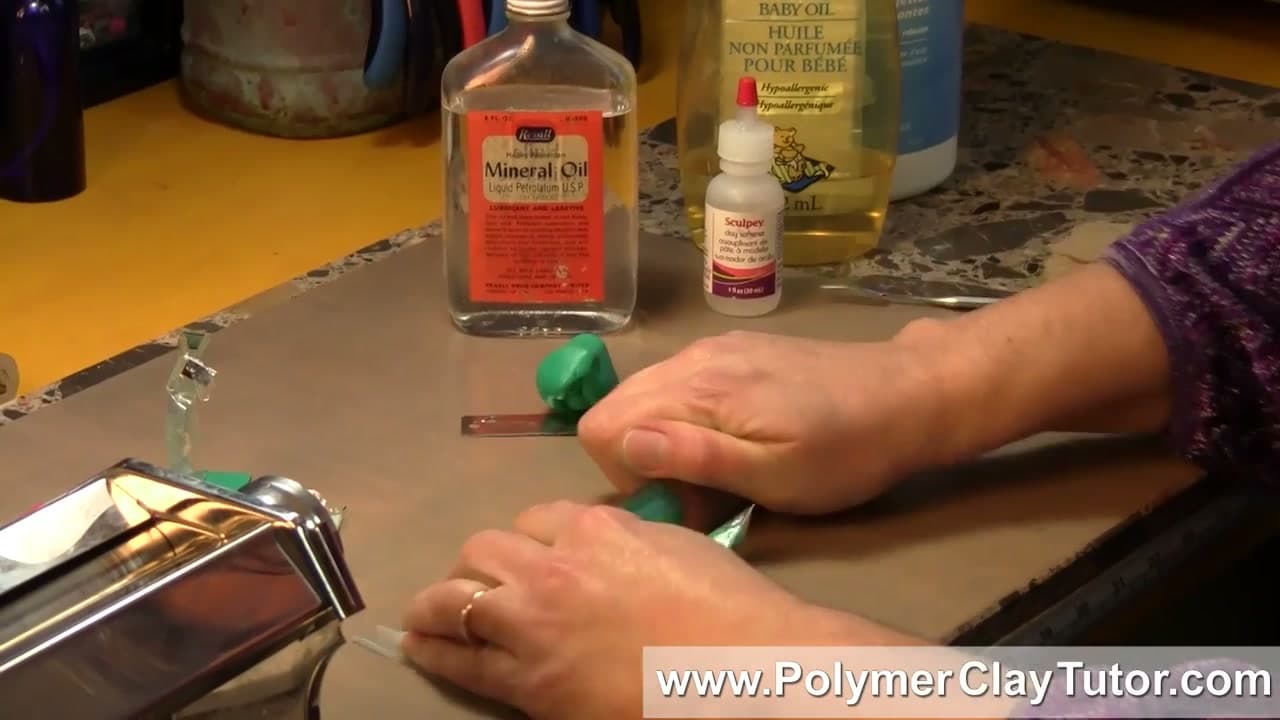
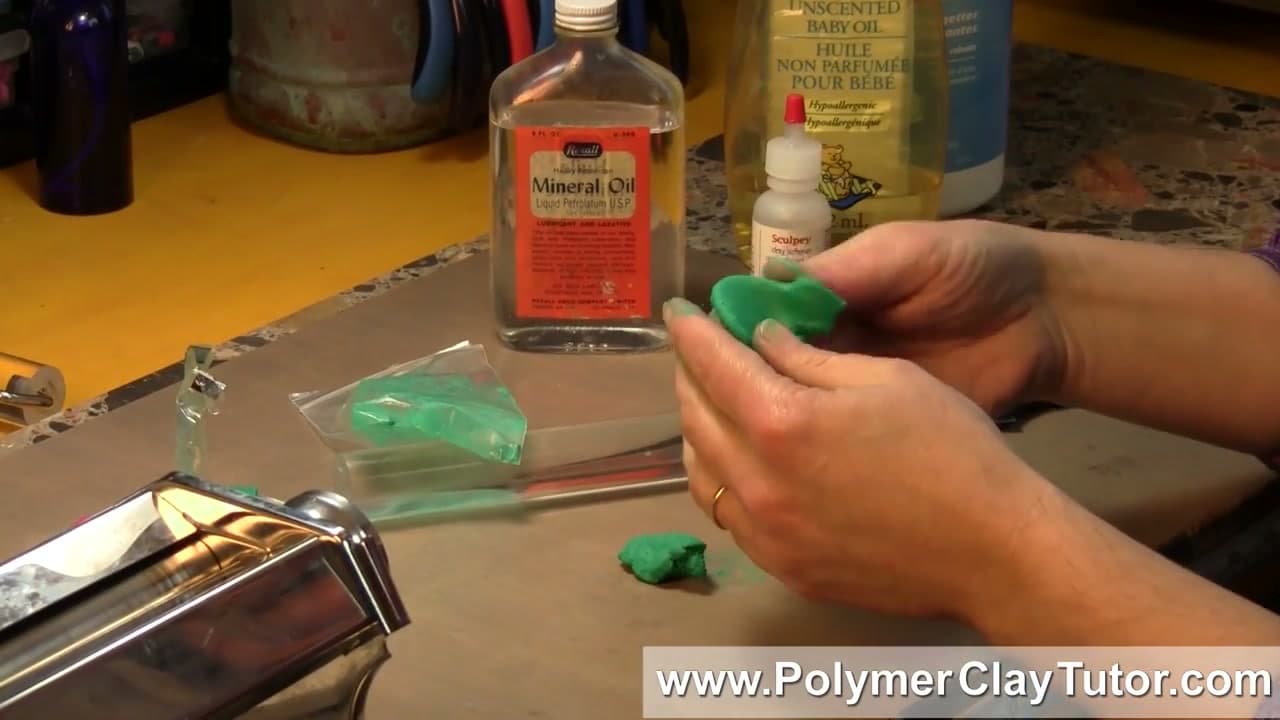
Once the clay starts to come together in the bag, take it out and finish with your hands. Your hands' warmth helps the rest of the plasticizer absorb. Squeeze, fold, roll, repeat. Yes, your fingers will pick up the color - that washes off in the cleanup step.

Keep kneading until you feel the clay shift from brittle bits to a single smooth lump. Depending on how dry the clay was, this takes anywhere from one to five minutes.

7

Check the Clay Is Soft and Pliable

4:05
Step 7: Check the Clay Is Soft and Pliable

Roll the clay between your palms into a small log or ball. It should bend without cracking and hold a fingerprint. That's workable clay. From here it'll go through a pasta machine without shattering and it'll take detail when you sculpt.

If it still feels stiff after a few minutes of kneading, add one more drop of oil and work it through. Stop the second it feels smooth - more oil past that point makes it sticky.

Tip

The bend test: roll a thin snake and bend it in half. Properly conditioned clay flexes. Brittle clay snaps - that means it needs another minute of kneading.

8

Clean Your Hands With a Baby Wipe

4:35
Step 8: Clean Your Hands With a Baby Wipe

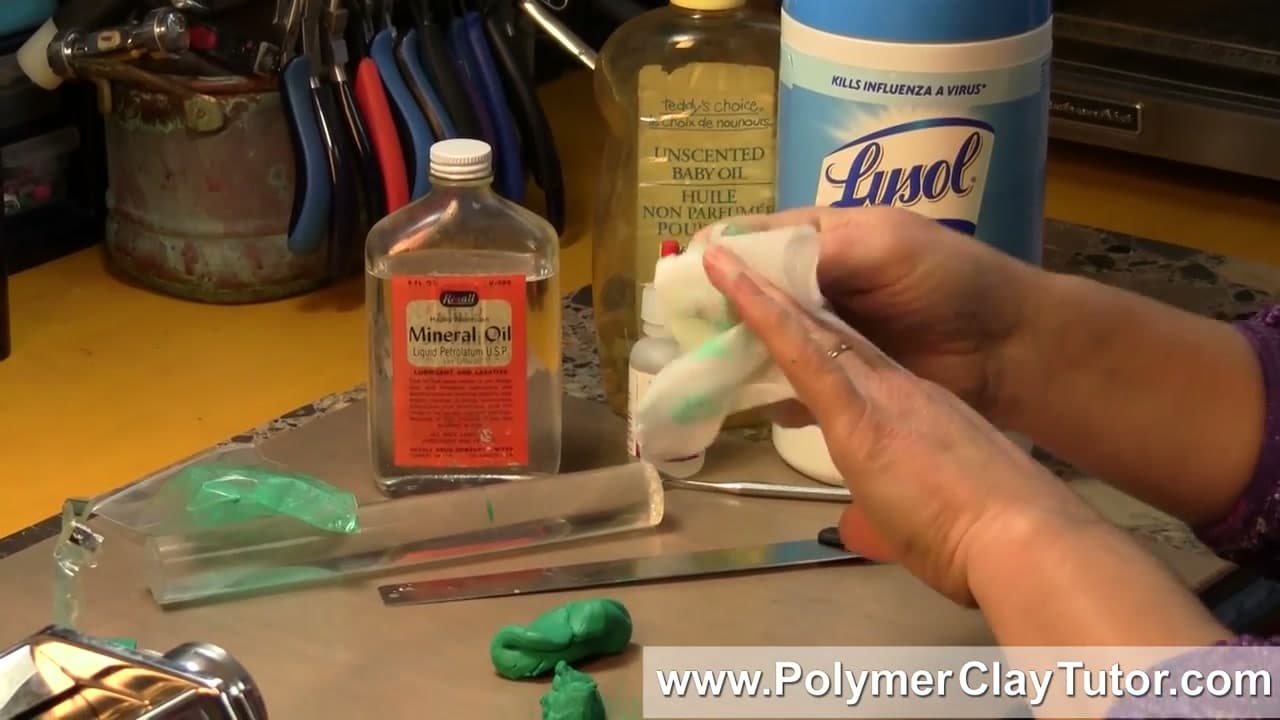
Polymer clay color comes off skin easily. A baby wipe or a disinfecting kitchen wipe pulls the pigment right off - no soap-and-water scrubbing needed. Wipe the work surface too while you're at it.

Now the clay is ready to use. Skip the expensive specialty softeners next time and keep a small bottle of mineral oil on your craft bench. A few drops will rescue almost any block you'd otherwise throw out.

Products used in this step

9

Other Ways to Soften Polymer Clay (FAQ)

4:55
Step 9: Other Ways to Soften Polymer Clay (FAQ)

Can I just warm it up in my hands? Yes - for clay that's only mildly stiff. Break off a small piece, work it between your palms for two or three minutes, and your body heat plus pressure will soften it. This won't work on truly hard or crumbly clay. Use the oil method for that.

What about a pasta machine? Once the clay is at least partially conditioned, running it through a pasta machine on the thickest setting and folding it back on itself is the fastest way to finish softening. Don't try this with hard, dry clay - it'll shatter into the rollers. Condition first by hand or with oil, then use the machine to smooth.

Does liquid polymer clay work as a softener? Yes. A small amount of Sculpey Bake-and-Bond or Fimo Liquid worked into broken-up clay does the same job as mineral oil. It's more expensive, so most crafters keep it for bonding raw to baked pieces rather than as a routine softener.

How long does softened clay stay workable? Forever, as long as you store it sealed - wrap it in plastic wrap or a zip bag and keep it out of direct heat. Conditioned clay won't go back to hard unless it dries out again.

Products Used

☐ The Checklist

How to Soften Polymer Clay (Conditioning Hard or Crumbly Clay)

Tools
4
Materials
3
Steps
9
Video
5 min

Your Guide

PolymerClayTutor

As an Amazon Associate we earn from qualifying purchases. Links on this page may be affiliate links - clicking them and buying doesn't change your price, but helps support ShowMeStepByStep.

Tags

What's next

Weekly Digest

Liked this pottery tutorial?

Pick the categories you want to hear about. Weekly digest of new step-by-step tutorials. No spam, easy unsubscribe.

Send me tutorials about

We only email about new tutorials. Easy unsubscribe anytime.