How to Press Flowers

Paper CraftsEasy5:266 steps
Also in:Crafts

By ShowMeStepByStepPublished Updated

Based on a video by HGTV Home.

Traditional flower pressing takes two to four weeks between layers of heavy books. The microwave method takes about five minutes. The result is the same - flat, dry blooms ready for pressed-flower frames, resin coasters, candle inclusions, or greeting cards.

This walkthrough from Liz at HGTV Home uses a microwave on its defrost setting. Lower power keeps the heat gentle so the flowers don't burn or curl. Most blooms are done in 1-4 minutes total, with bulkier flowers like roses needing the most time.

What you'll need: fresh flowers (clipped from the garden, the grocery store, or a fresh bouquet), paper towels, a microwave-safe casserole dish or ceramic tile to act as a weight, and a microwave with a defrost setting. Avoid white flowers - they tend to discolor with the microwave method.

Step-by-Step Guide

1

Step 1: Collect your flowers

0:45
Step 1: Step 1: Collect your flowers

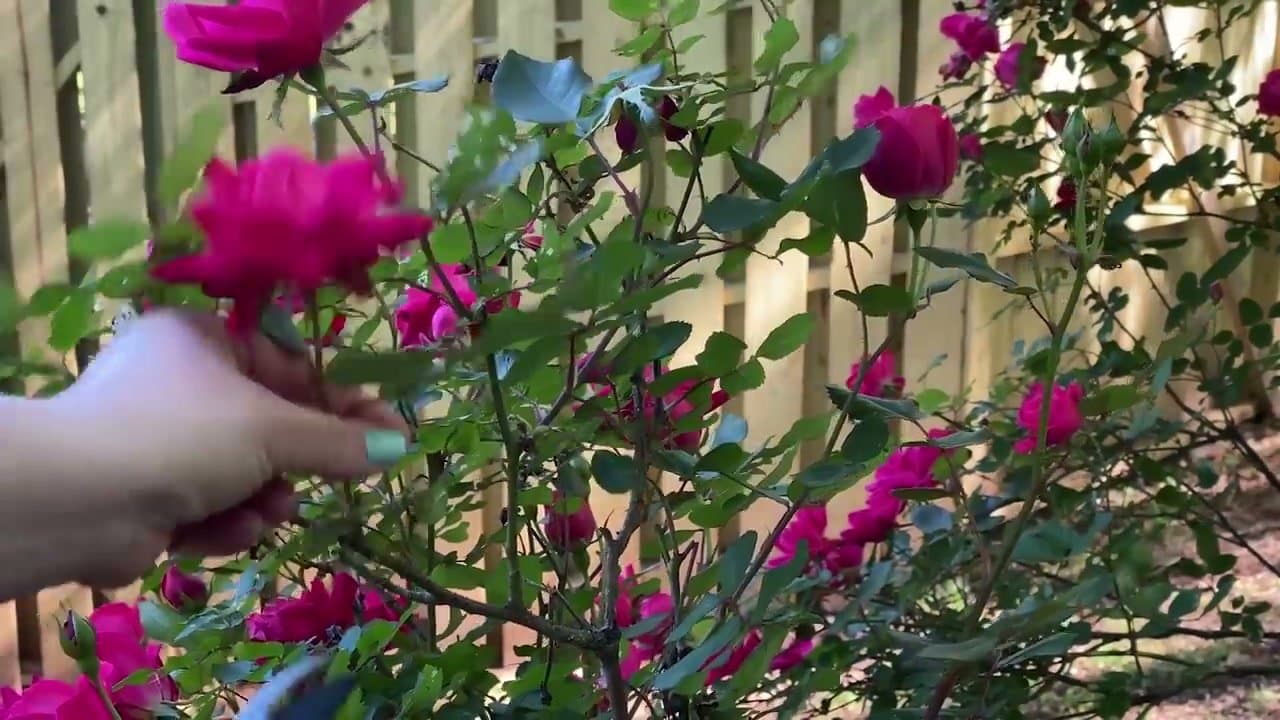
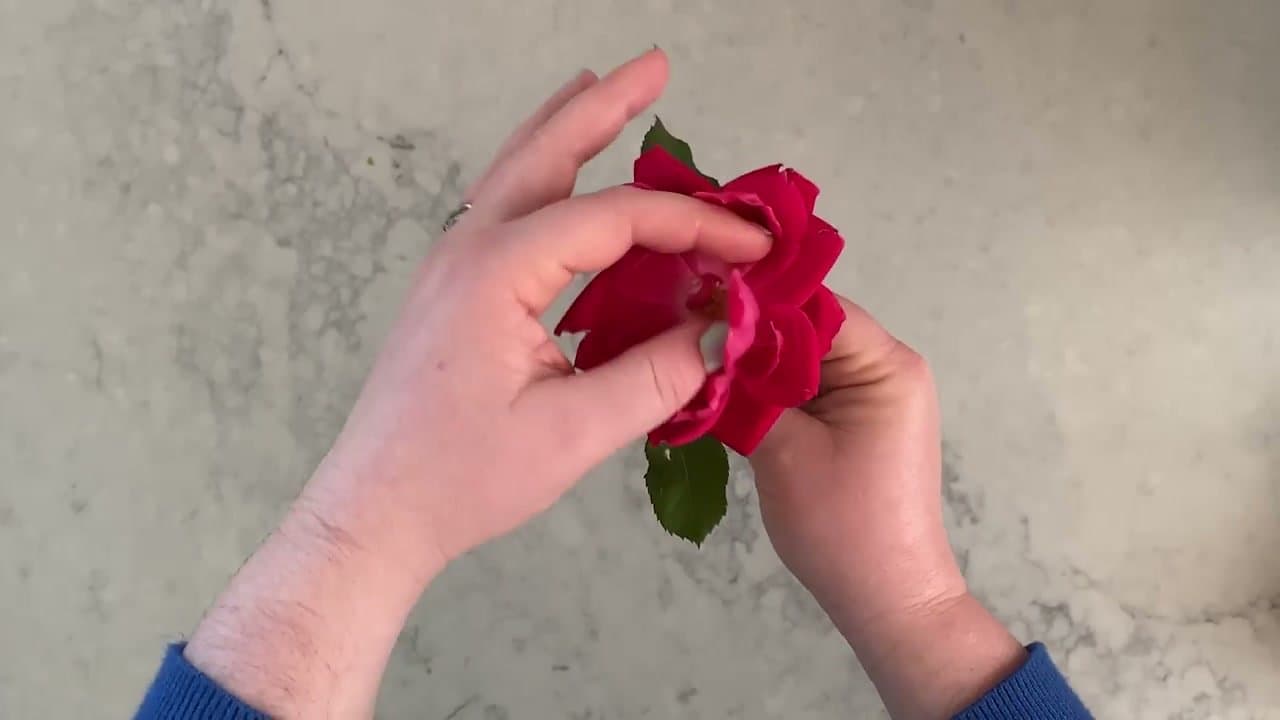
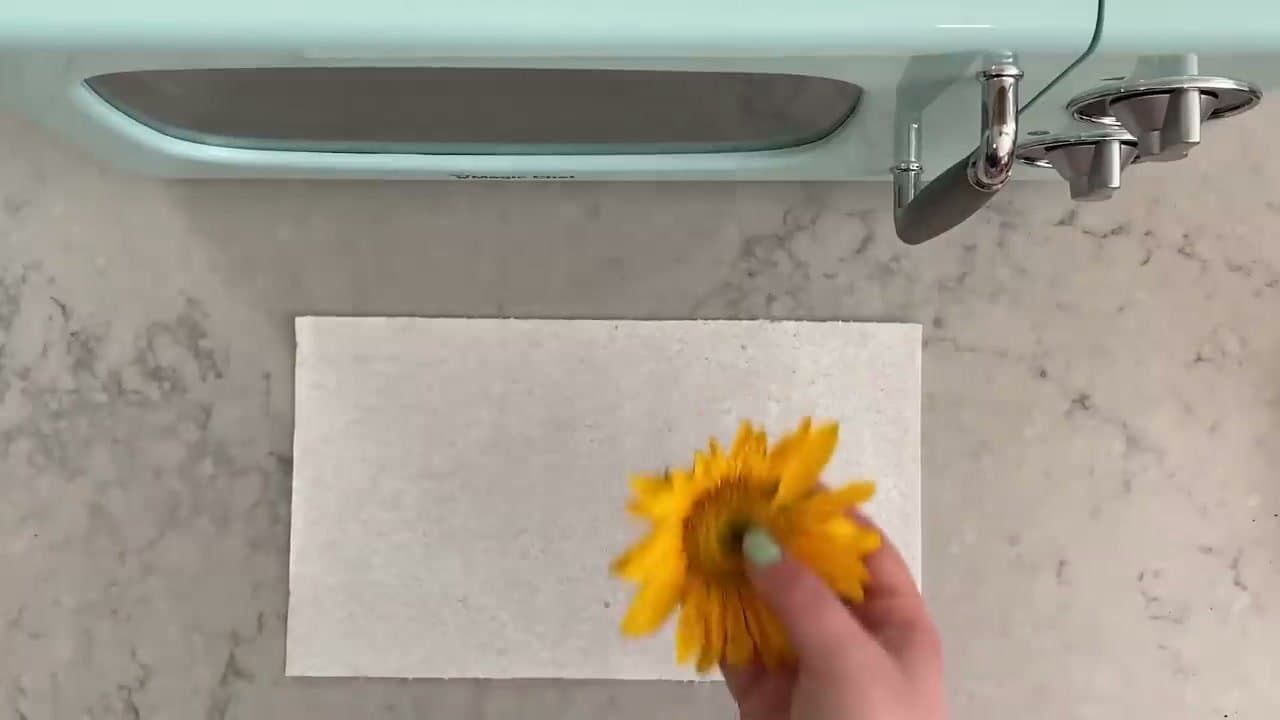
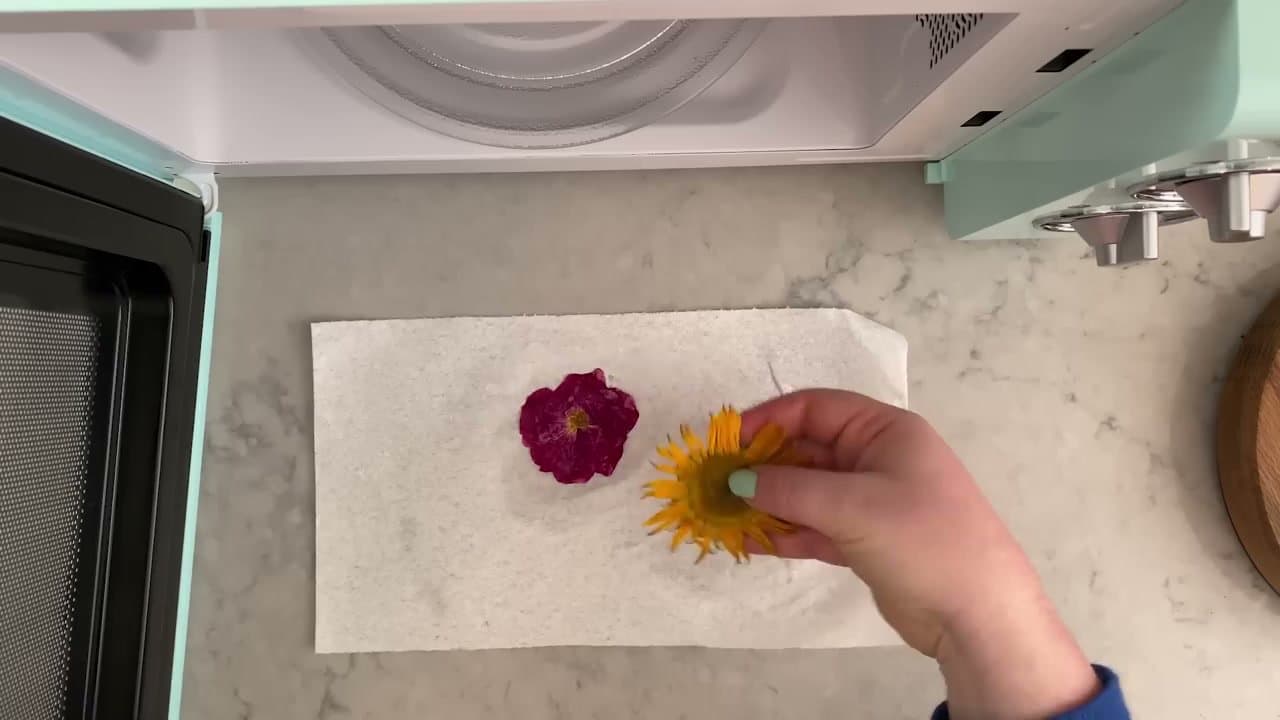
Pick fresh blooms from your garden, a park, the side of the road, or grab a small bouquet from the grocery store. Look for flowers in vibrant colors - bright reds, pinks, yellows, and purples press the best.

Clip a few leaves and ferns too. They make great filler around the main flowers in any pressed-flower project. Pick more than you think you'll need; some inevitably won't press perfectly on the first try.

Tip

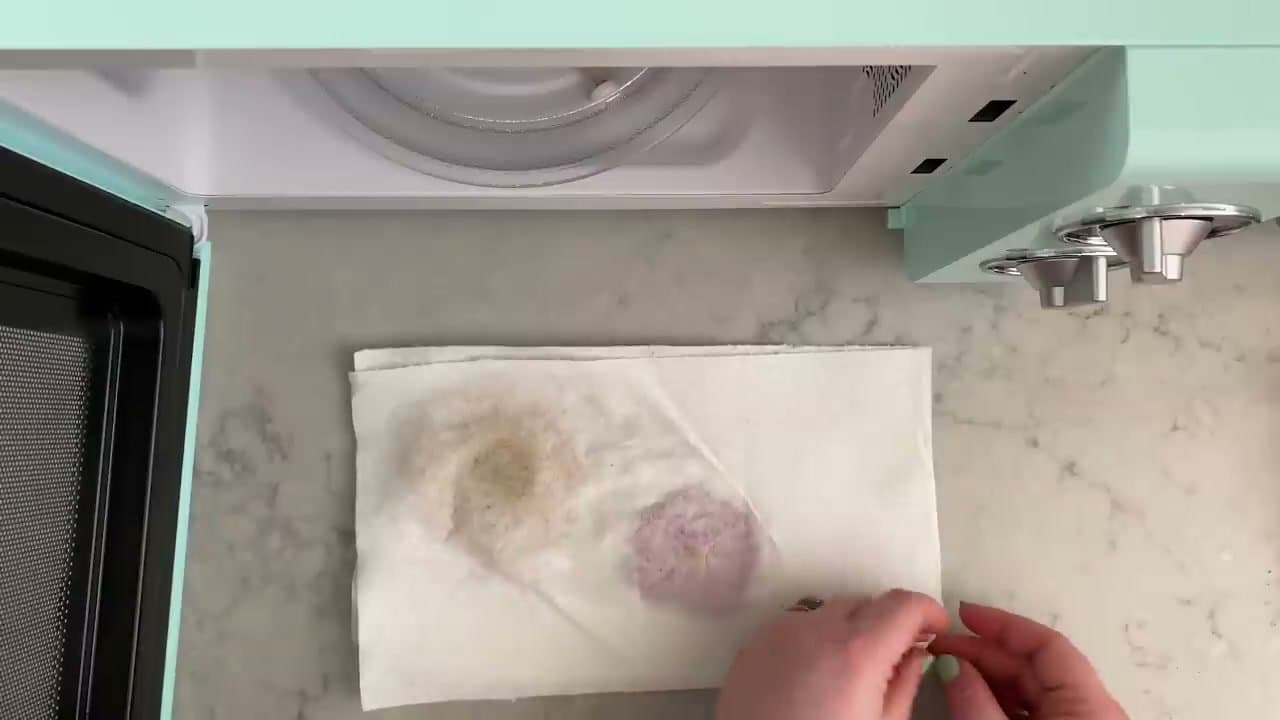
Skip white flowers if you can. They tend to discolor and turn beige or brown when pressed in the microwave. Stick to bright, saturated colors for the best results.

Products used in this step

2

Step 2: Snip the stems and prep the blooms

1:05
Step 2: Step 2: Snip the stems and prep the blooms

Cut each flower close to the bottom of the bloom so very little stem is left. The stems take longer to dry than the petals, and any moisture trapped in stem tissue can stain the petals during pressing.

For thick, bulky flowers like roses, gently push out the center petals with your fingers so the flower can lay completely flat under the weight. Without this step, the dense center stays dome-shaped and won't press evenly.

Products used in this step

3

Step 3: Layer the flowers between paper towels

1:20
Step 3: Step 3: Layer the flowers between paper towels

Place one paper towel on a flat microwave-safe plate or directly on a counter. Lay the flowers flat on top with space between each one - don't let petals overlap or they'll stick together as they dry.

Add a second paper towel on top of the flowers. Multiple flowers in one batch is fine as long as none of them touch each other. Smaller blooms can go in the same batch as larger ones.

Tip

Use plain white paper towels with no patterns or dyes. Patterned towels can transfer color onto the flowers when they get wet from the petals' moisture.

Products used in this step

4

Step 4: Add weight on top

1:35
Step 4: Step 4: Add weight on top

Set a microwave-safe casserole dish, ceramic tile, or microwave-safe brick on top of the paper towels. The weight is what flattens the flowers as they dry - without it, the flowers will simply curl up.

Don't press down with your hand - just rest the weight gently on top. The flower needs to be supported flat, not crushed. If the weight is small, make sure all the flowers are underneath it before microwaving.

Tip

Skip ceramic items with metallic glaze or any decorative metal trim - they'll spark in the microwave. Plain ceramic, glass casserole, or unglazed terracotta works best.

5

Step 5: Microwave on defrost for 1 minute

1:55
Step 5: Step 5: Microwave on defrost for 1 minute

Switch the microwave to its defrost setting (low power) so the heat is less intense and won't scorch the petals. Set the timer for one minute and start it. The first minute does most of the drying work for thin-petaled flowers.

The exact time depends on your microwave's wattage. Stronger microwaves may need less time even on defrost; older or weaker ones may need slightly longer initial bursts.

Tip

If your microwave doesn't have a defrost setting, use the lowest power level you have - 30% or 'simmer' if your model labels it that way. Full power will burn the flowers.

6

Step 6: Check and add 30-second bursts as needed

2:10
Step 6: Step 6: Check and add 30-second bursts as needed

Open the microwave and gently feel each flower. They should feel dry to the touch and look completely flat against the paper towel. If any flowers are still soft or damp, microwave for another 30 seconds, check again, and repeat.

Most flowers take 1-4 minutes total. Smaller blooms need less time; thicker flowers like roses need the most. Once they're done, you can use them right away or store them between sheets of wax paper inside a heavy book to keep them flat until you're ready to craft.

Tip

Each flower will finish at a different time. Check each one individually rather than assuming they're all done. Pull the finished ones out and keep microwaving the slowpokes.

Products used in this step

Products Used

Your Guide

HGTV Home

As an Amazon Associate we earn from qualifying purchases. Links on this page may be affiliate links - clicking them and buying doesn't change your price, but helps support ShowMeStepByStep.

Tags

Related Tutorials