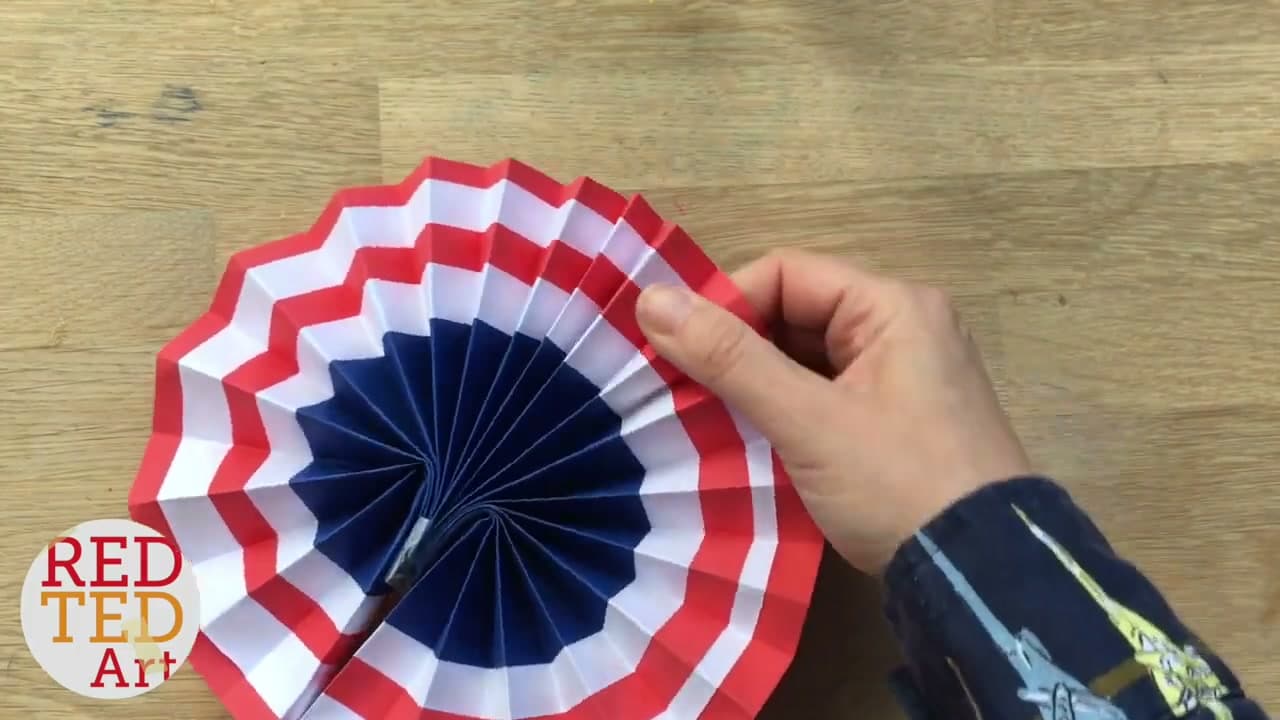
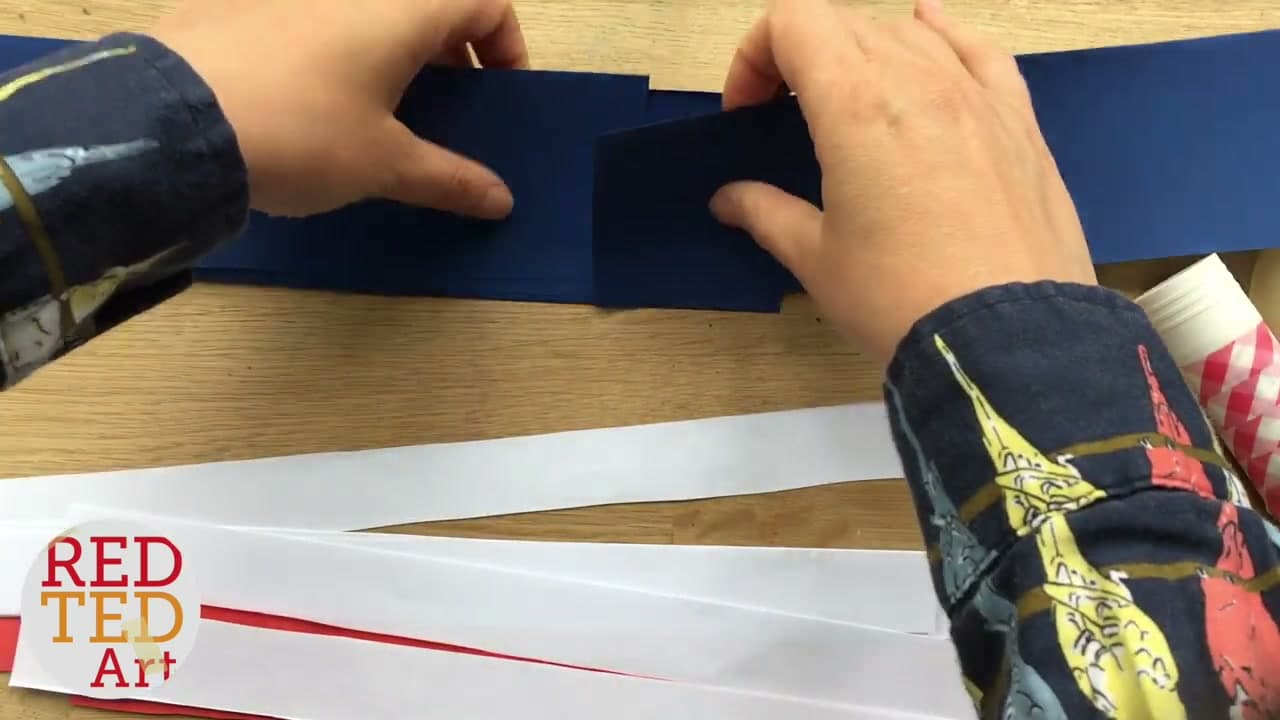
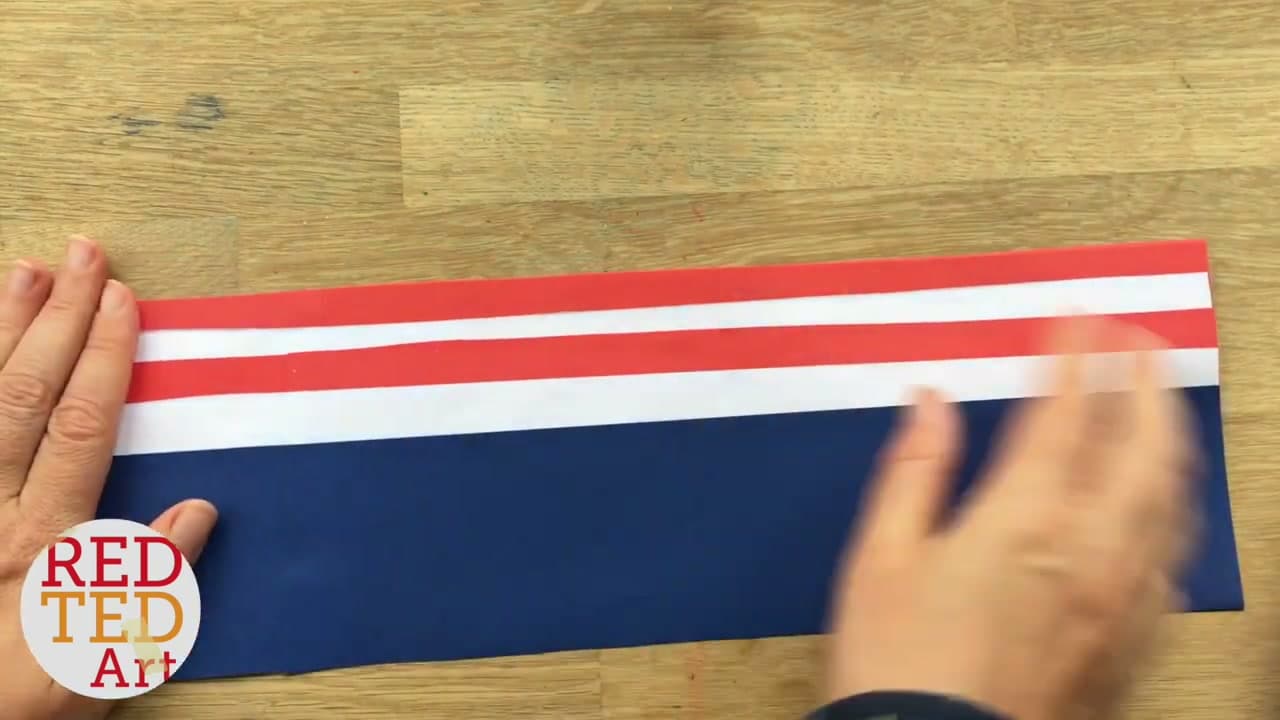
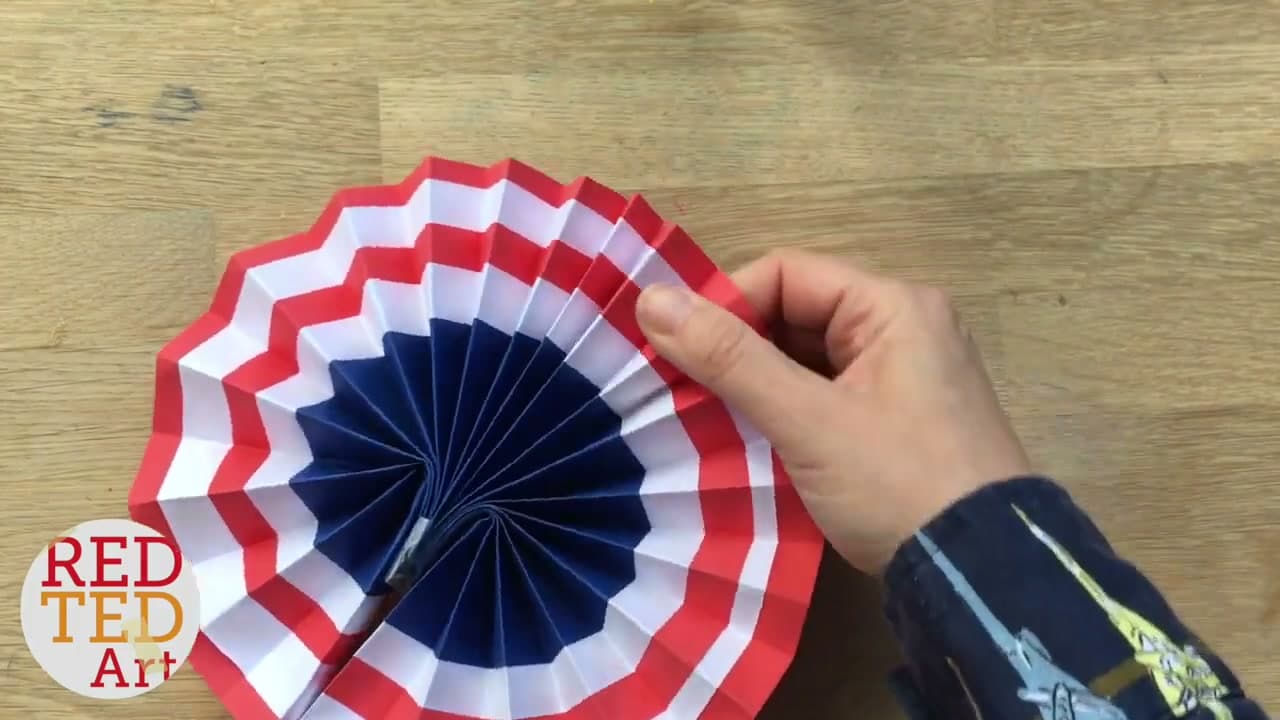
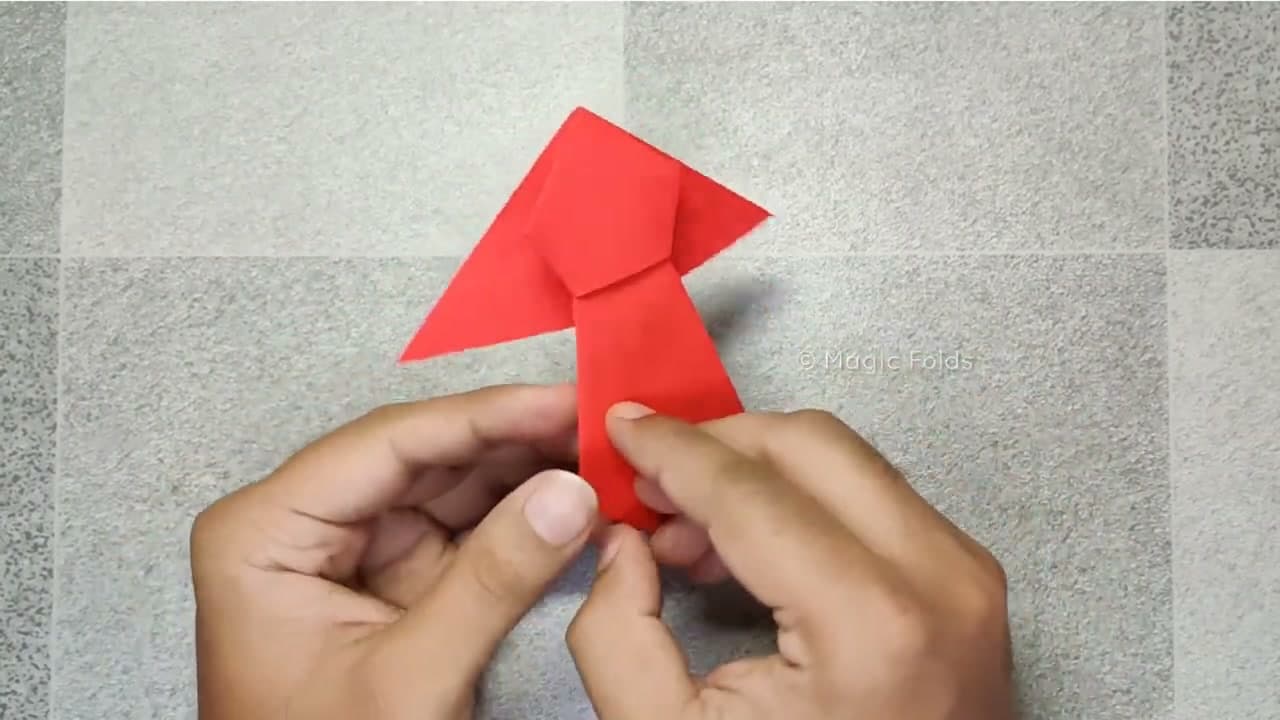
A paper fan is one long strip folded back and forth, and what decides whether it comes out crisp or floppy is the paper, not the folding. Maggy Woodley of Red Ted Art builds hers from red, white, and blue strips glued into one band, which is why the finished fan carries stripes around its edge.
The steps below follow her method. What is here is the rest of it: what paper holds a pleat, how to keep the widths even without measuring, the three ways to finish the base, and how to turn two fans into the wall rosettes most people are really after.
Which paper actually holds a pleat
Printer paper is fine for a kid's afternoon fan and not much beyond it. It creases cleanly, then goes soft at the folds the first time someone waves it hard. Heavy cardstock has the opposite fault: at 110 lb it cracks white along every fold line.
The range that works is 65 to 80 lb text weight, which covers most scrapbook paper and most origami pads. It takes a sharp crease and keeps its spring. Double-sided scrapbook paper earns its price here: an open fan shows both faces of the sheet at once.
Size is a ratio, not a measurement. Strip width becomes the radius, so a 4 inch strip gives a fan about 8 inches across. Band length sets pleat density: six to eight times longer than it is wide for a hand fan, twelve times or more for a full circle rosette that does not gap in the middle.
Even pleats without measuring every one
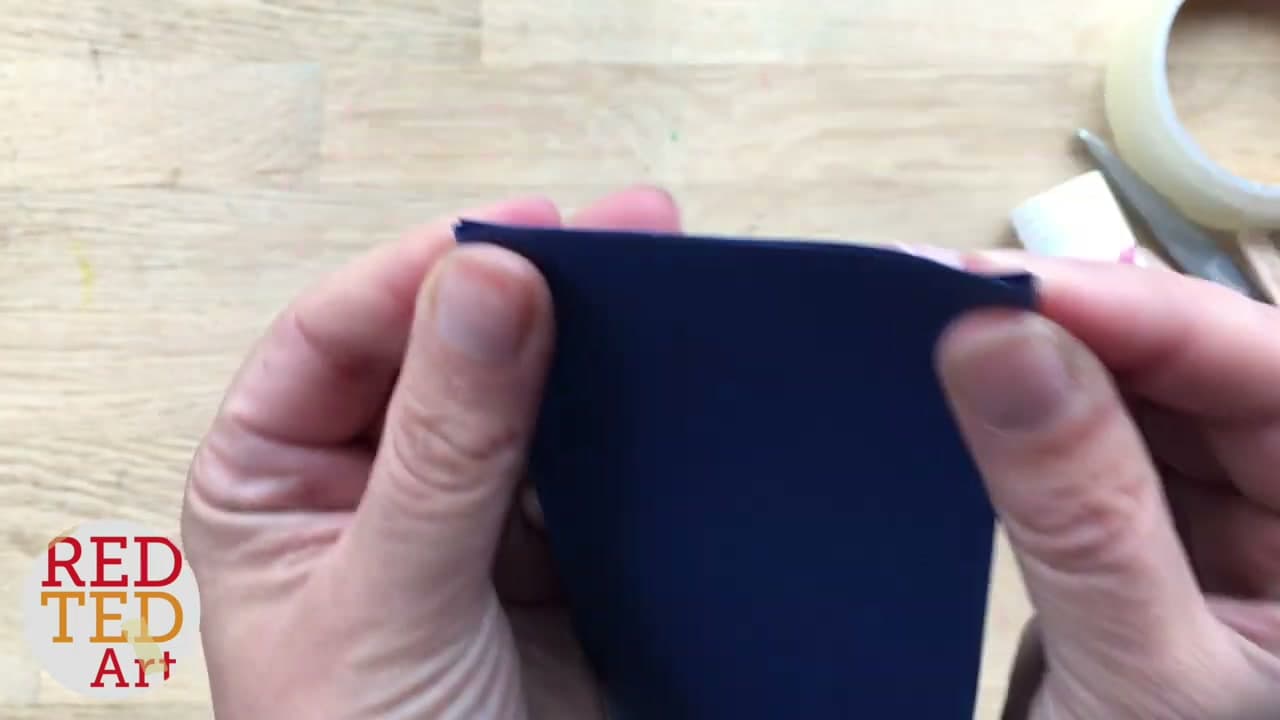
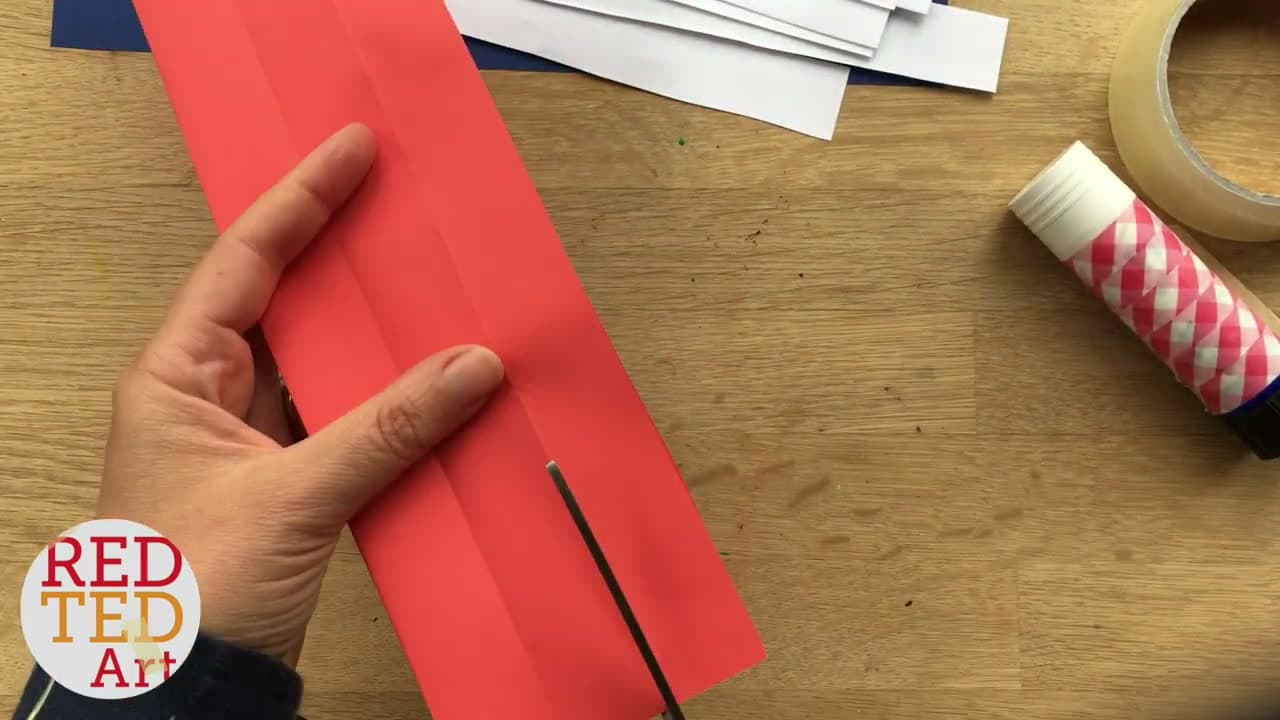
Nobody marks a ruler line every centimeter, and the ones who try get a wobbly fan anyway. Halve the band instead. Fold it end to end, crease, fold in half again, keep going. Each pass doubles your sections and they stay identical, because the paper is doing the measuring. Around the fourth fold the stack gets too thick, so split it and halve each section on its own.
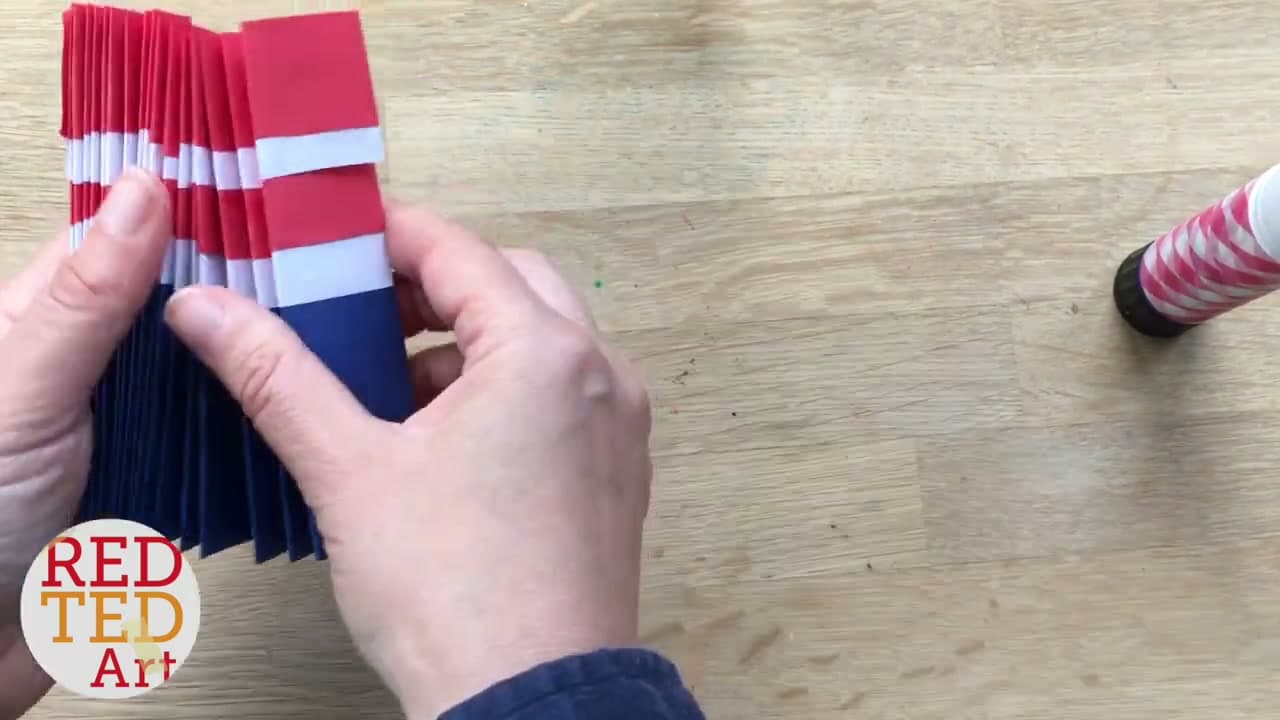
Open the band flat and you have a grid of creases. Concertina along them, flipping the paper over at every fold line so the pleats zigzag instead of rolling. A soft crease is what makes a fan sag two days later.
The three ways to finish the base
The base turns a pleated strip into an object with a job. Pick one before you glue anything.
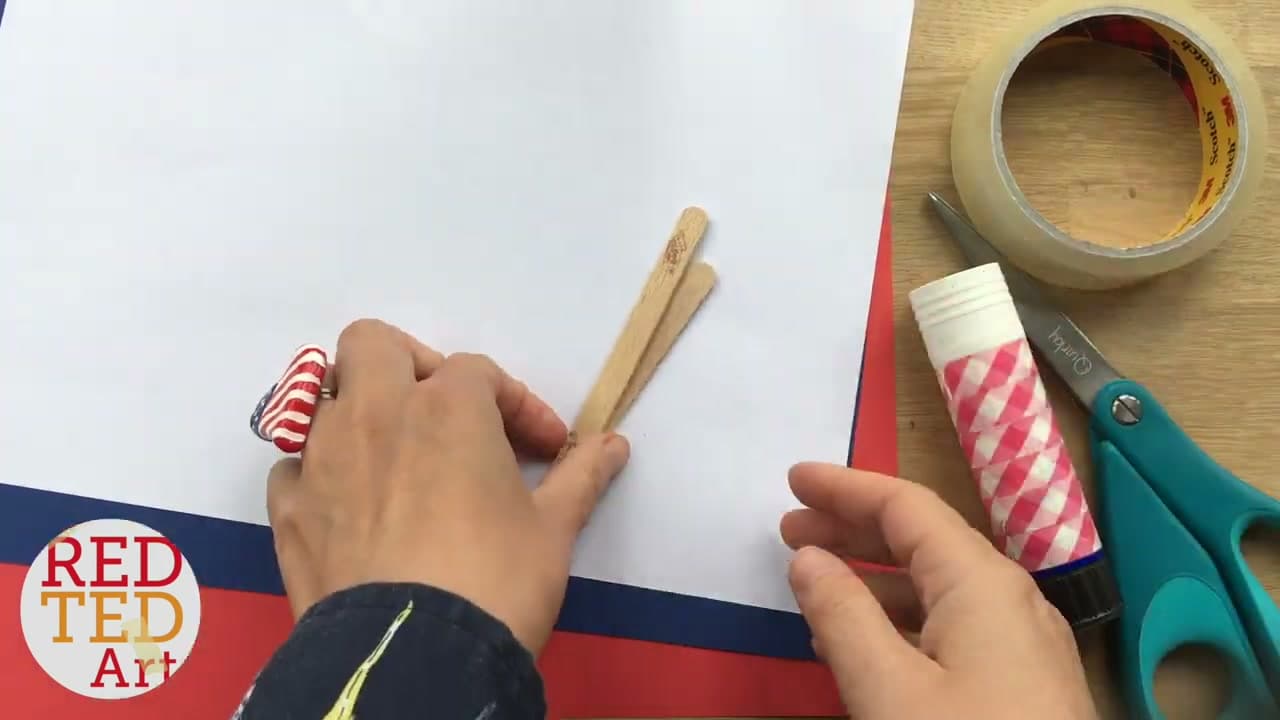
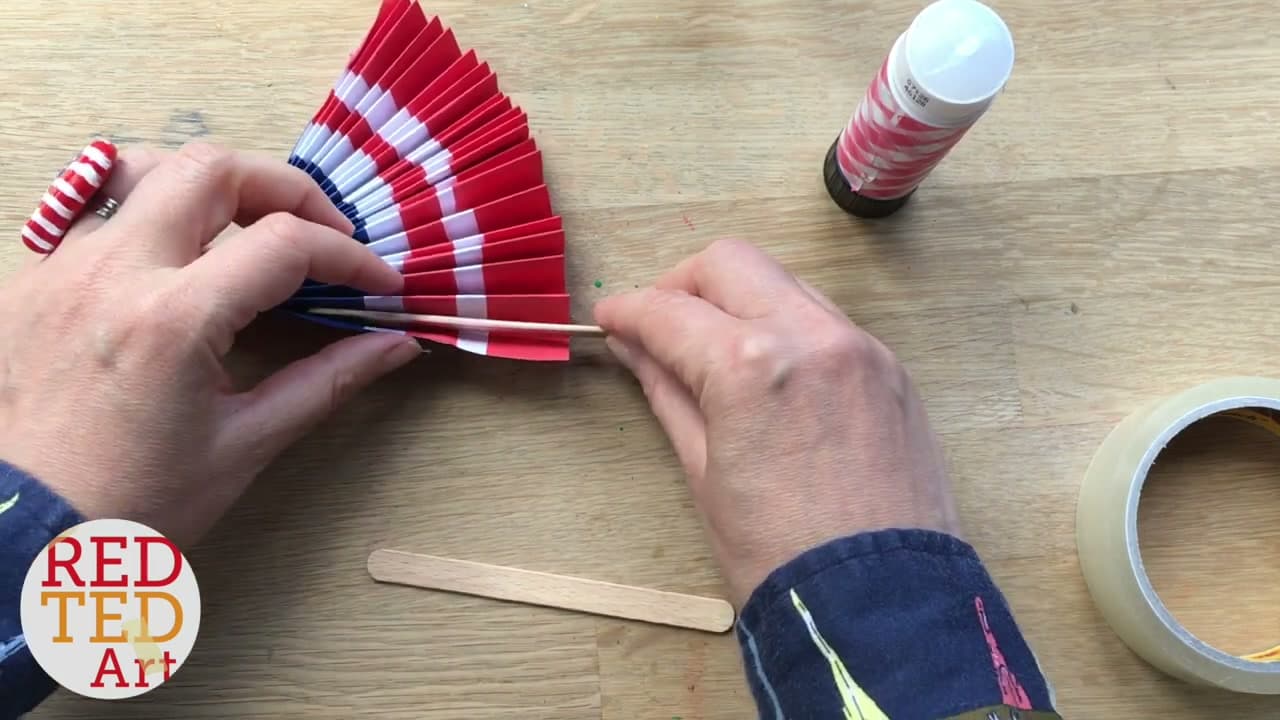
- Craft stick handle. Tape the pleats shut a centimeter up, then glue a wooden craft stick along each outer pleat. It opens, closes, and survives a party.
- Ribbon tie. Staple the base, knot thin ribbon around it, leave a loop. Ten seconds, and it hangs off a chair back or a gift.
- Glued circle. Glue the two end pleats face to face. No handle, and the fan becomes a full round rosette for the wall.
Making the big wall rosettes
The oversized rosettes on party backdrops are two fans glued back to back, not one giant fan. Pleat two bands of the same length and strip width, close each into a half circle, then glue the flat faces together. Equal length matters more than it sounds: a centimeter of difference leaves the circle lopsided, and no fussing at the middle fixes it.
Glue a paper circle over the join on both sides to hide it and lock the pleats. Hot glue beats a glue stick past about 10 inches across, since the paper's weight pulls the center open. Our paper rosettes tutorial covers the scoring trick for the larger sizes, and giant paper flowers and paper pom poms hang on the same wall without competing.
Storing fans so they keep the pleat
A paper fan dies from being left open. Collapse it, slide a paper clip or small rubber band near the base, and lay it flat inside a large book. Stored shut, the creases stay sharp into next summer. Humidity is the other enemy, so keep them out of the garage.
Rosettes are the exception. They live glued open, so store those flat between sheets of tissue where nothing can dent the pleats. Fans pack flatter than any other party decoration, so they travel well next to a paper crown on a kids' table.